
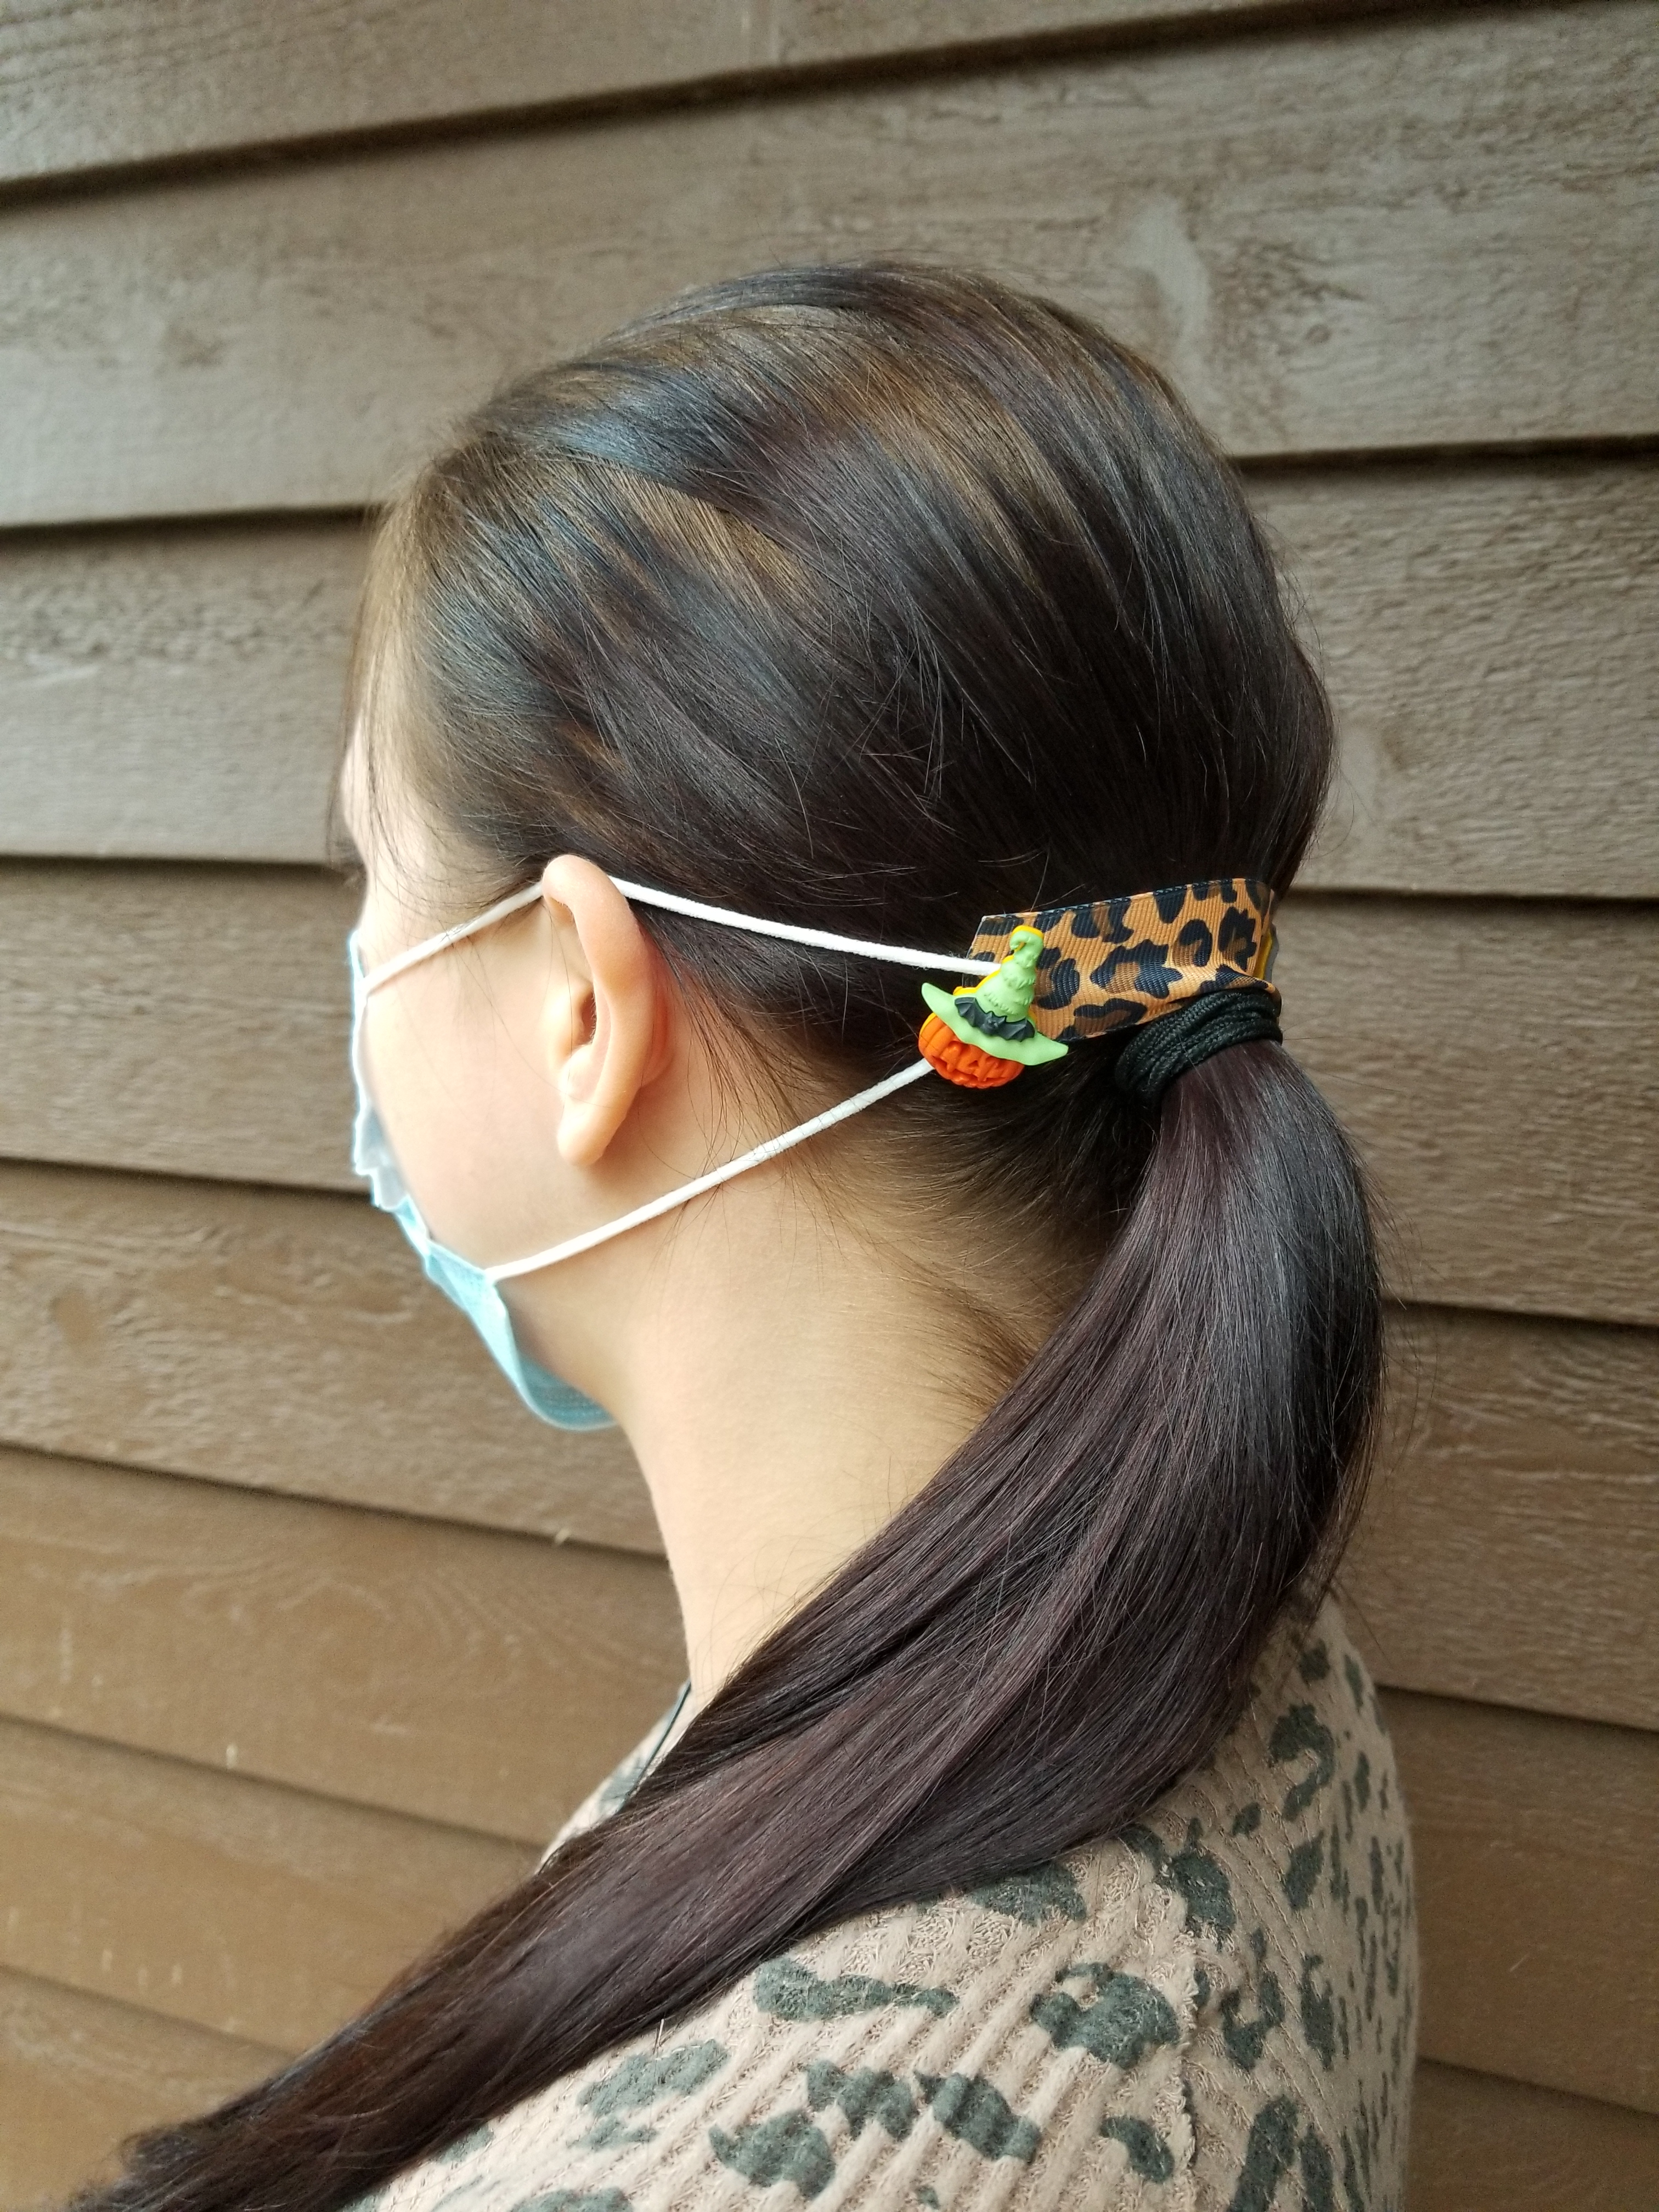
Ear savers connect to the loops of your face mask to alleviate pressure behind your ears, allowing for a more comfortable fit.
Kick-start your creativity by making your own ear savers with this simple sewing tutorial.
With these DIY ear savers, you can customize the length and personalize the colours and designs to suit your own unique style.
What you’ll need
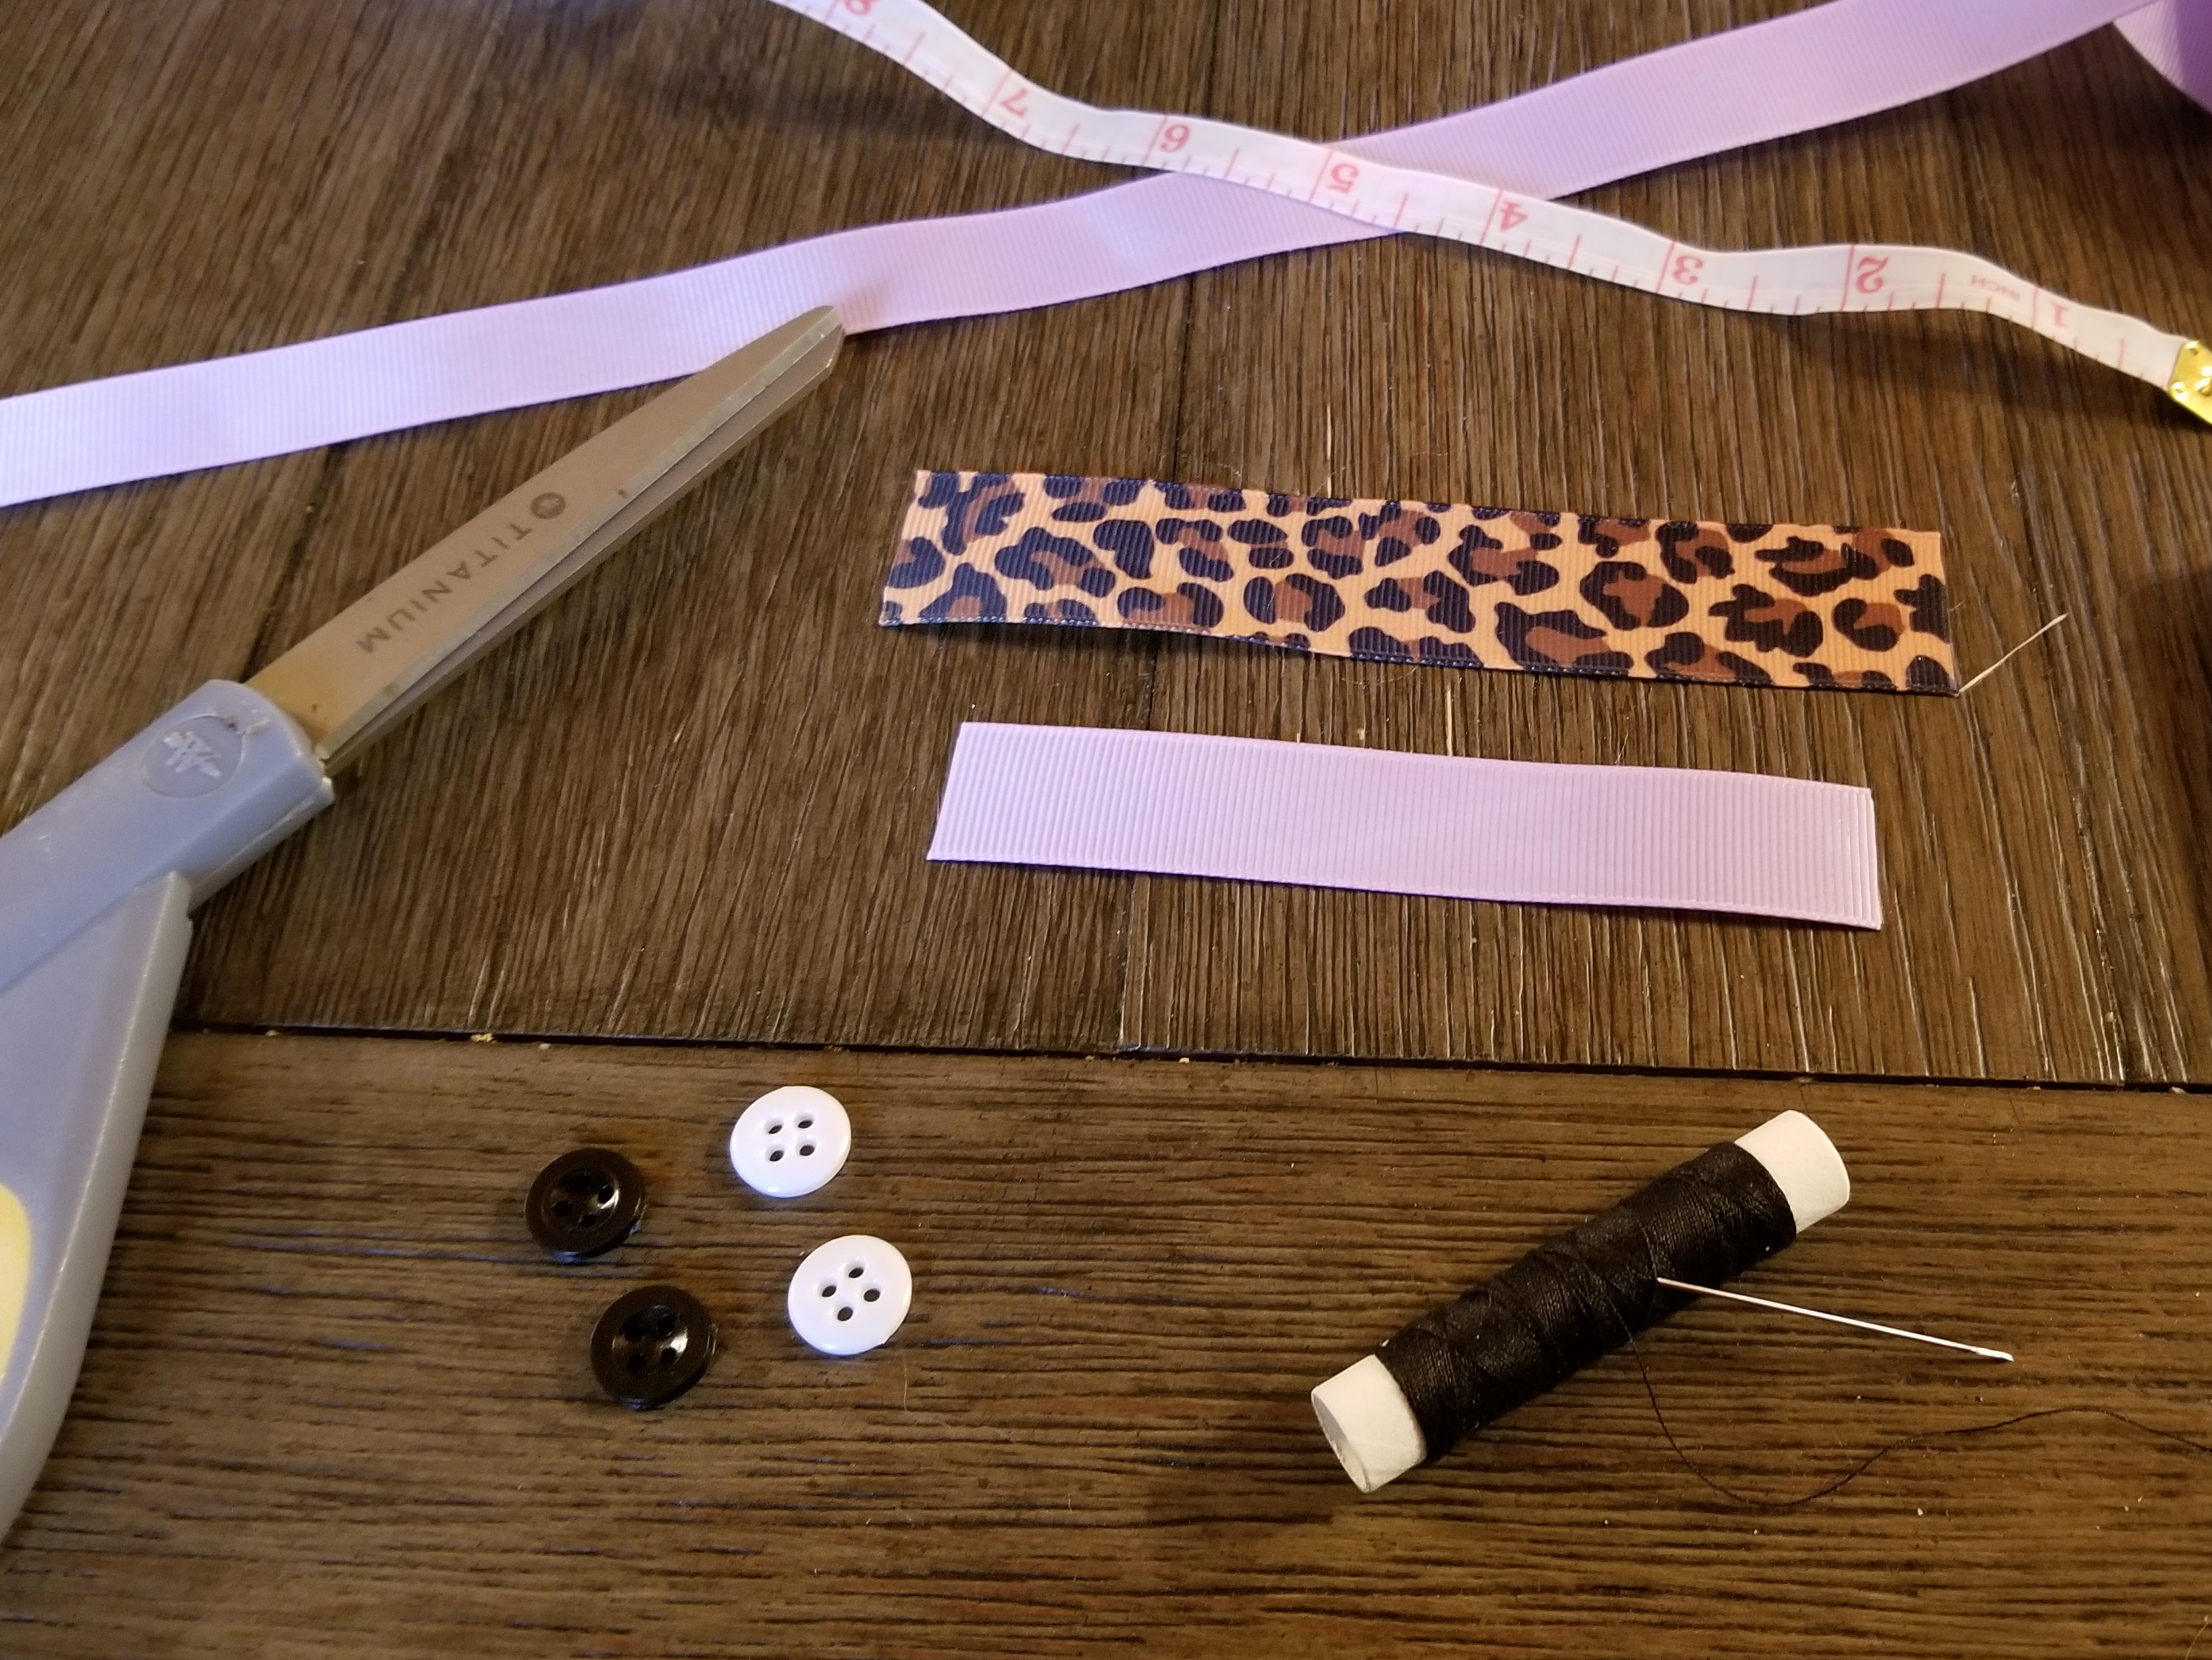
- Ruler
- Scissors
- Material such as an elastic strip, ribbon, or fabric
- Buttons
- Thread and a needle
Step 1
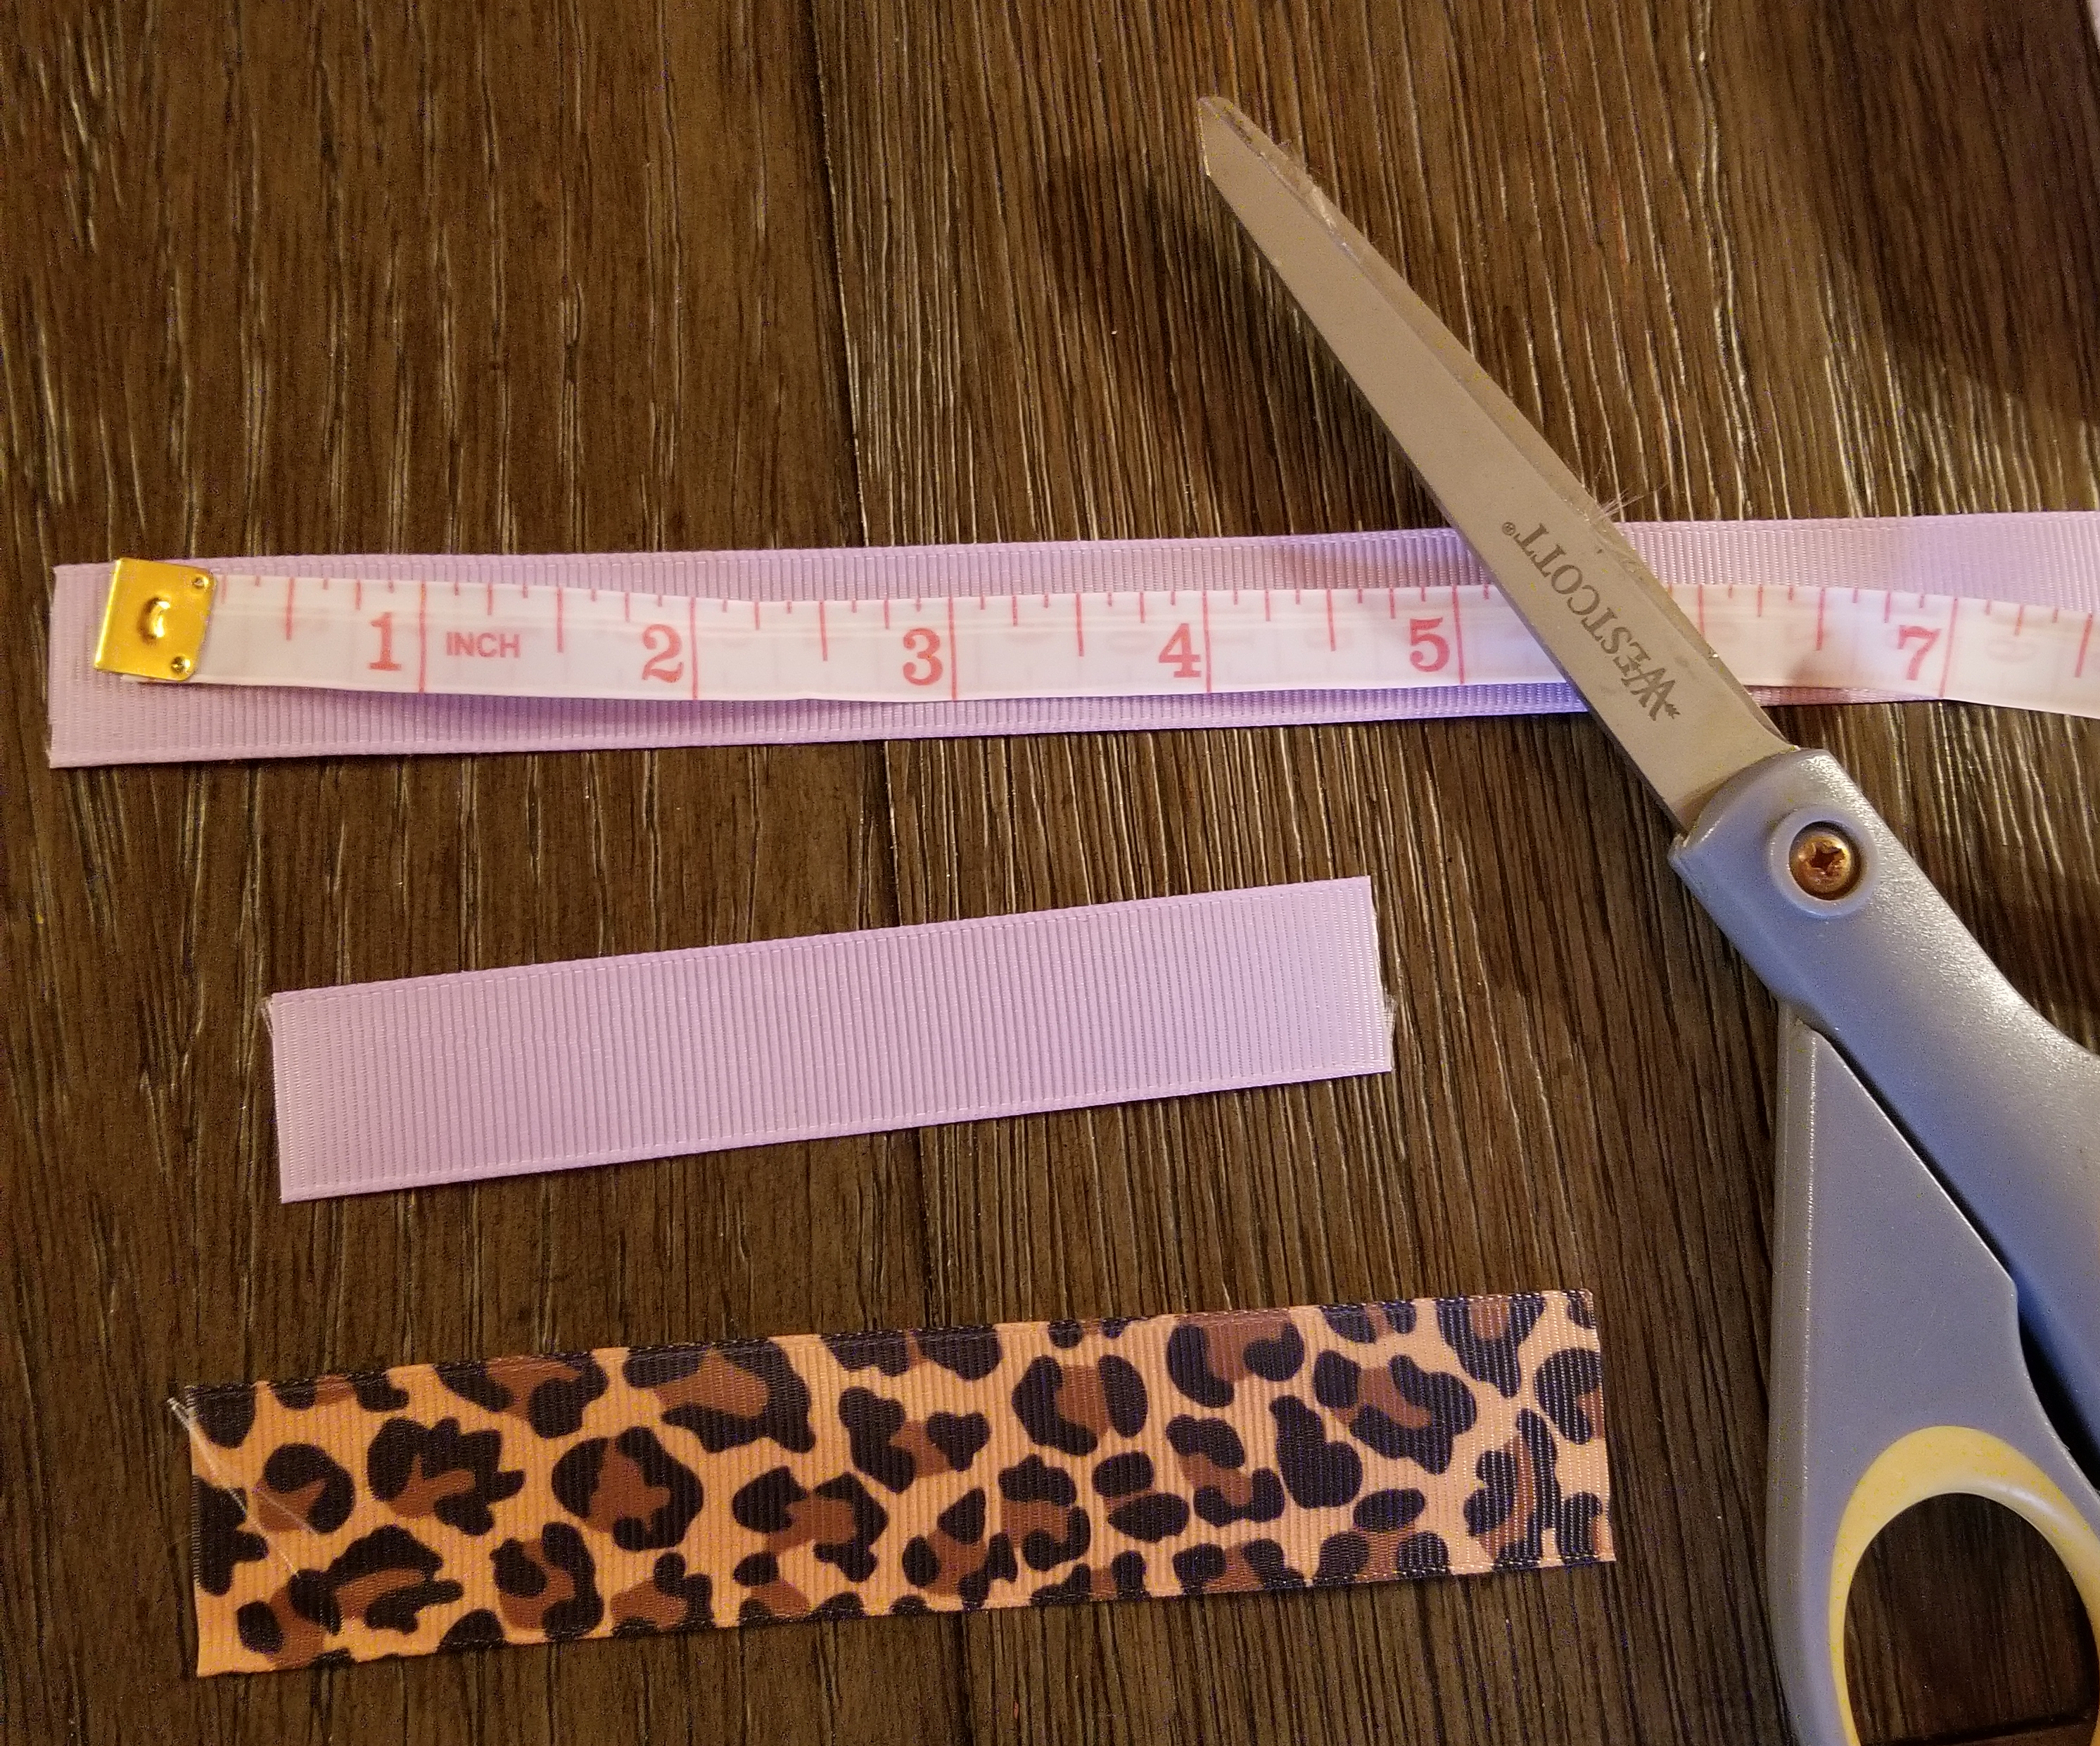
Use a ruler to measure out the length of your material. Cut the material in a rectangular shape to your desired length with your scissors.
Ribbon tip: If you use a section of cut ribbon, melt the edges with a lighter to keep the ends from fraying.
Step 2
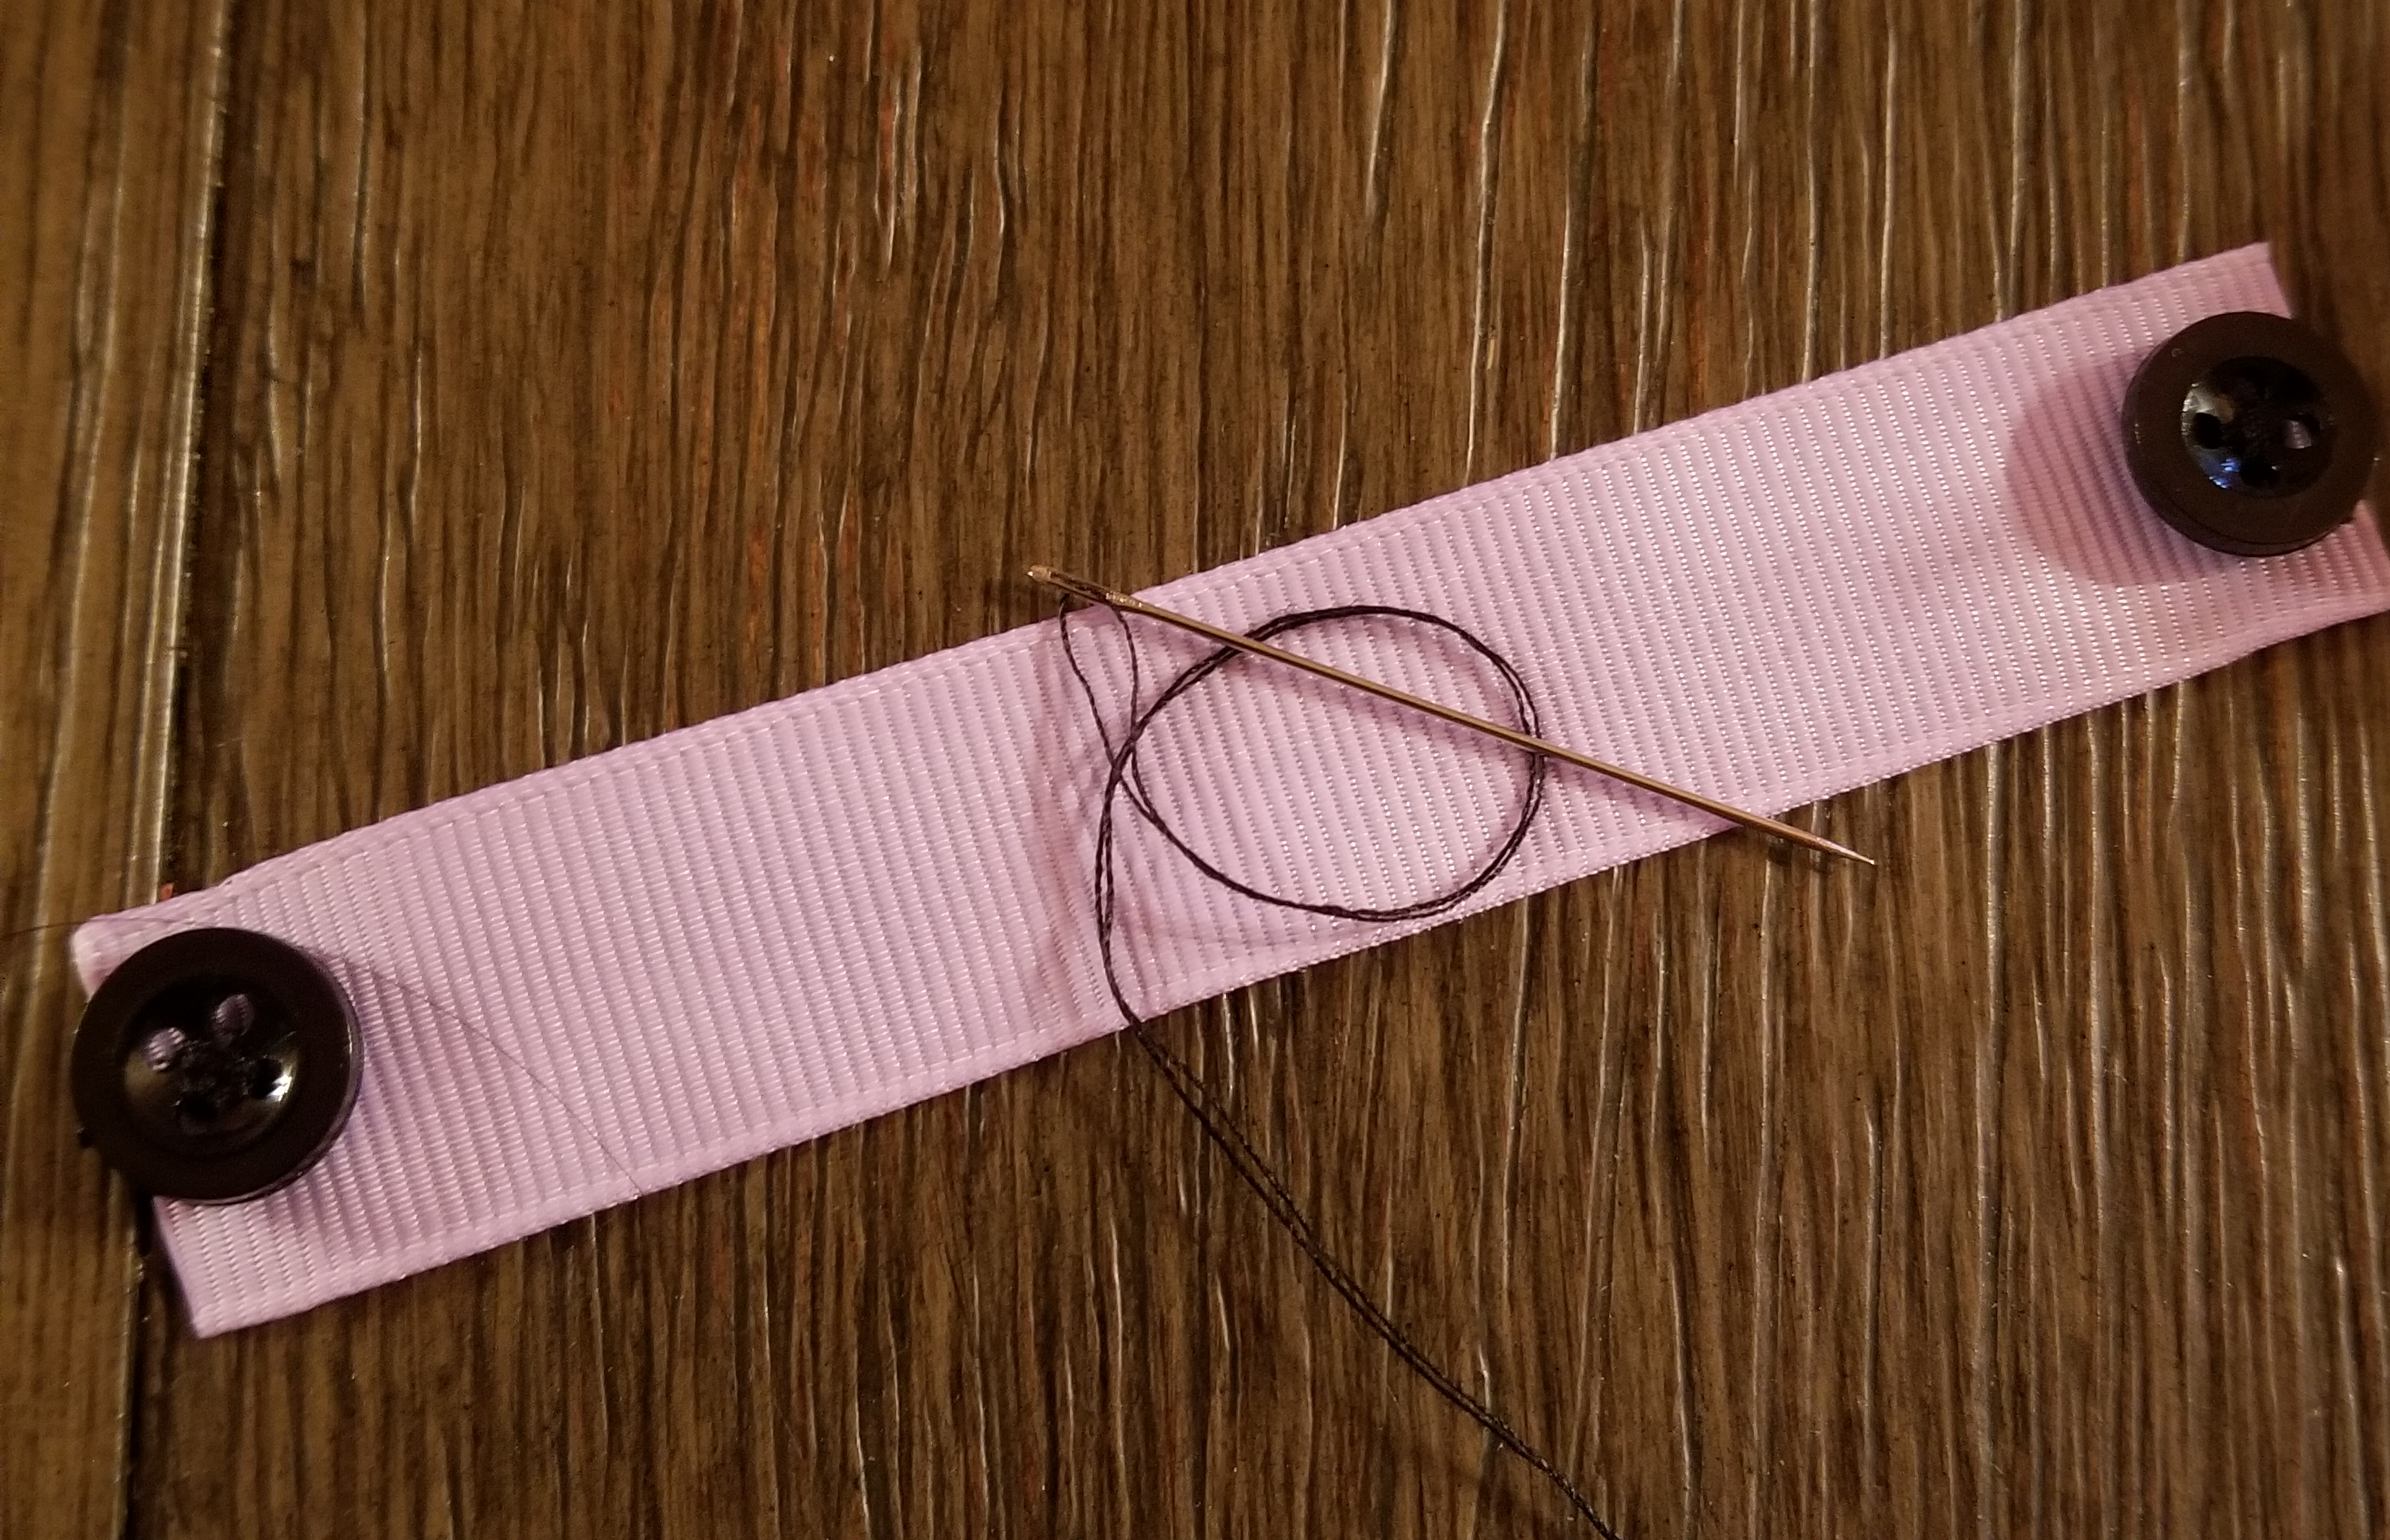
Sew a button on each end of the strip of material. This is where you will hook your mask's straps.
Don’t know how to sew a button? Learn how here, opens a new window.
Step 3
You now have your own ear saver for your masks! Remember to wash your ear savers—just like you wash your reusable masks.
Tips
- If your ear saver is sliding around on your head, add a row or two of hot glue on the back for traction (once it dries, of course!).
- To make your ear savers size-adjustable, sew more buttons on your ear saver.
- If you knit or crochet, you can use yarn instead.
- If you have a Cricut cutter, head here, opens a new window for a free template.

Add a comment to: Kick-Start Creativity: DIY Ear Savers for Masks