 By Sarah, staff member, Alderney Gate Public Library
Do you like to get your hands dirty and make things from scratch? Papier mâché (or paper mache) might be the answer; it is delightfully messy! Kick-start your creativity by making your own papier mâché using materials found inside your home.
Step 1: Gather supplies
The basics
- Water
- Flour or white glue
- Bowl
- Spoon or whisk
- Balloon
- Strips of paper (newspaper works great for this)
For finishing
- Paint
- Paintbrush
- Water
- Paper towel or a rag
- Paper plate or paint palette
Step 2: Make the mix
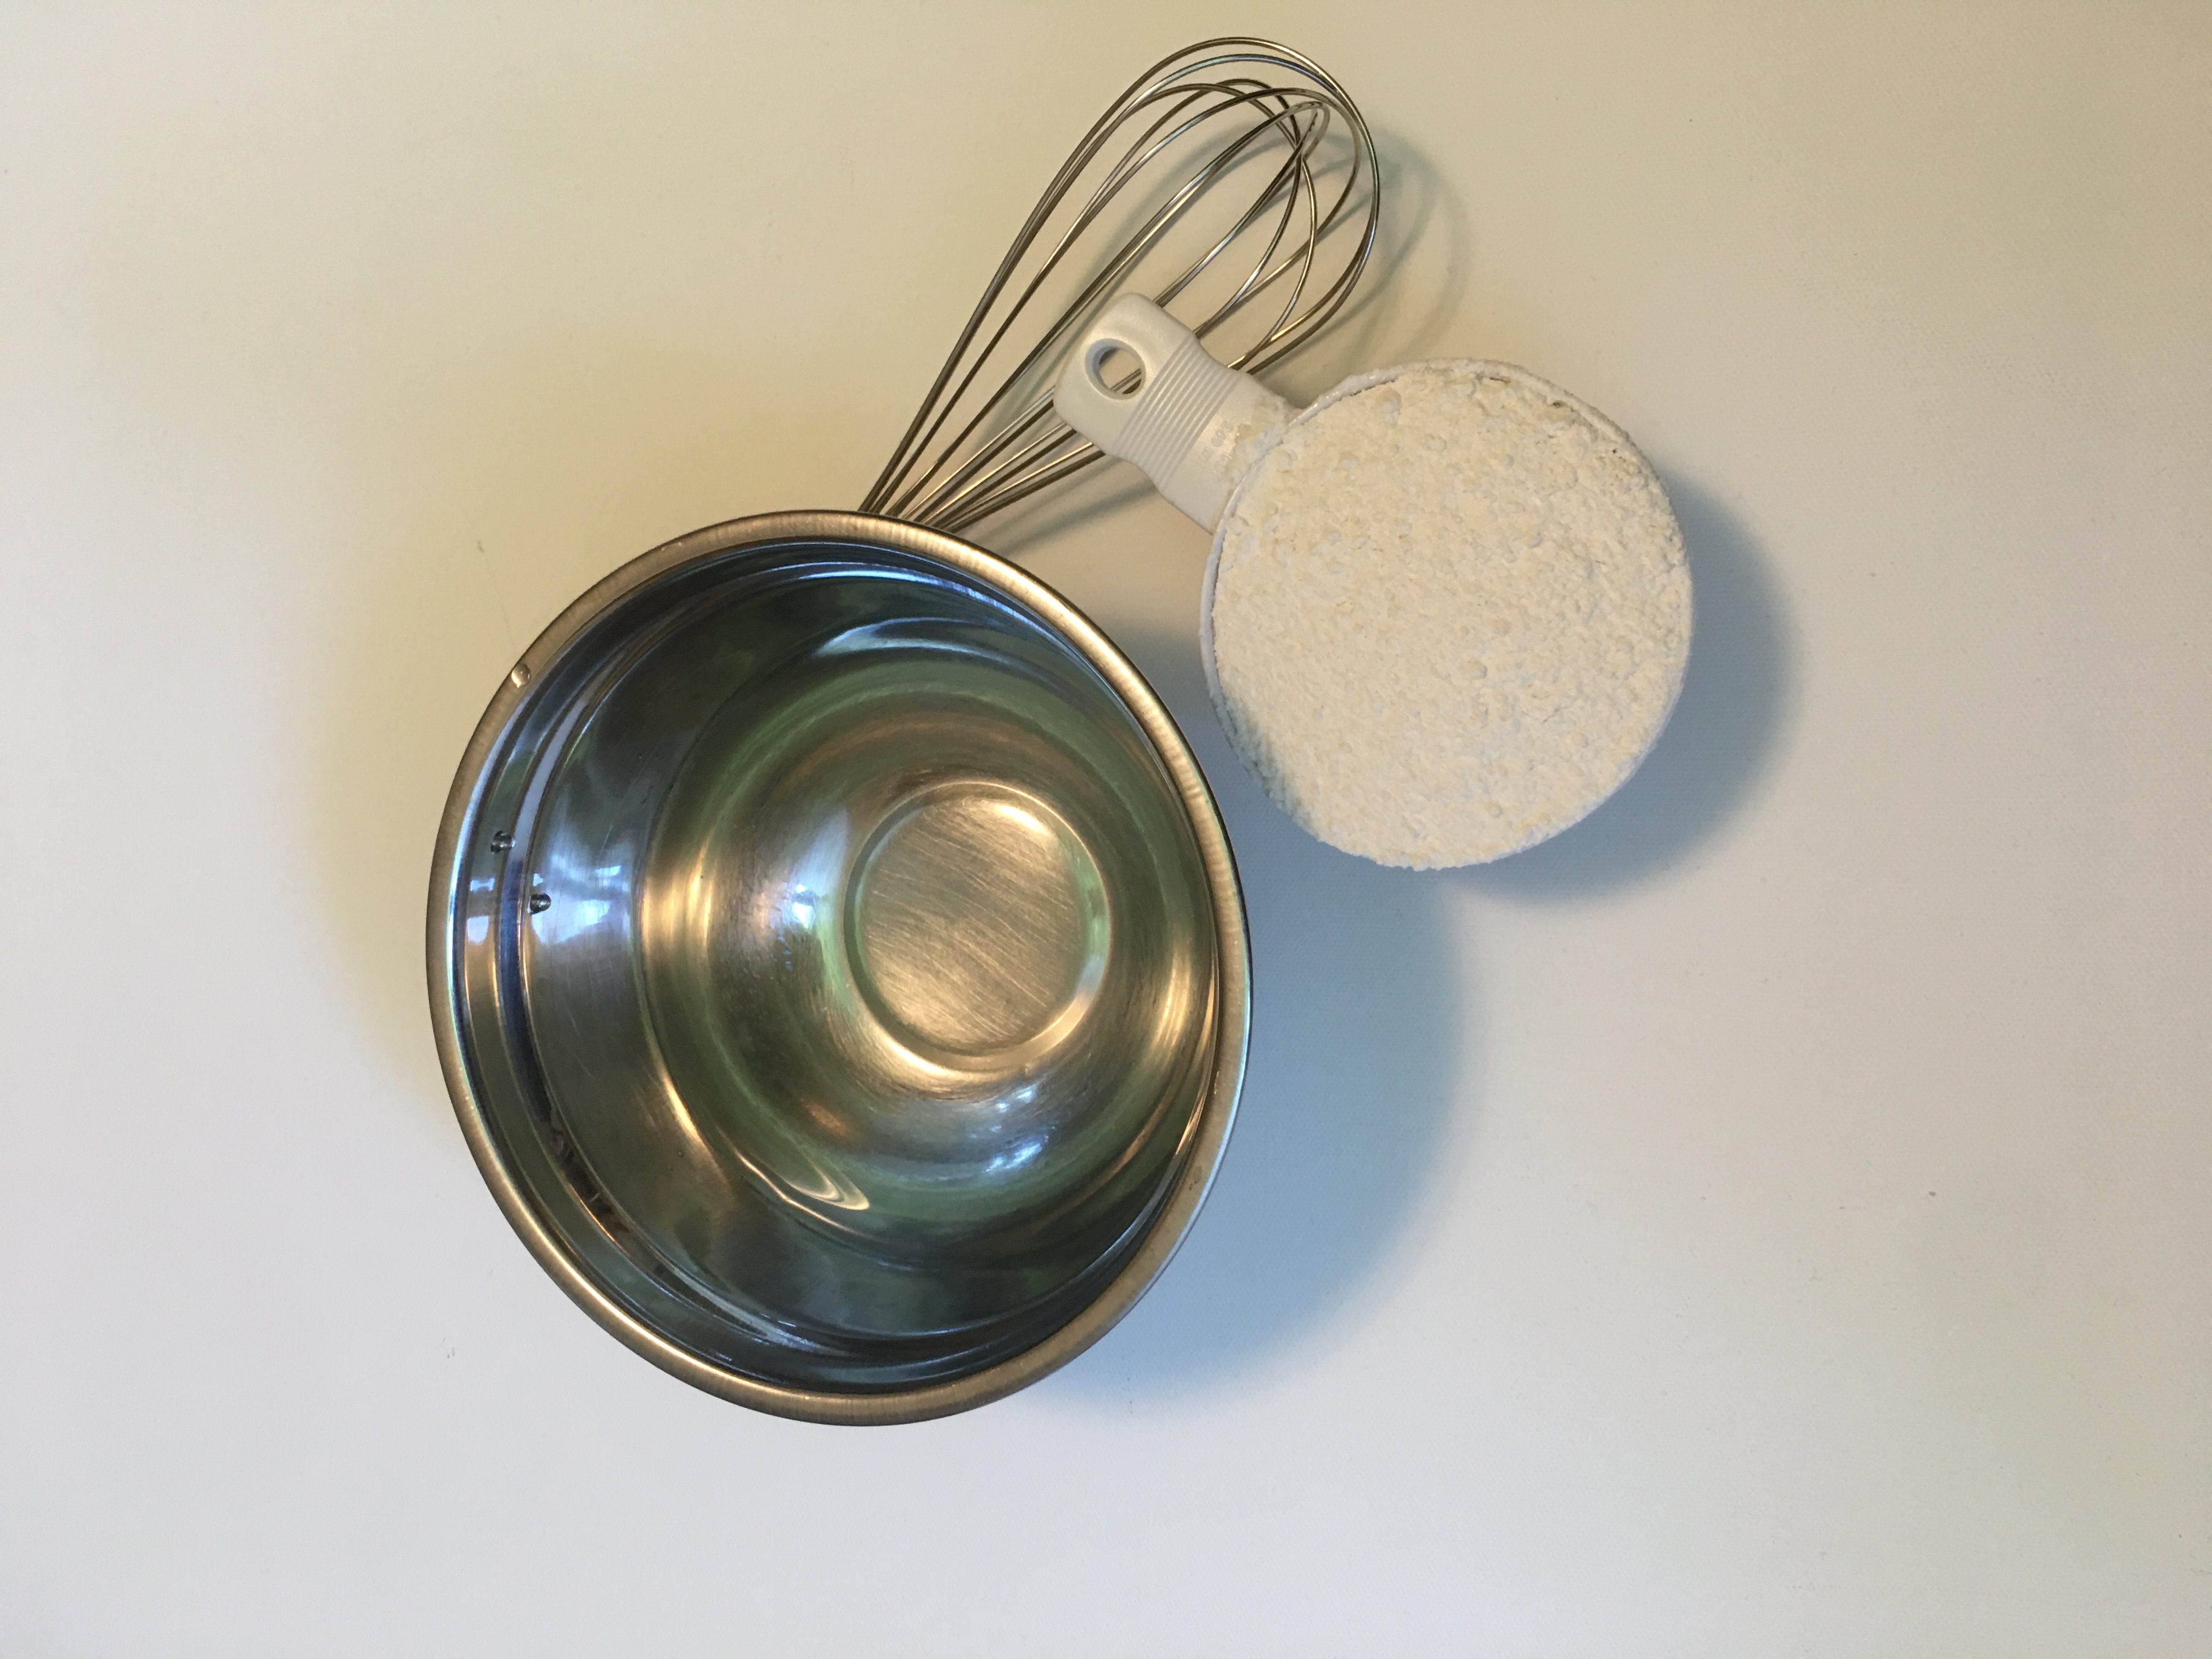

It's time to make the papier mâché mix. You can do this using either flour and water, or glue and water.
Keep in mind that the flour mix will be less durable and more likely to mold over time than the glue mixture.
- Make sure you have your: water, flour or white glue, bowl, and spoon or whisk.
- Mix 1 part flour or white glue and 1 part water.
- This is the starter mix, but feel free to add more of any of the ingredients to get to a thickness that works best for you. The type of white glue that you use can change the mixture’s thickness.
Step 3: Balloon time
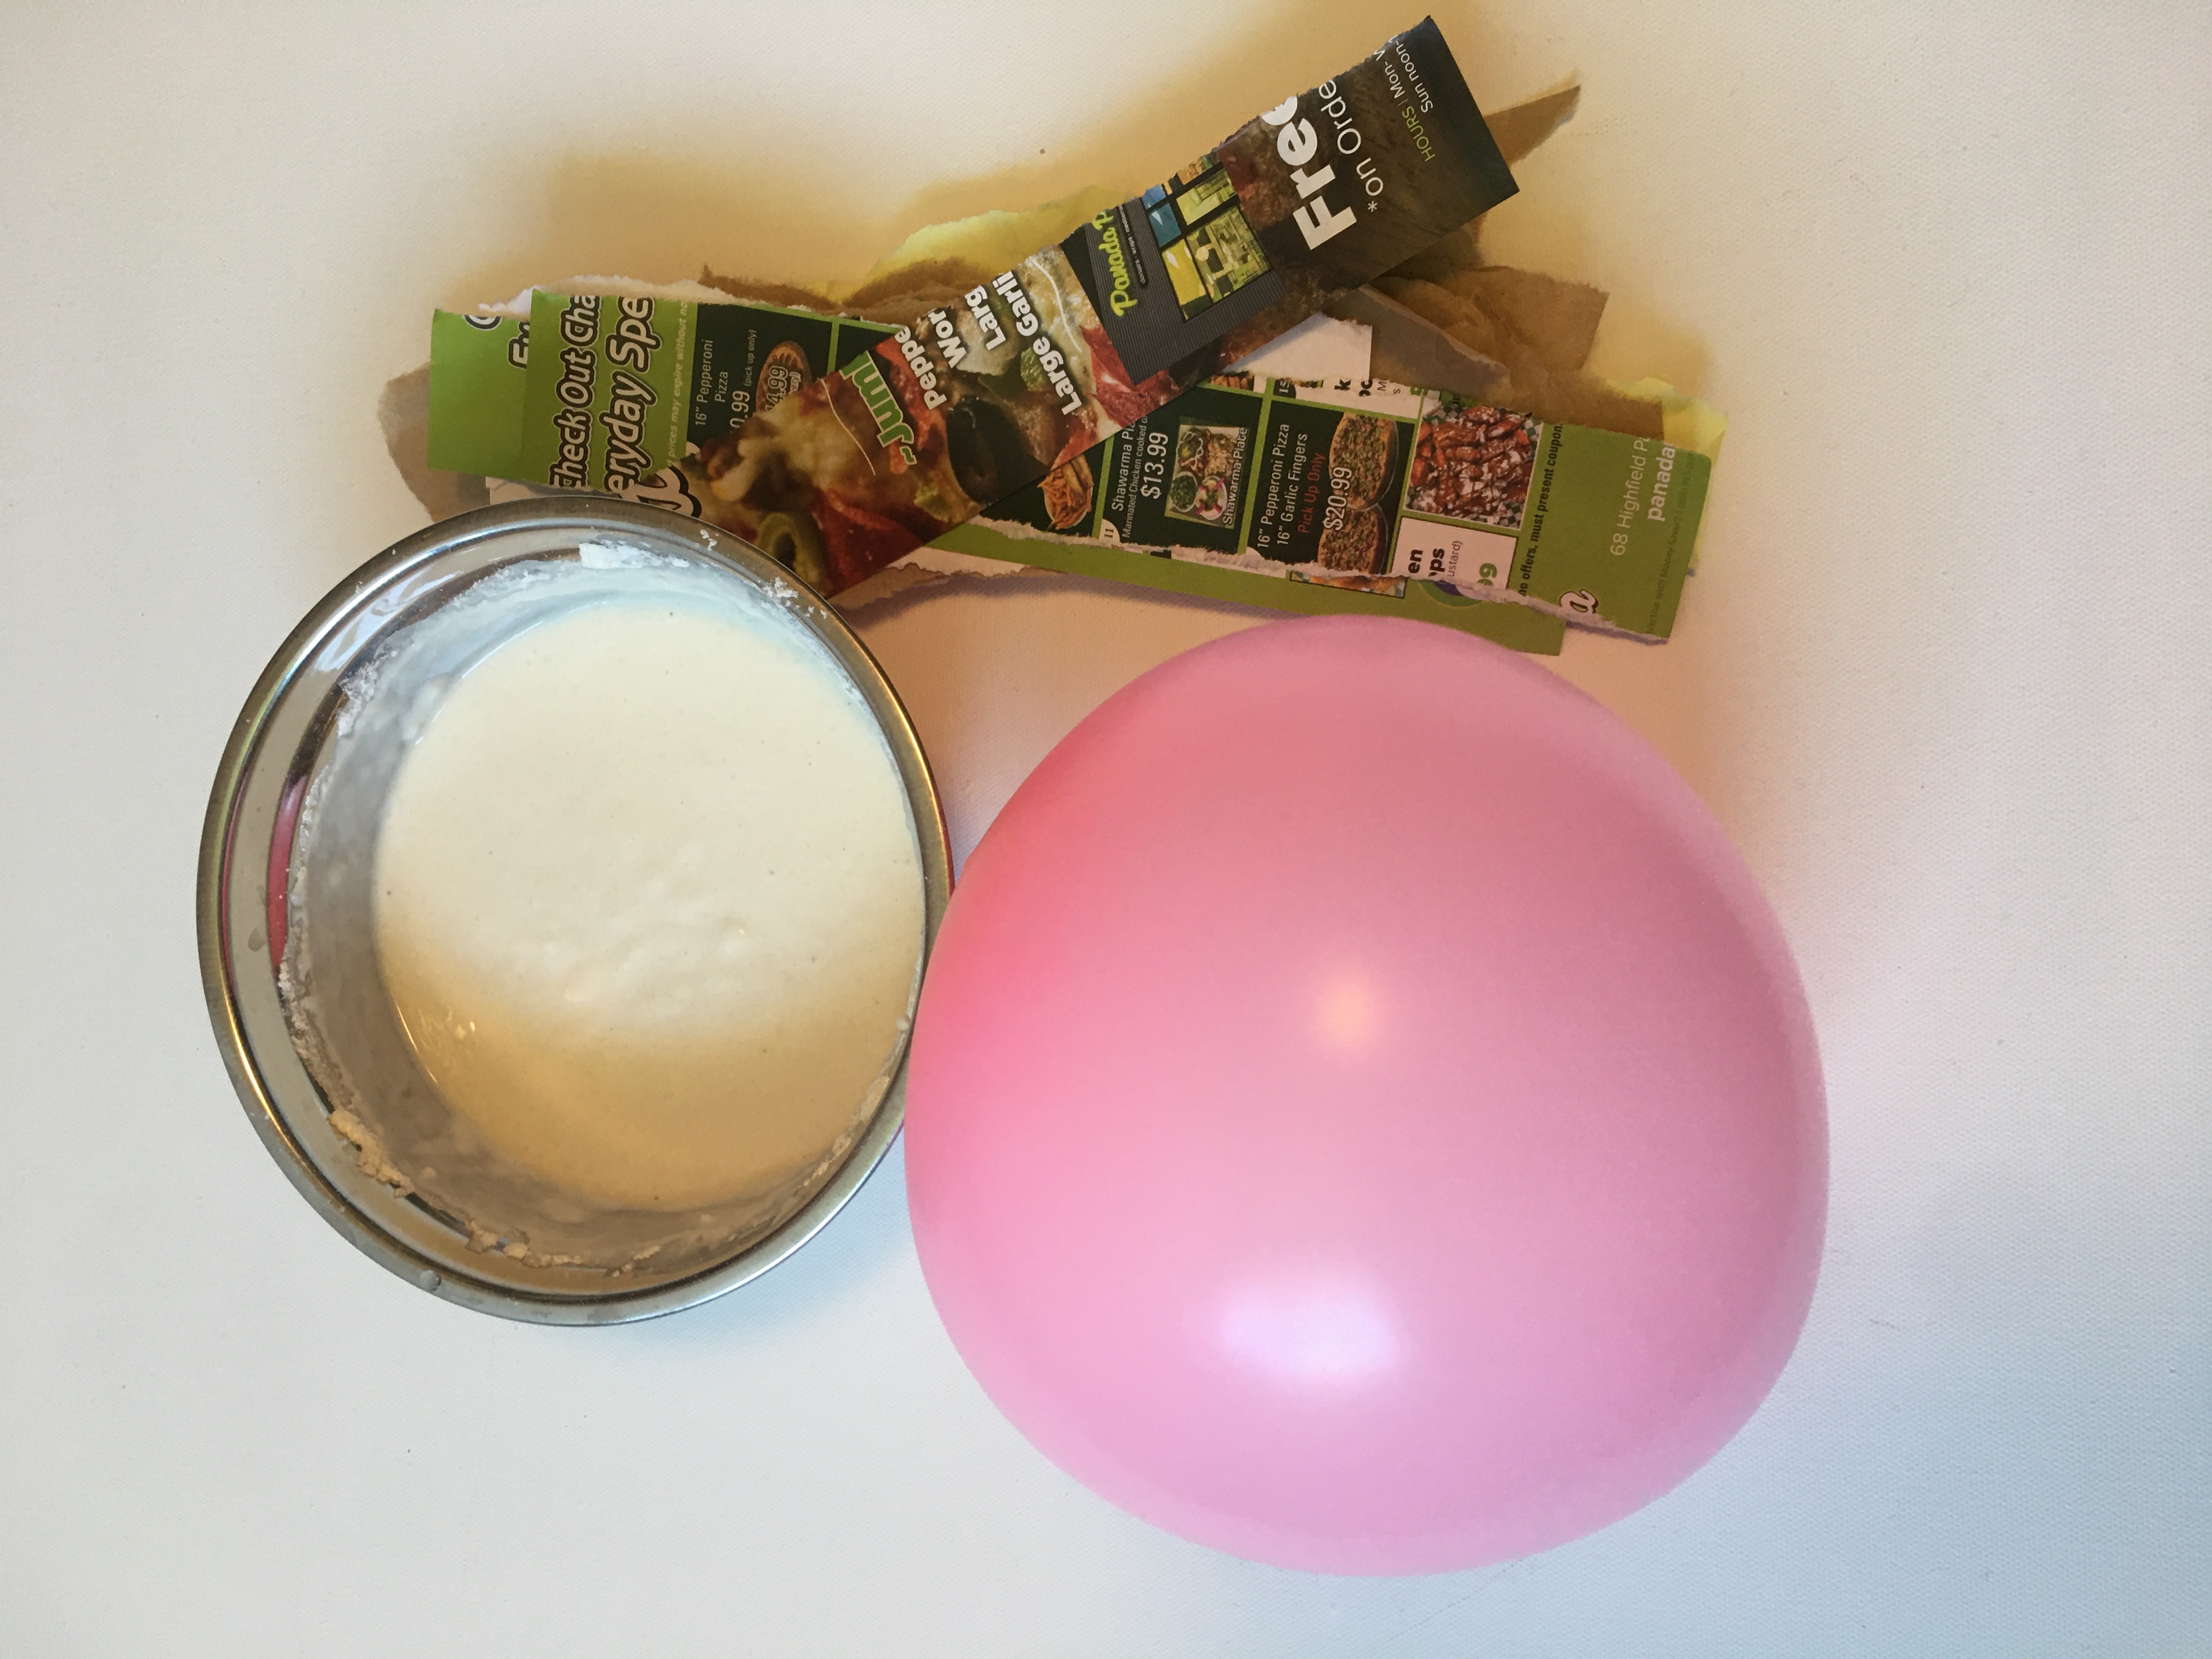
Now you should have your papier mâché goo, strips of paper, and a balloon.
- Make sure you put down something for the mess like newspaper because the papier mâché is going to be everywhere!
- Blow up the balloon or balloons to the size that you want. Then take one of your strips of paper and dip it into the paper mache goo. After dipping it you should run your fingers down both sides of the strip to get rid of the excess goo.
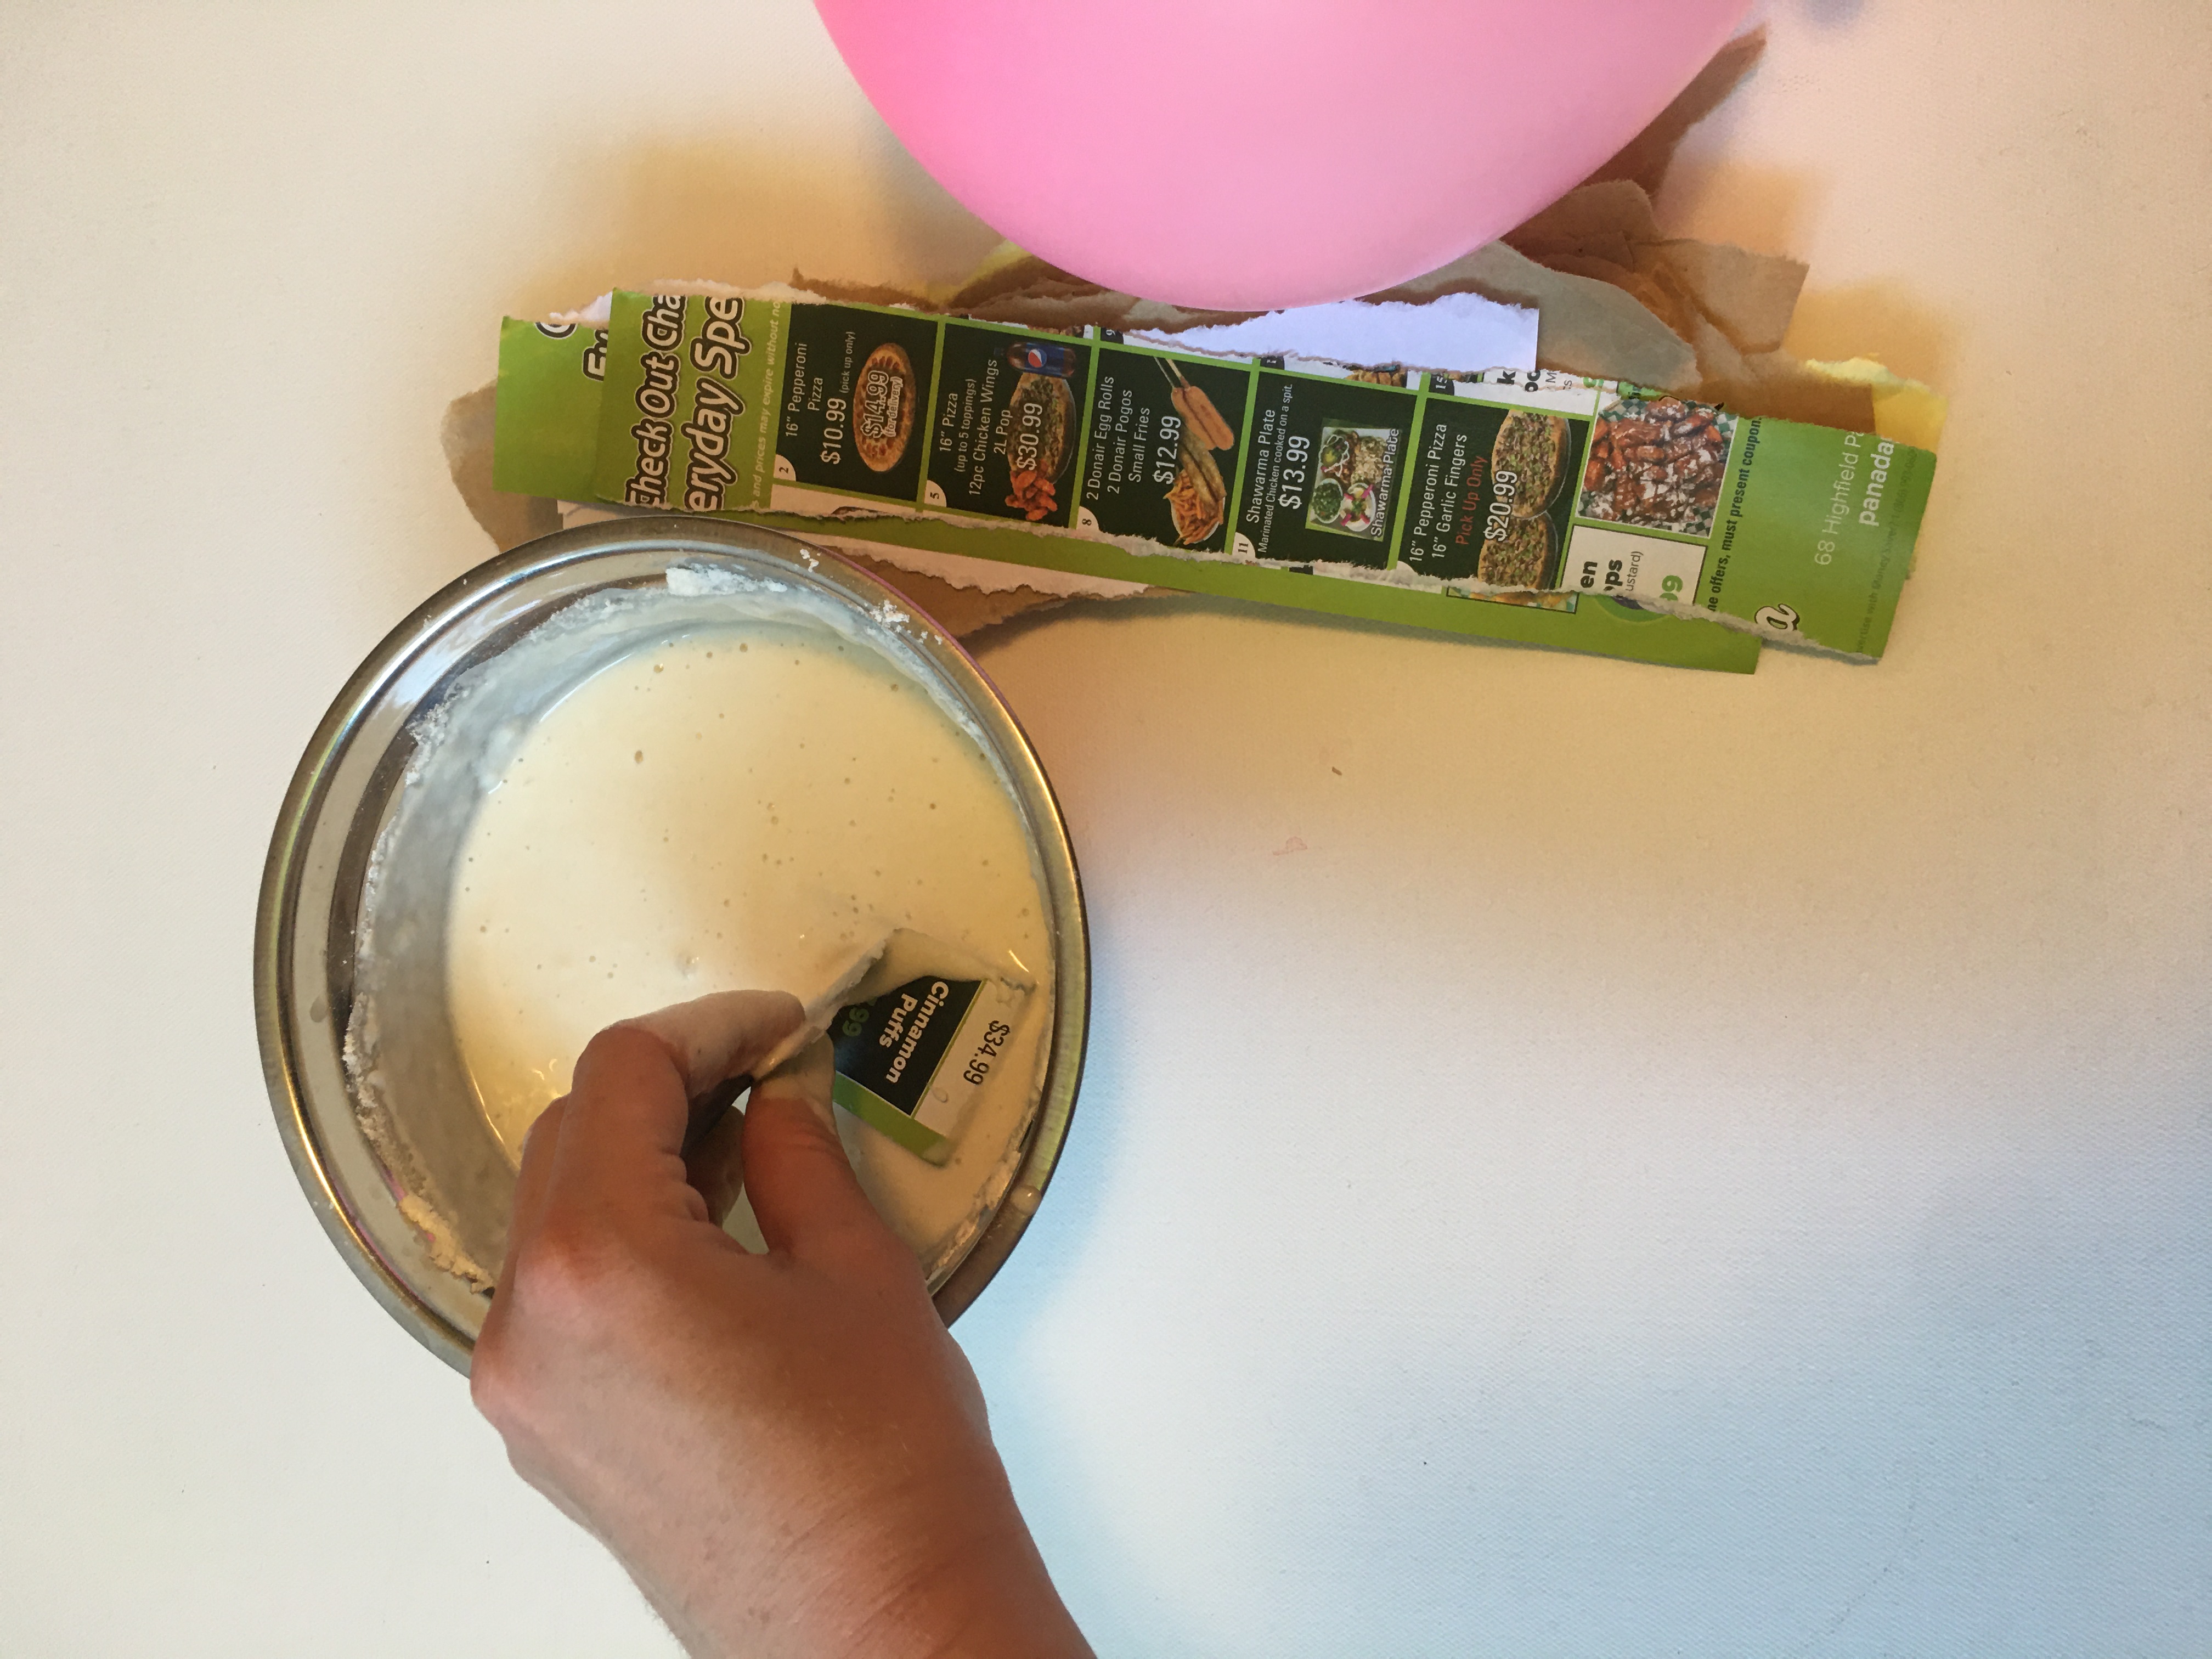
- Place your strips on the balloon until your balloon is completely covered in a thin layer. If you want to make a pinãta, make sure to leave a hole big enough to put things inside later.
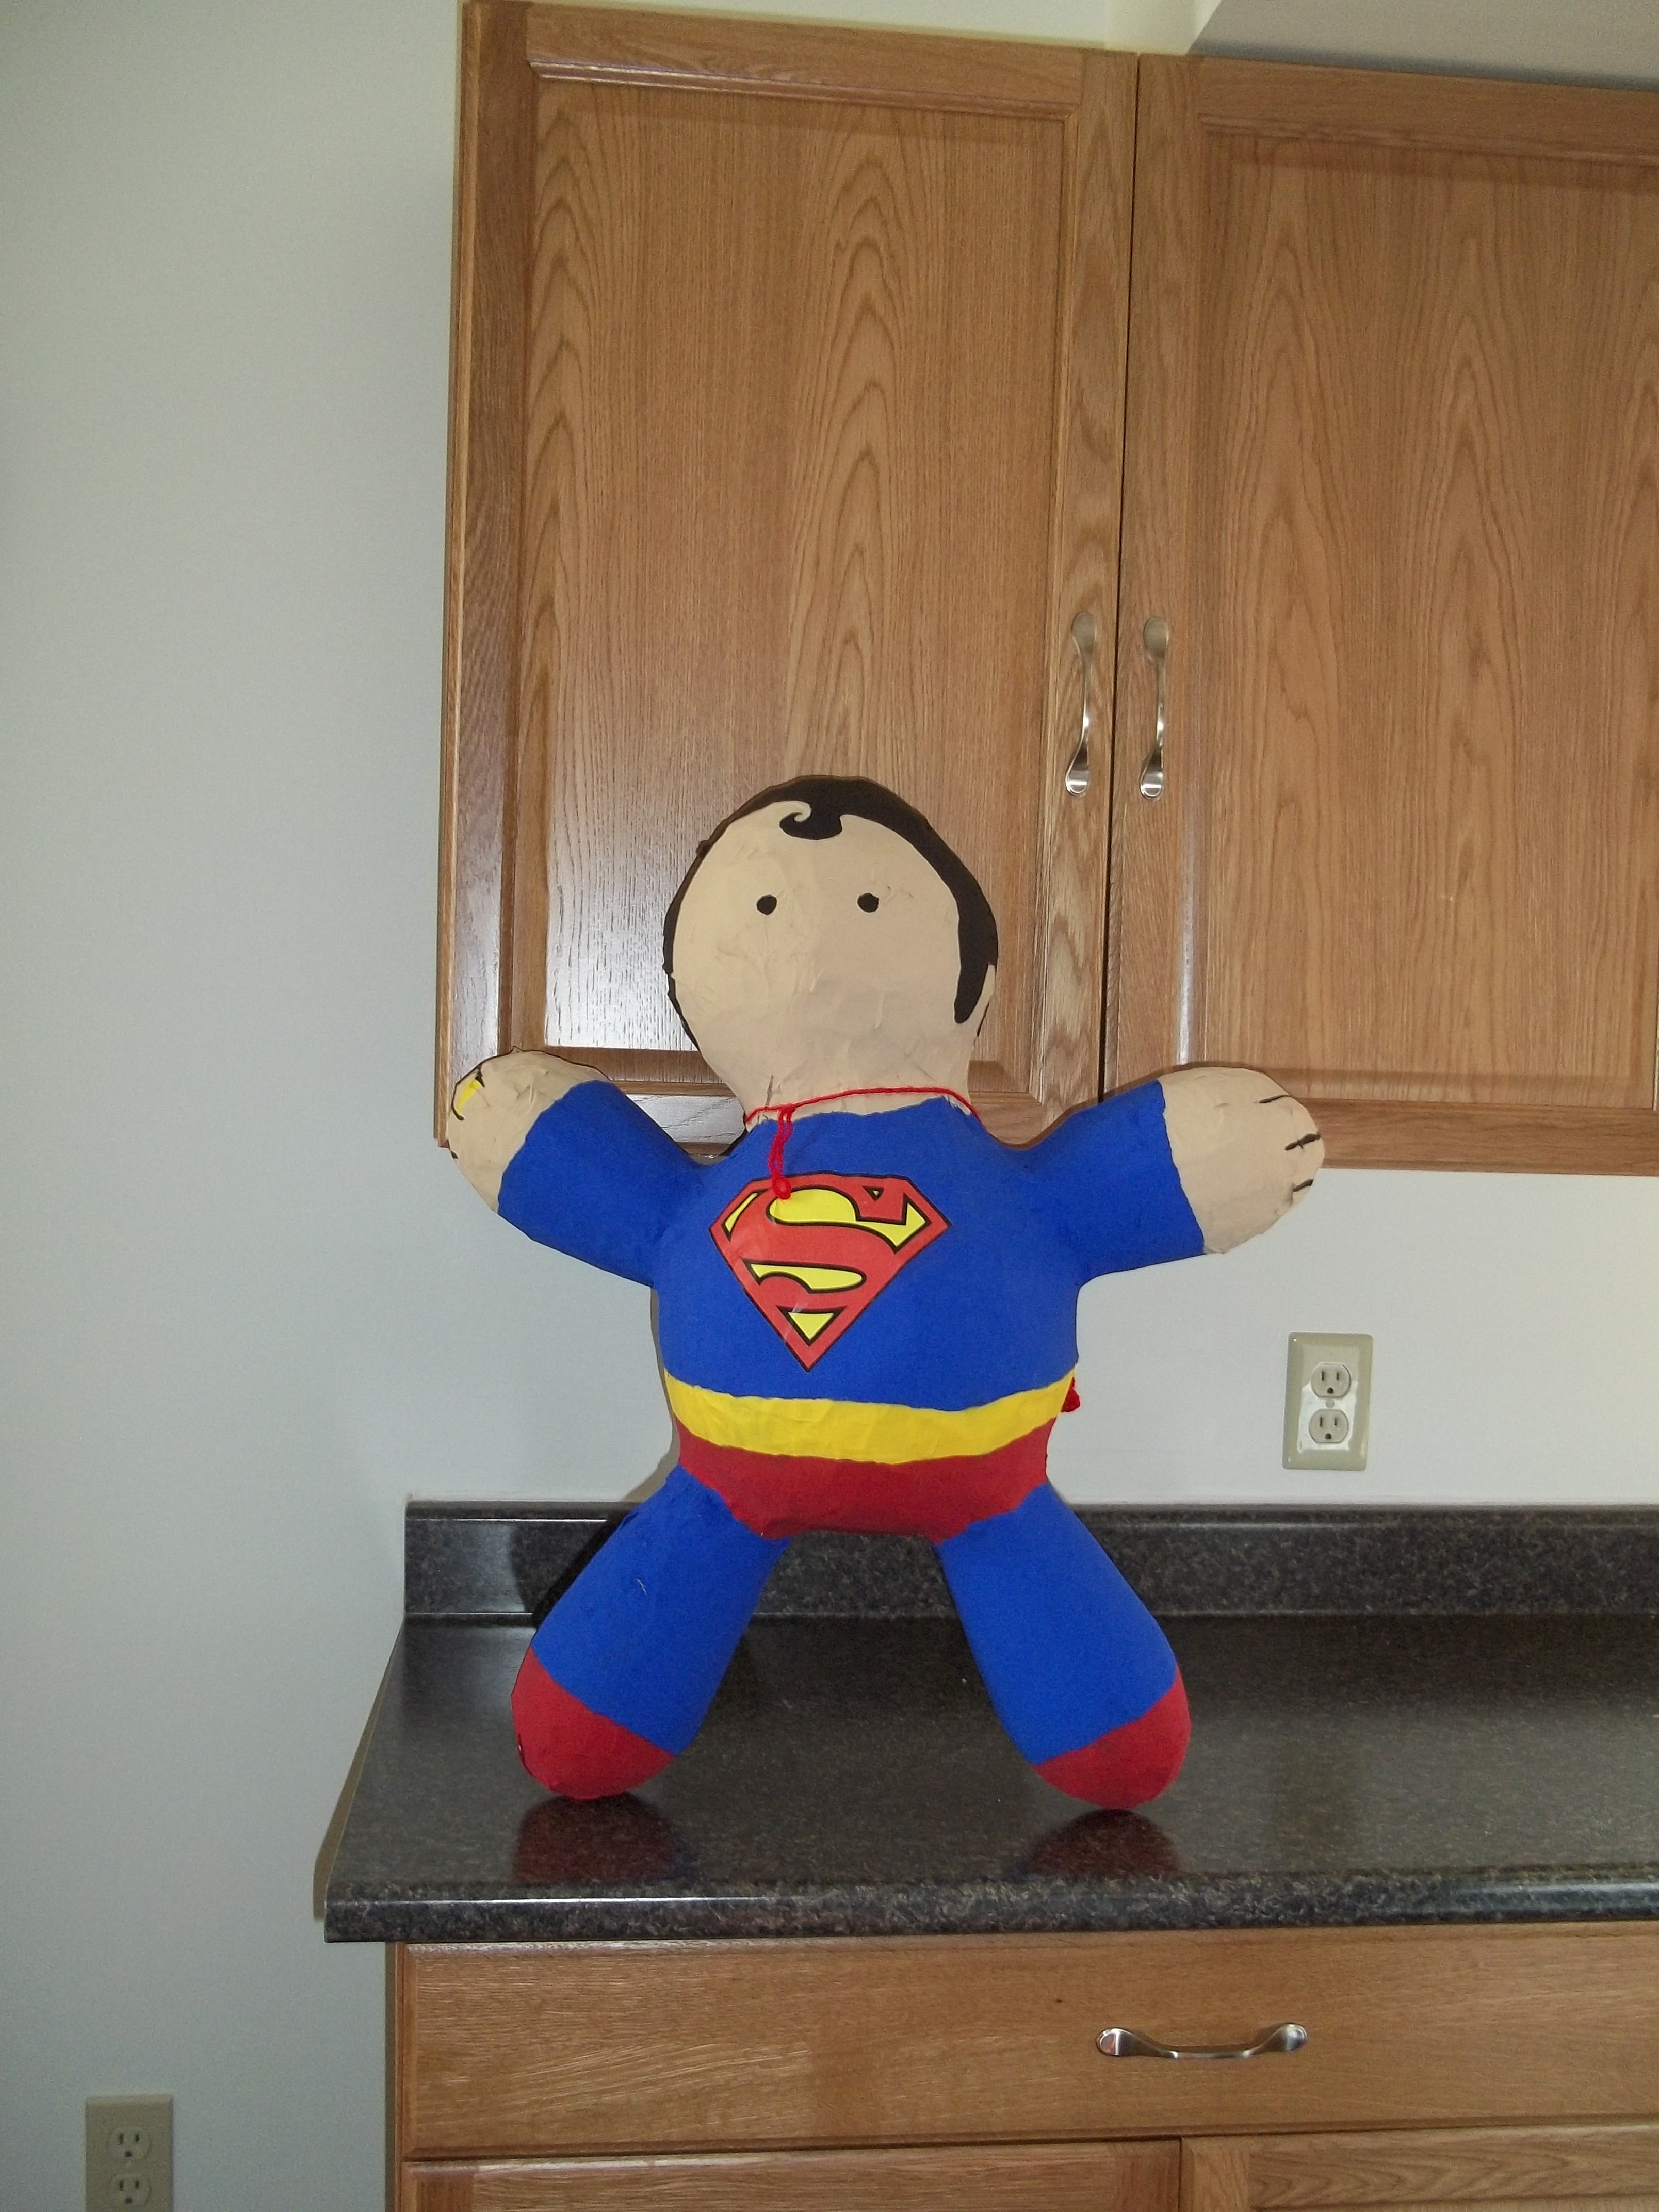
- If you want your creation to be more than just a ball you can also work on more than one balloon at a time and attach them together later. Maybe you want to add arms and legs like I did with this pinata.
Step 4: Dry and repeat
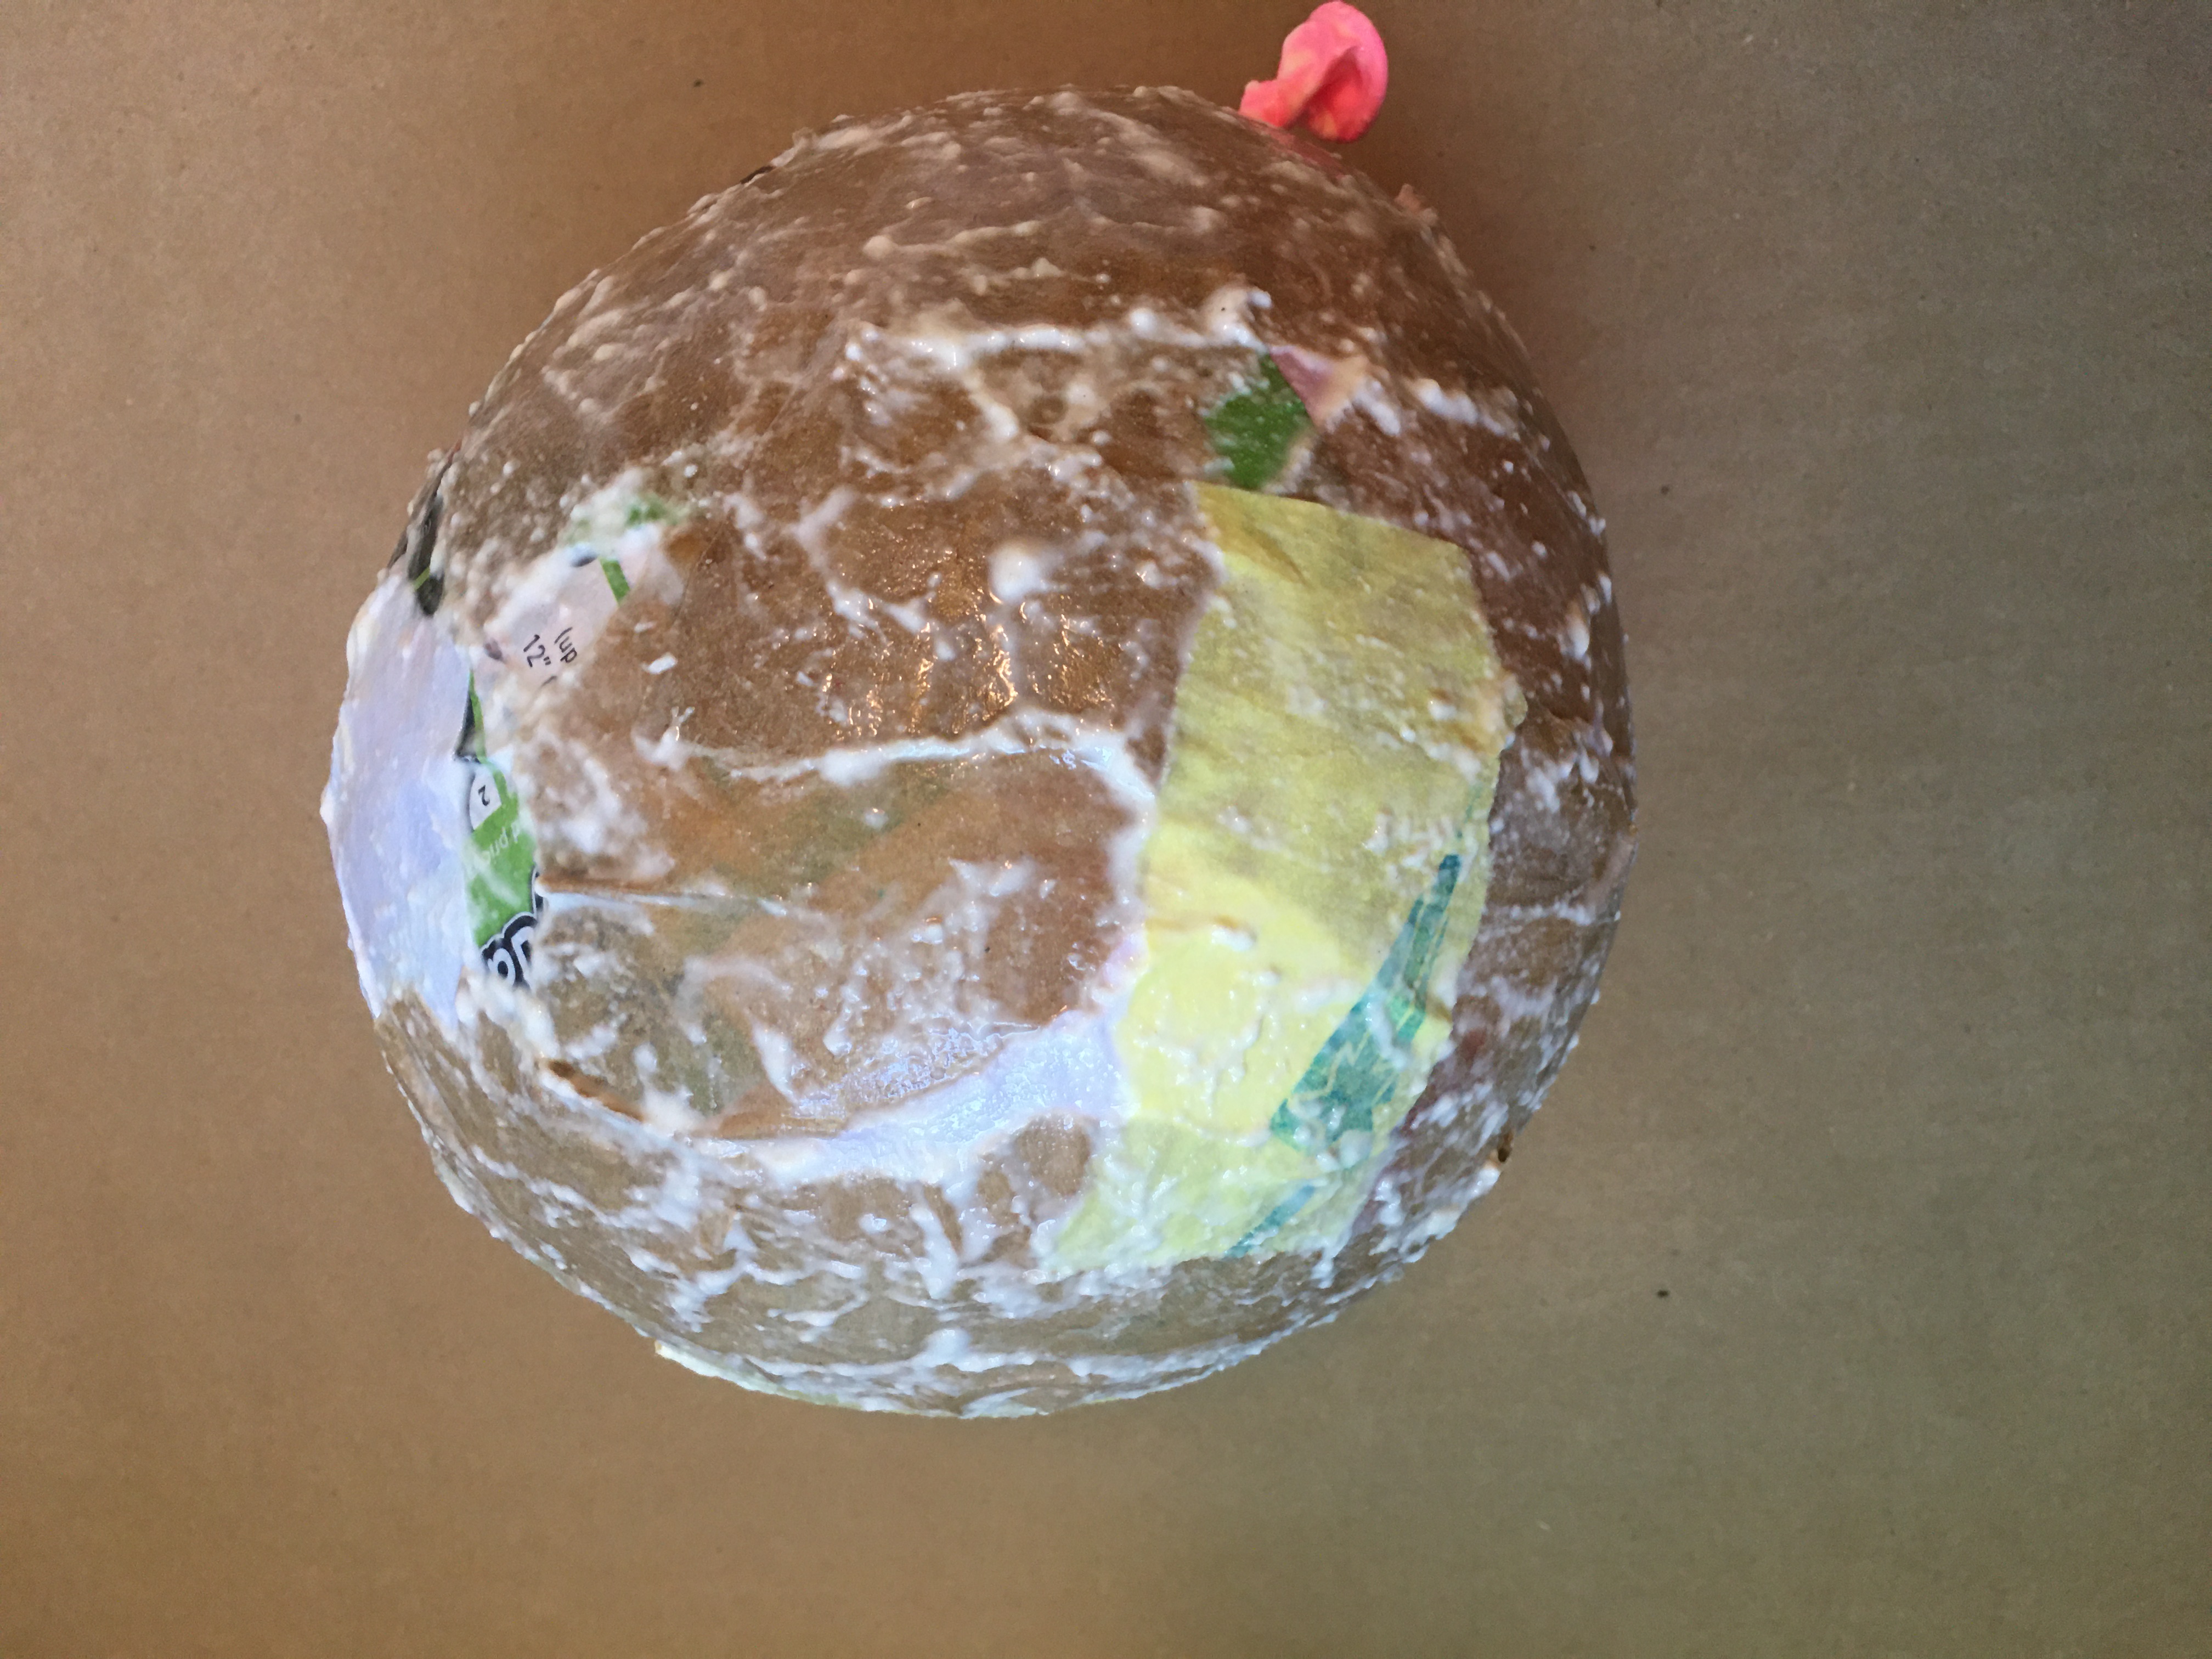
- Now it needs to dry; it is a good idea to rotate your balloon so that it dries on all sides before adding another layer.
- Keep adding layers until you are happy with how solid it is.
- If you are making a pinãta, you can put stuff inside and seal it up while you are adding one of the layers. You can also try to pull out the balloon at this point. You can also add the extra pieces to your creation during one of the layers.
Step 5: Paint it!

This is my favourite part: decorating! Now you can add your creative flair to the project.
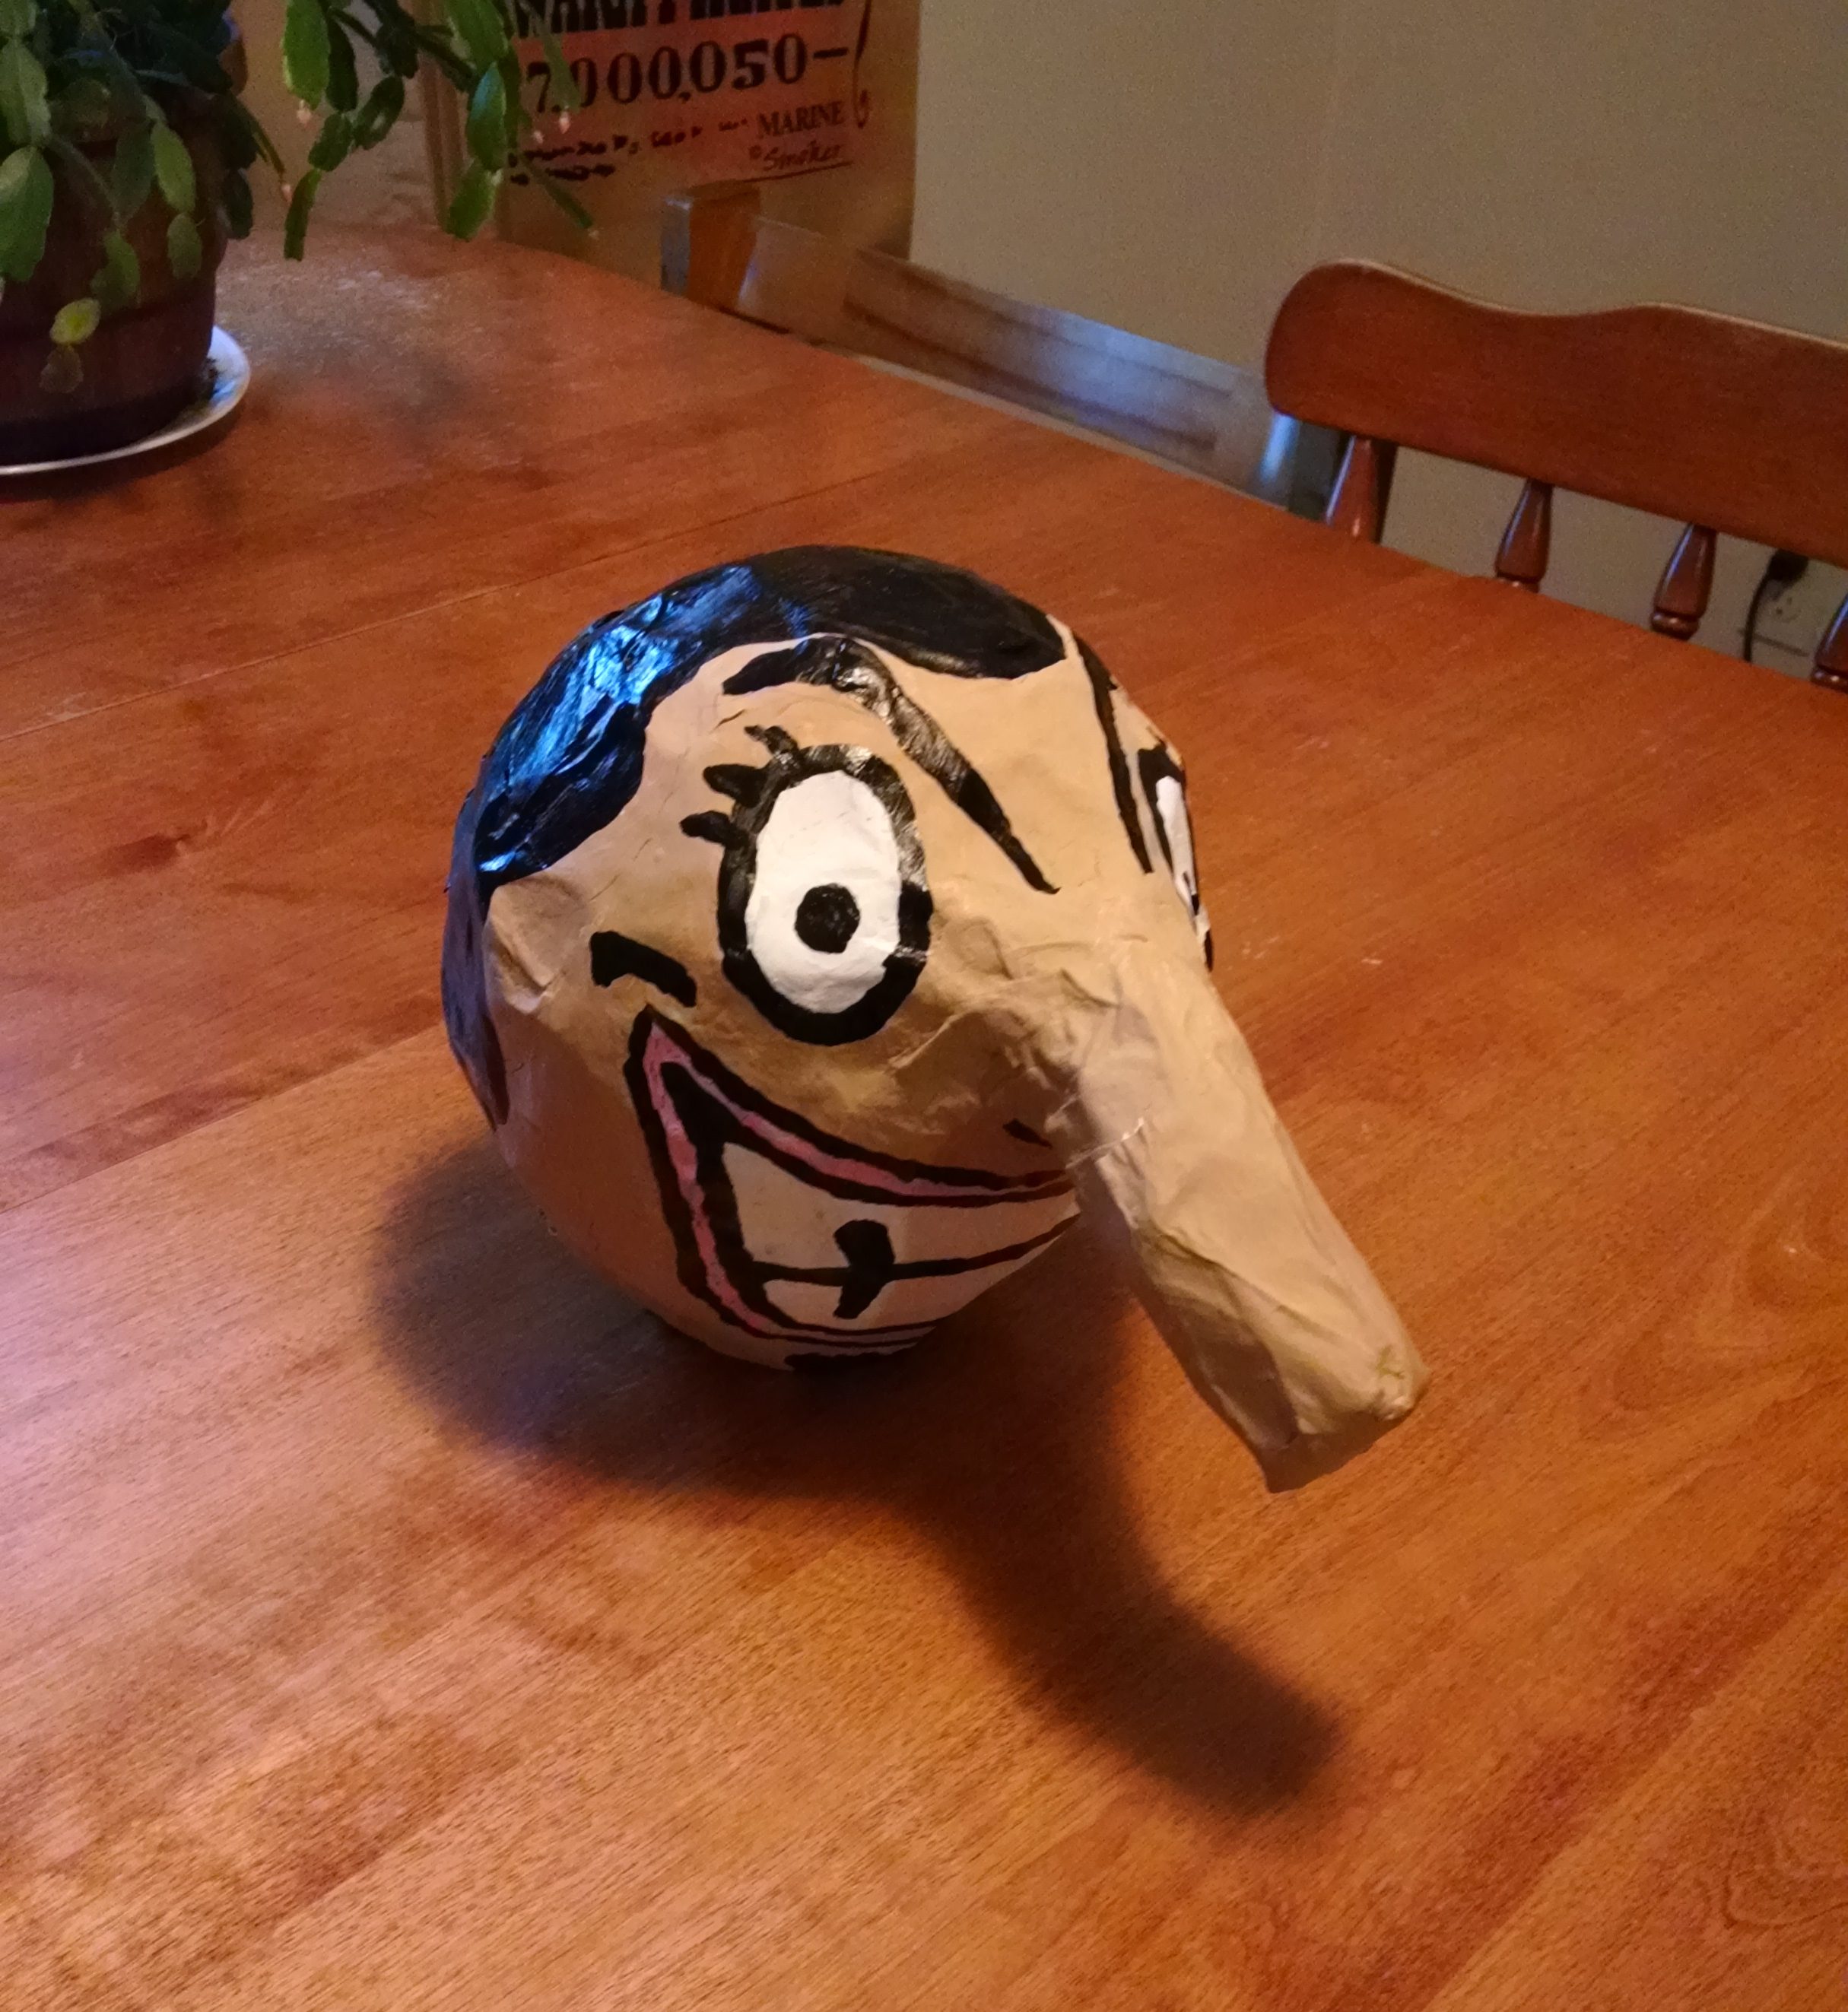
- Pull out your paints and try recreating one of your favourite characters or designing something of your own. Whatever it is, it will be uniquely yours.
- We would love to see your creation! You can share it with us on social media using #kickstartcreativityhfx


Add a comment to: Kick-Start Creativity: Papier Mâché