 Written by Sally, Teen Volunteer
Halifax Public Libraries' Teen Blog is written by and for teens. Discover more posts here., opens a new window
Being in the midst of a pandemic can be stressful and boring, but it’s also a great time to learn new things or pick up a new hobby.
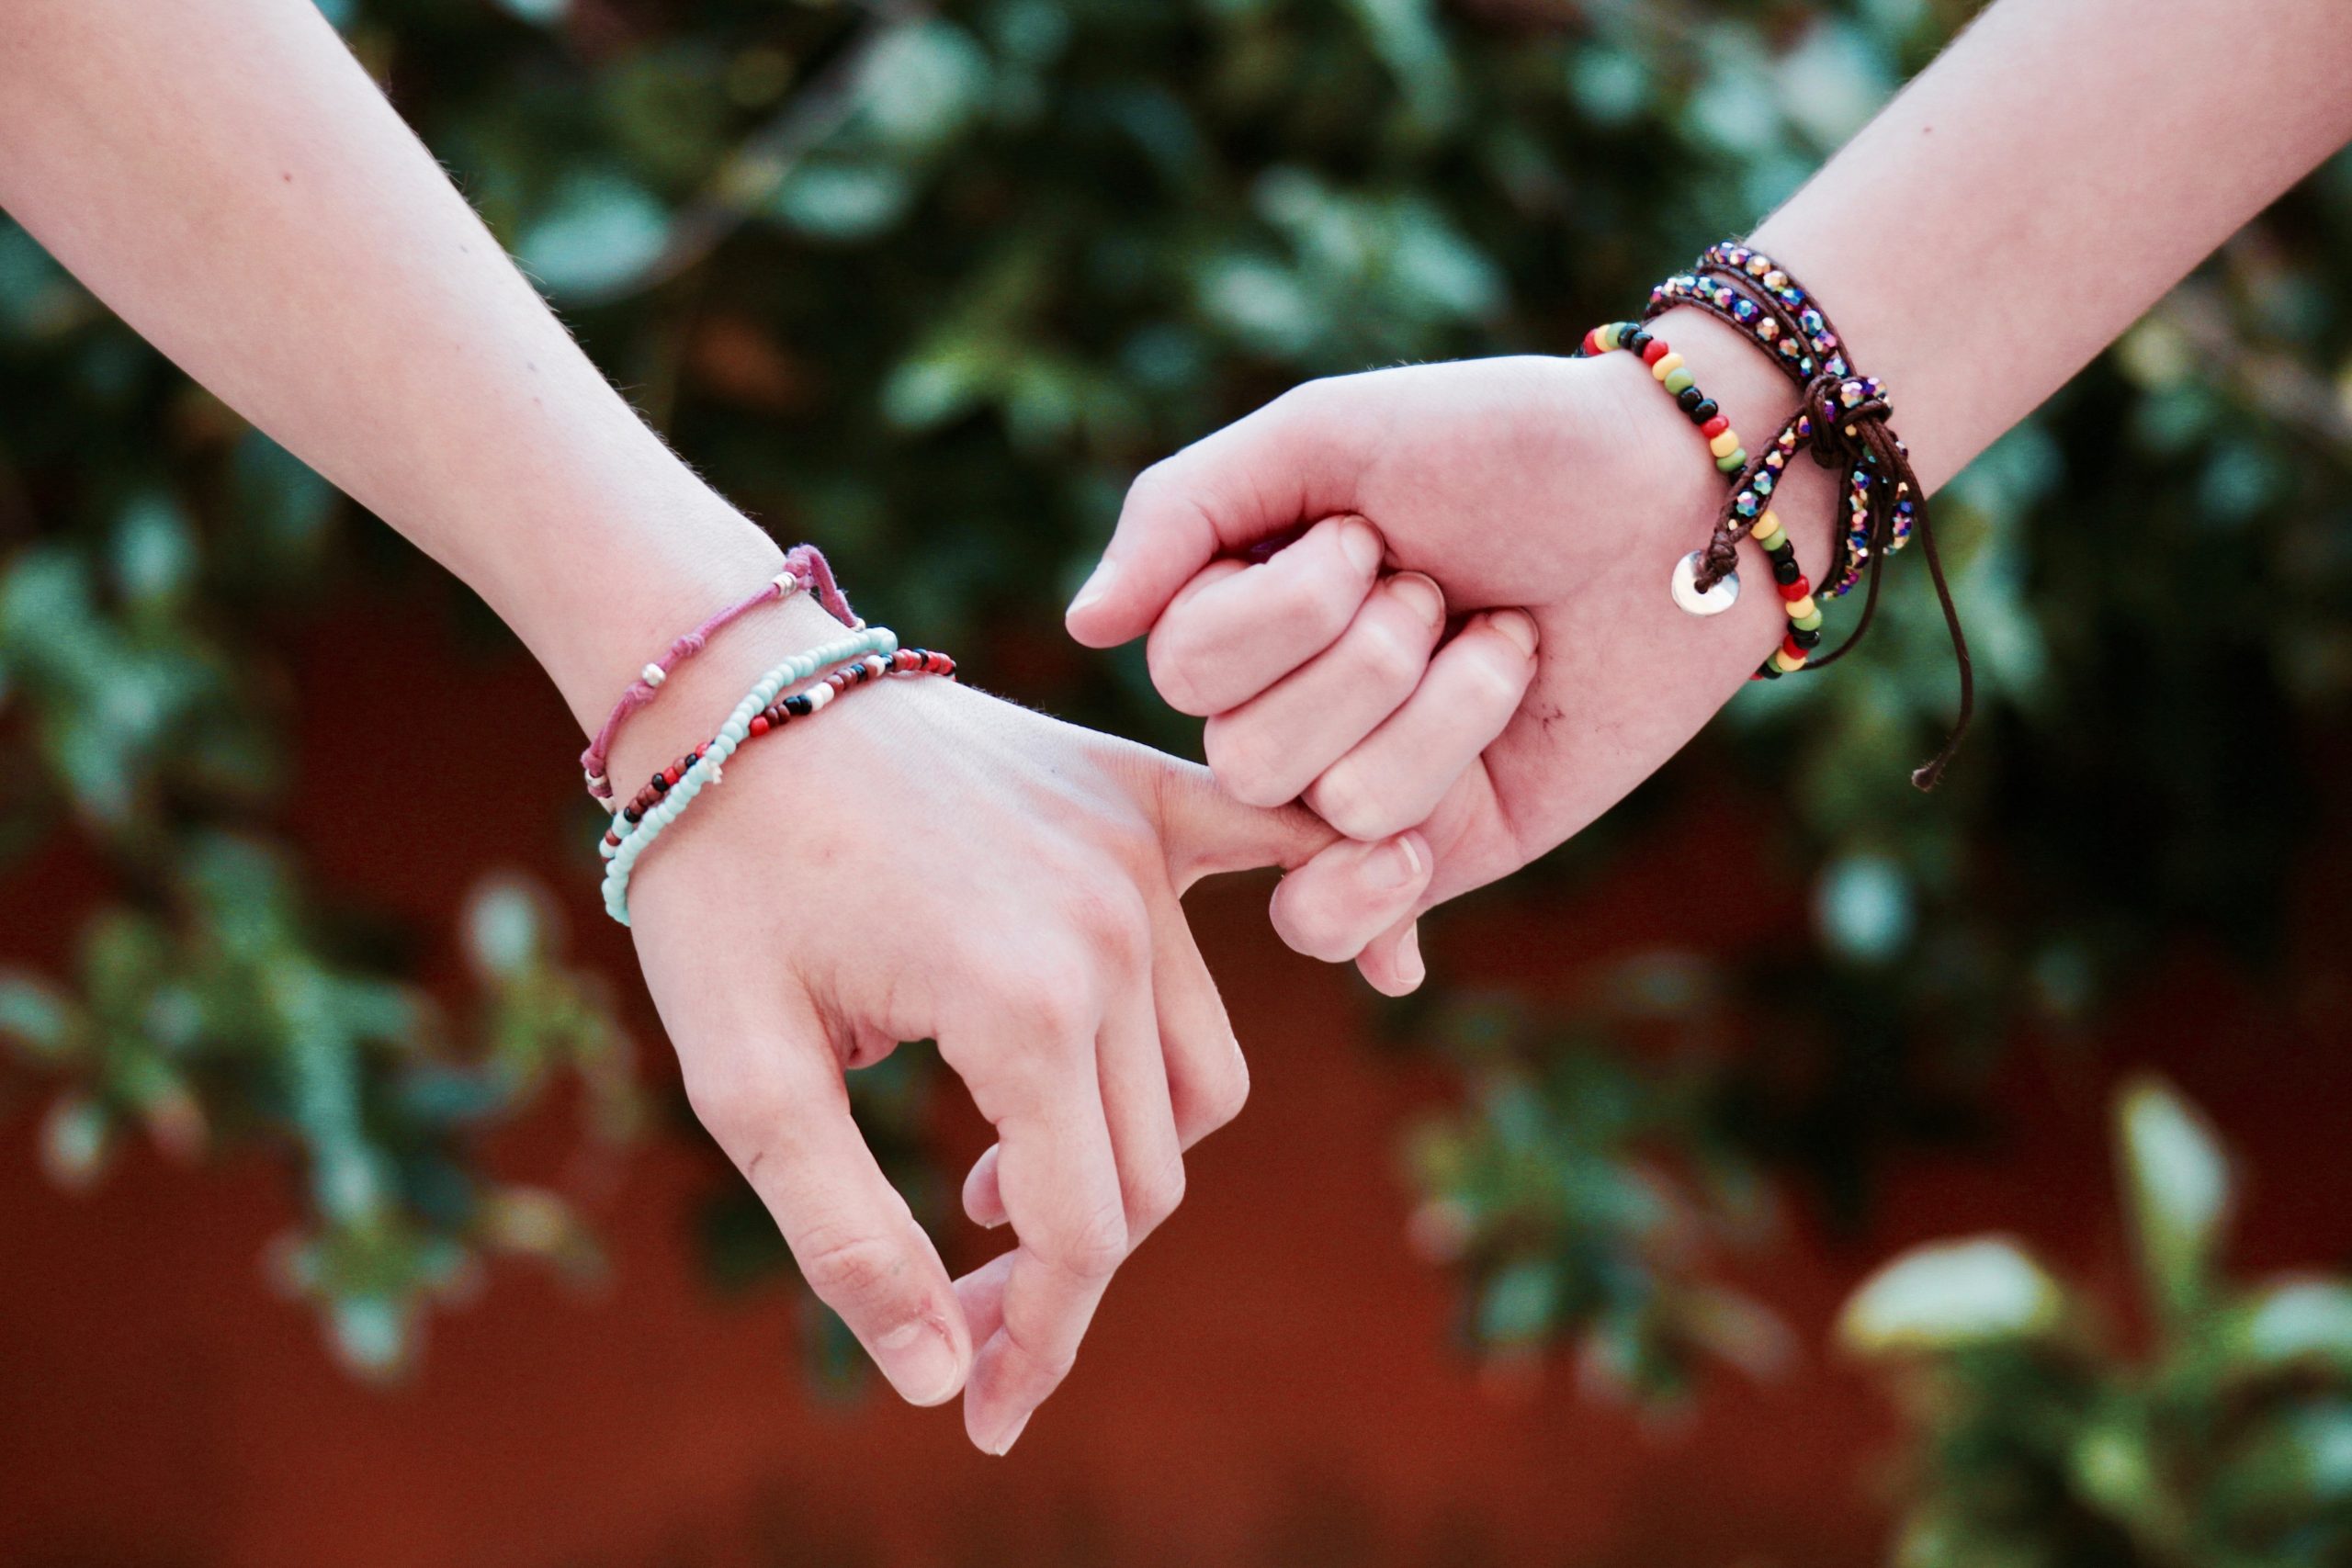
Personally, I enjoy being creative! One way I do that is by making friendship bracelets.
Here are two fairly simple designs to get you started.
What you'll need
- Embroidery floss or another thin string (can be found in craft sections)
- Scissors
- Something to secure your design (clipboard, tape, binder, etc.)
1) Striped style
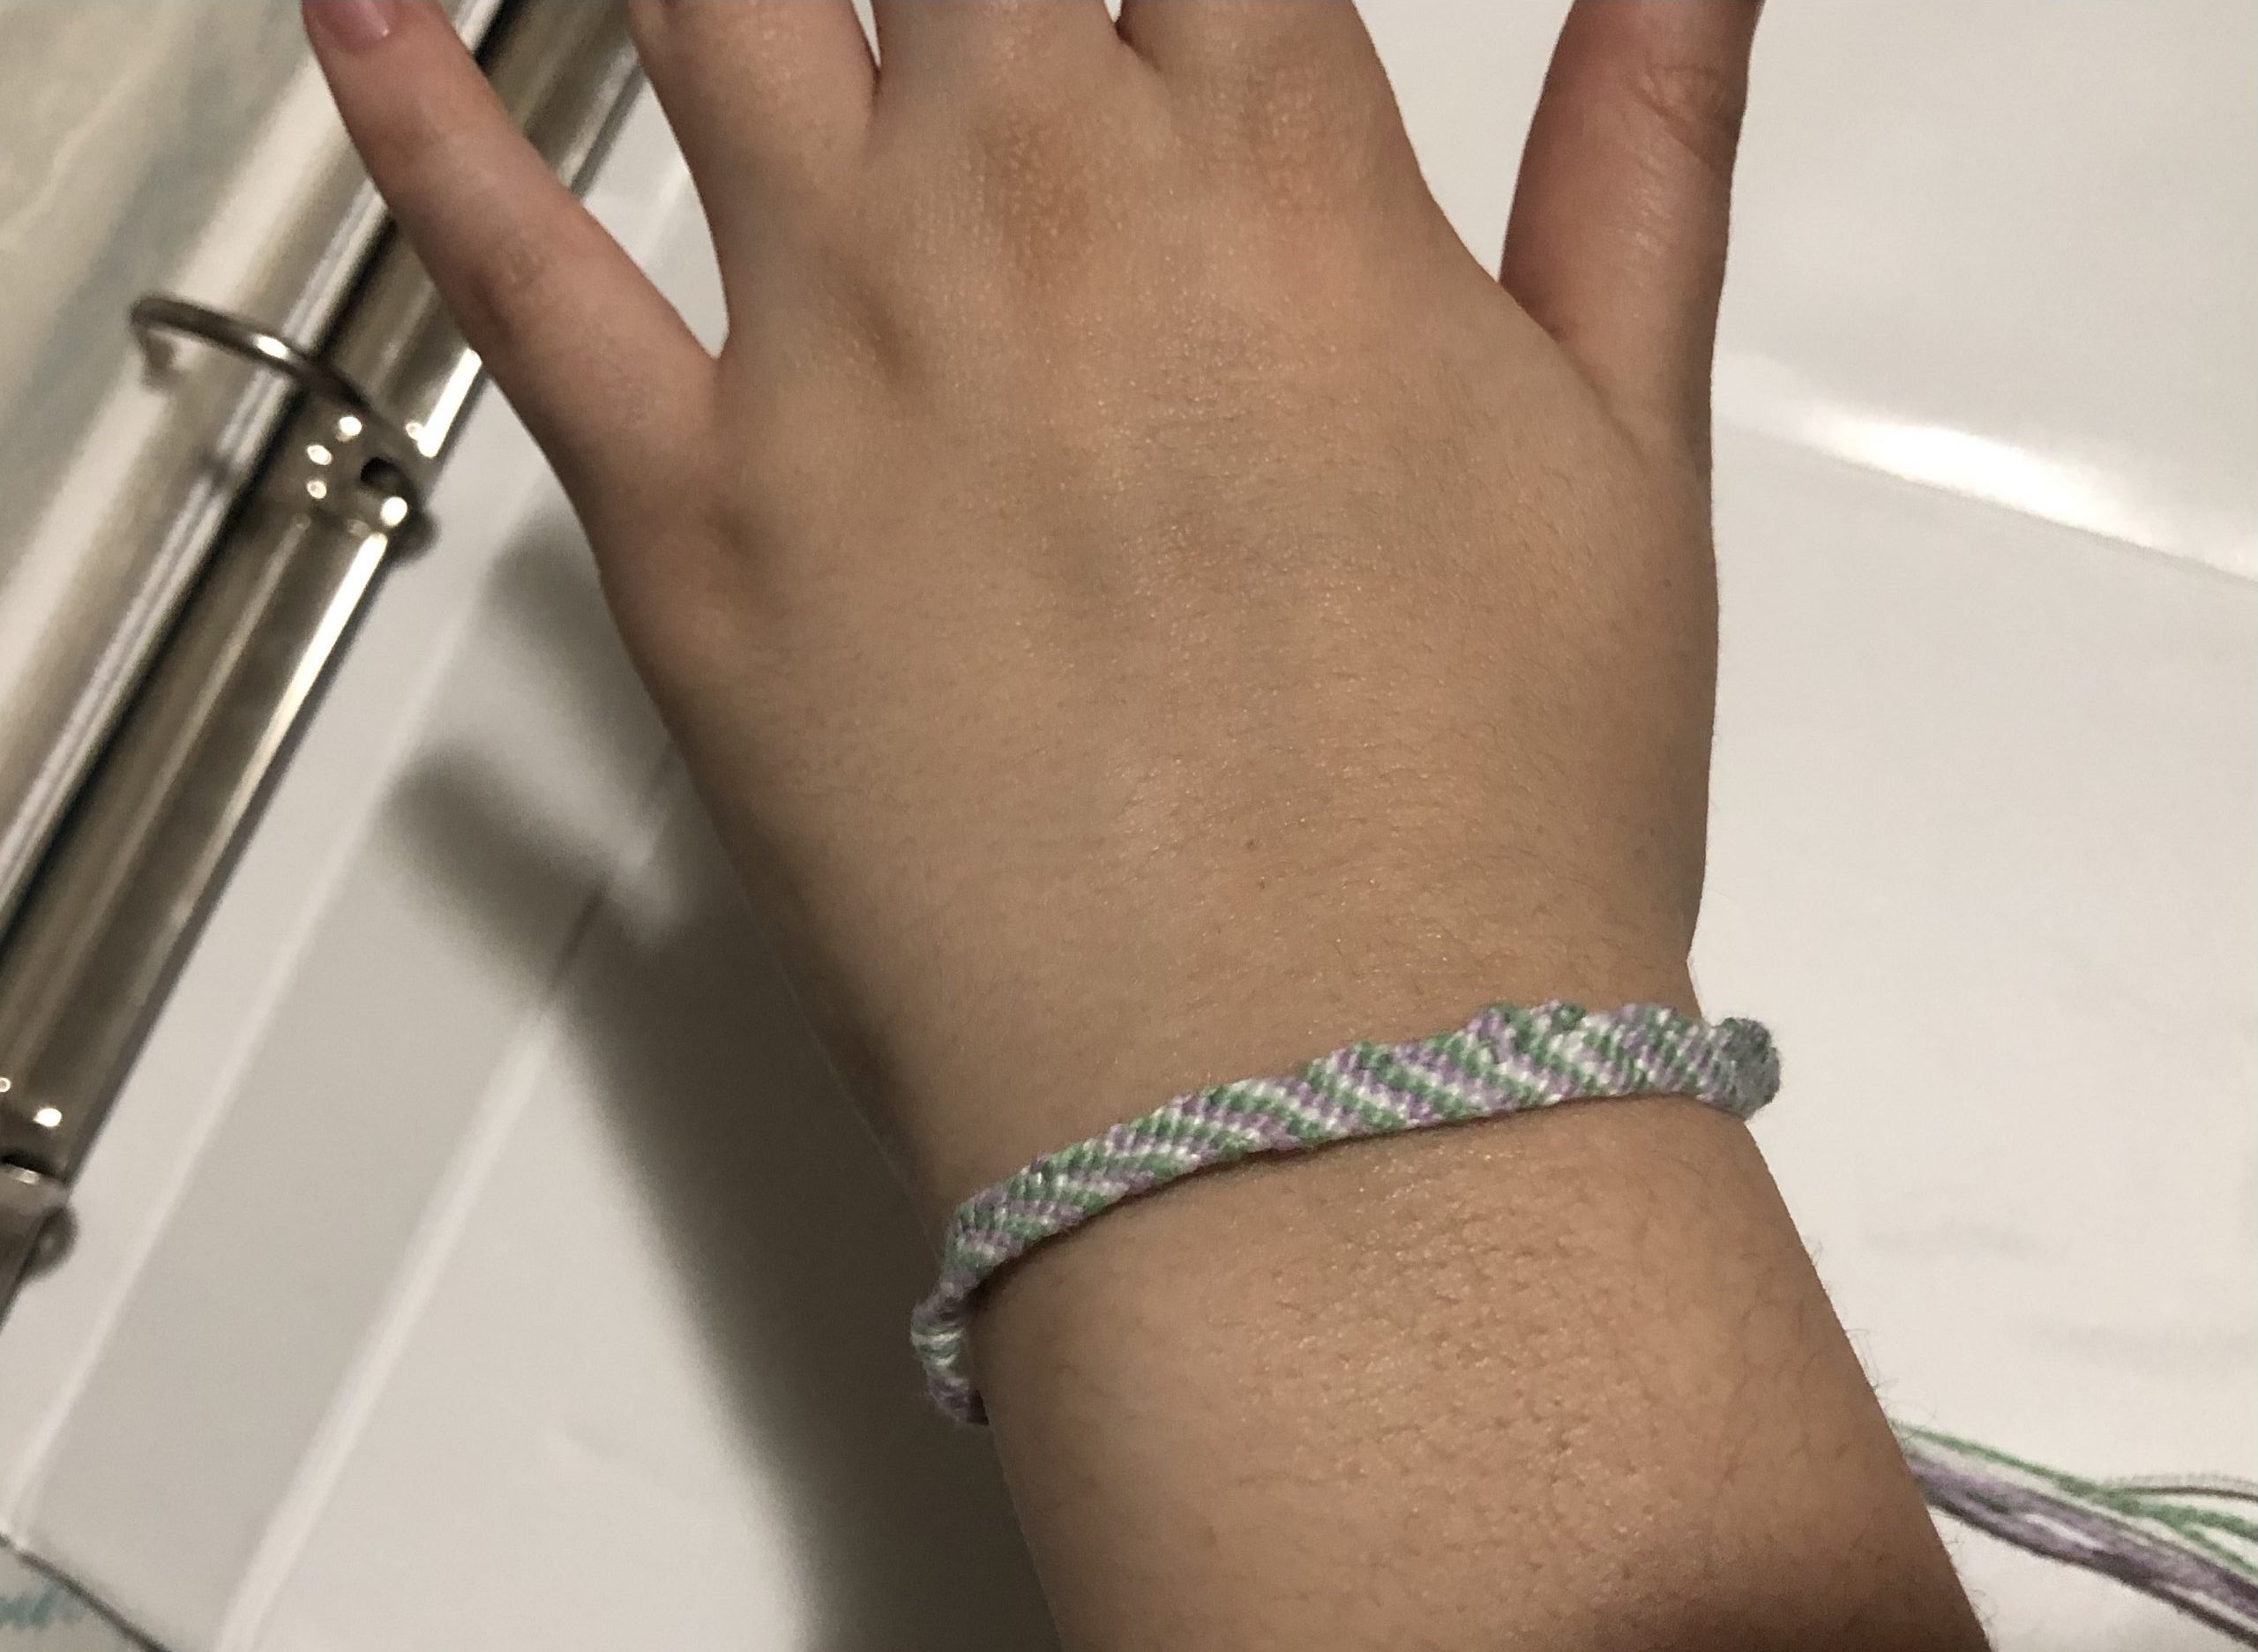
This style is pretty versatile. You can use any number of colours to make it. I recommend three to six colours, as any more becomes pretty tedious. I chose three colours: a light green, lilac, and white.
Prepping your strings
- First begin by cutting your strings—the length of your arm span is usually enough. (I tend to overestimate how much I need, so I used about 150 cm of each colour, but I had a lot of excess.)
- Fold your strings in half.
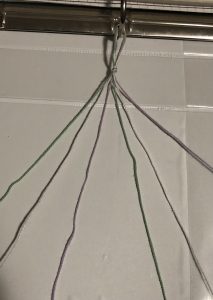
- I ended up with six strands, then tied them off at the top to make a loop.
- Secure your bracelet. I used the ring of a binder, but tape on a flat surface is also good.
- Lay out your strands in the order you want the stripes to be. I did green, white, and then purple. You'll begin with your strand furthest to the left.
Making your bracelet
Step 1
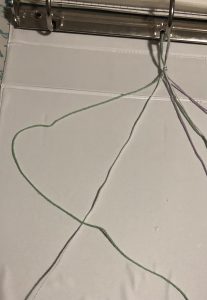
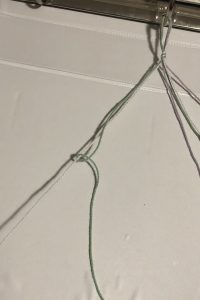
Take your first strand (green in my case) and make a shape like the number four (4), with the green going over the second strand (white, in my case) strand. Pull the second strand through, making a loop, and pull the first strand tight.
Step 2
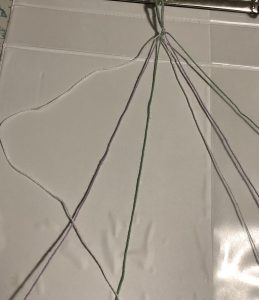
Your strand furthest to the left should've moved one place forward, so my second (white) strand is now the first strand. Continue with the same strand, so green over purple, green over green, and so on. Once your original strand gets to the very right, you can go on with your next strand, making another four.
Step 3
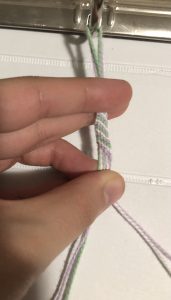
A pattern will emerge. Here is a progress picture of how it should begin to look like (one stripe of each colour in a pattern), once it’s long enough to fit around half your wrist, you can stop. Tie it off in any way you would like, and you’re done!
Fishtail style
This style is a bit quicker to make, but starts off the same way.
Prepping your strings
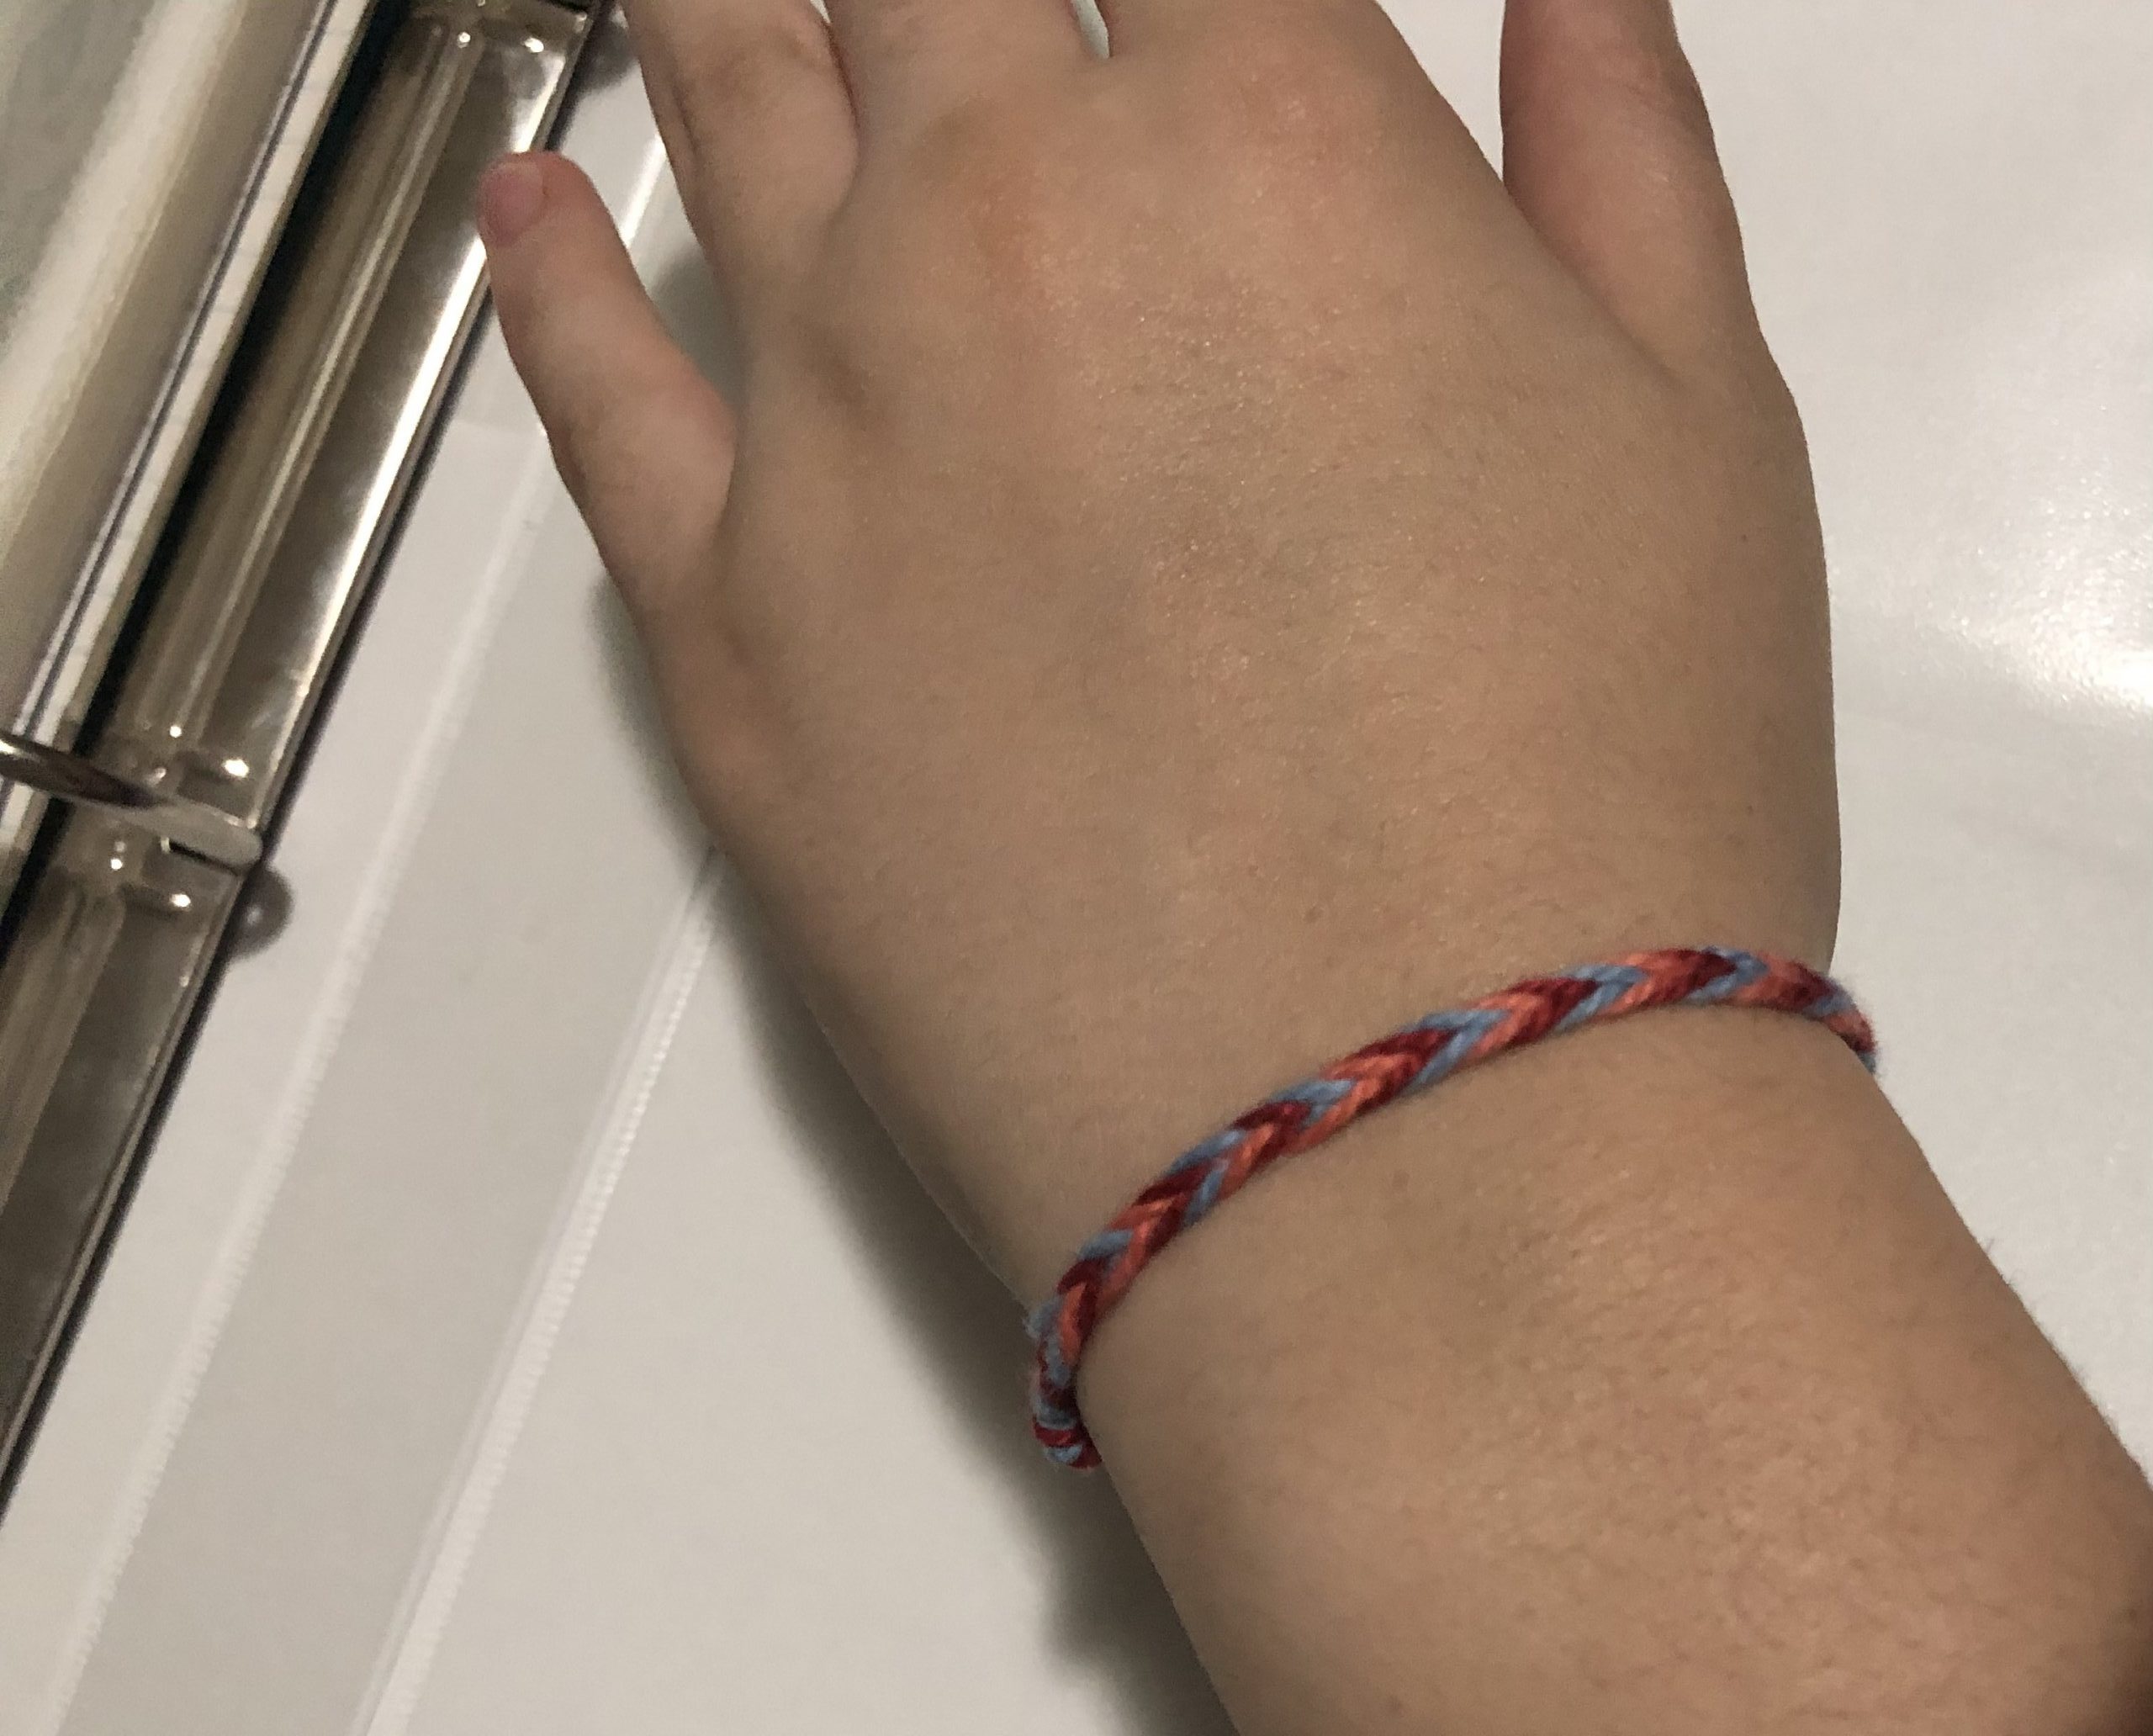
- Pick your colours. I’ve only ever done three for this one but it can be done with more. I chose orange, blue, and red.
- Cut out your strings, fold in half, and tie them off with a loop, secure to your surface.
- Separate the strands so you have two of the same colour on either side, so that one of your colours are next to each other in the centre. My orange is the outermost colour, followed by red, then blue.
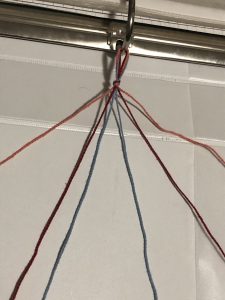
Making your bracelet
Step 1
Cross your outermost strands to the other side. In my case, I took my left orange strand and pulled it to the right, followed by pulling the right orange strand to the left.
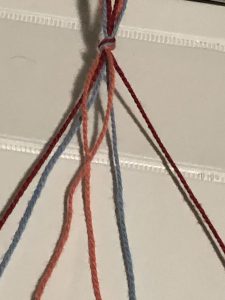
Step 2
Pull all three strands on either side tight, making sure the outermost strands have switched sides. So now, my red strands are the furthest out, then the blue, and the orange are in the middle.
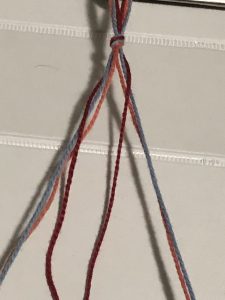
Step 3
Repeat Step 2 with your new outermost colour. The bracelet should begin to take shape. Repeat Step 2 until it's as long as you'd like.
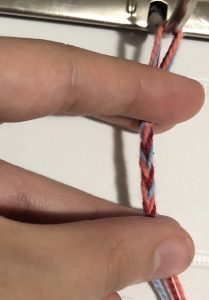
Step 4
Tie it off and you’re done!
About the writer
My name is Sally and I am 16 years old. This year I will be in grade 11. My hobbies include reading, playing violin, and of course, writing stories. It has become one of my favourite hobbies over the past year.


Add a comment to: How to Make Friendship Bracelets