Written by Janey, Teen Volunteer
Halifax Public Libraries' Teen Blog is written by and for teens. Discover more posts here.
This fall, our Creative Doers volunteers created art to be displayed in our Libraries. Their artwork will be featured in the teen area at Central Library until the end of February.
I've never been good at being precise when painting. I'm never satisfied with the outcome as it's never as crisp and neat as I want it to be.
But, recently I found out about pour art.
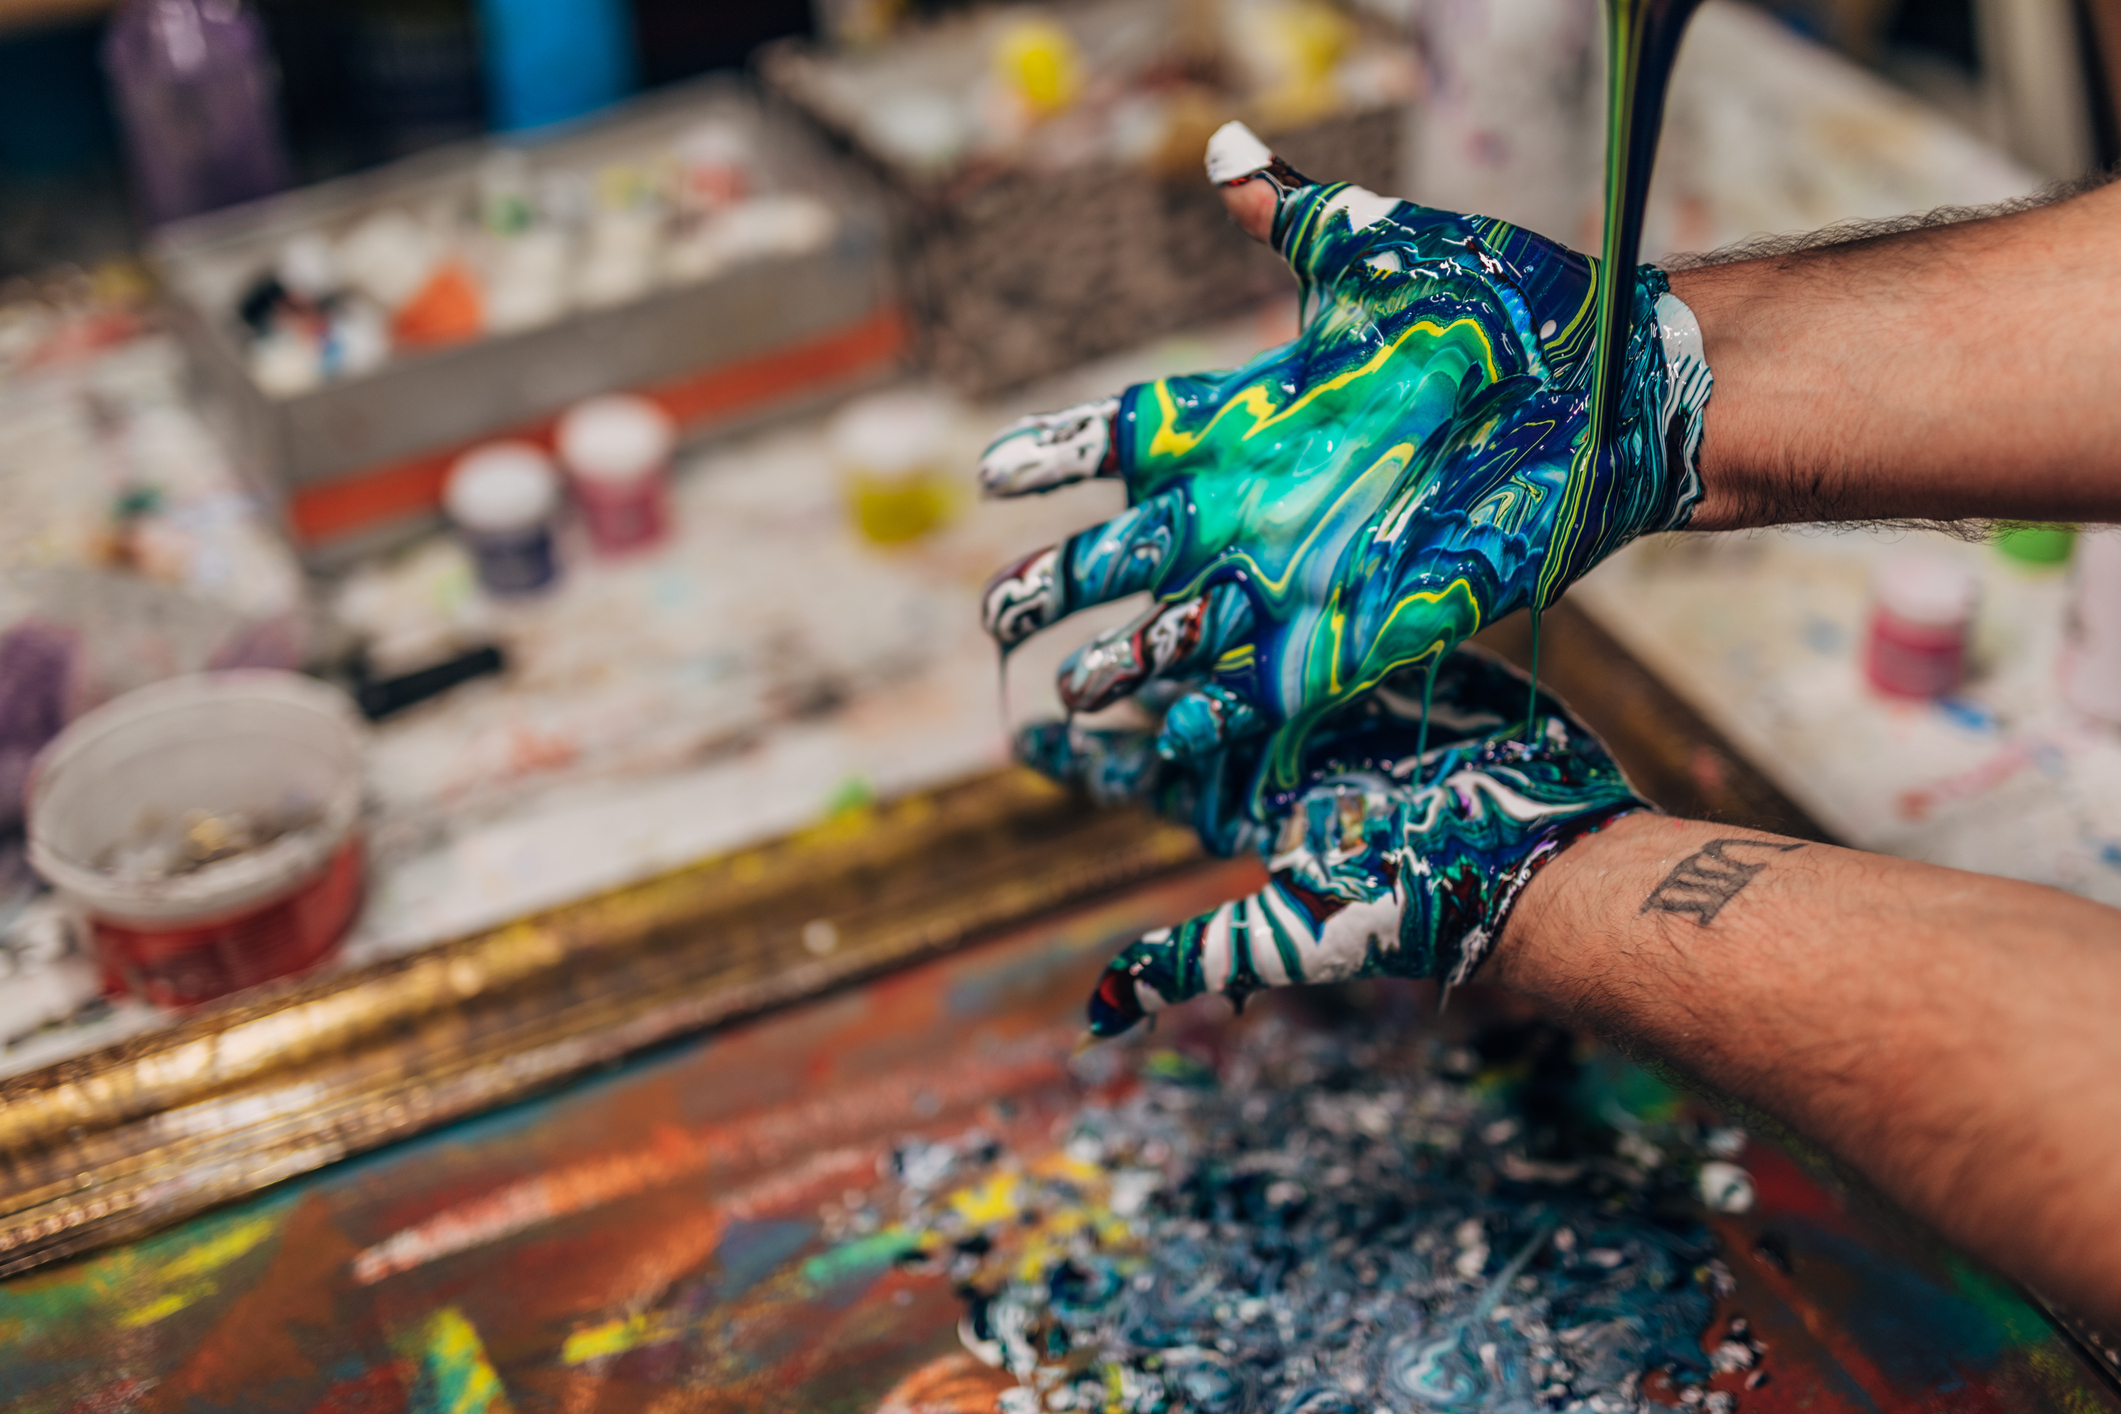
The concept of pour art is exactly how it sounds: you pour paint onto a canvas and manipulate the paint by tilting the canvas in different directions, or swirl the paint as you pour it.
There are different ways to create it. Some people like to pour the different colours into a cup (without mixing the colours together) and some like to pour the colours separately. Some pour directly on the canvas and swirl around the canvas, some spin the cup of paint, or even spin the canvas to get a really unique look.
I watched this video, opens a new window, as well as this one, opens a new window, and this one, opens a new window to get an understanding of how I wanted to paint.
After watching how these people did it, I was interested in trying it myself. I've shared directions and my experience with you so hopefully you're inspired too.
Materials
You can get most of these at Dollarama or your local craft store:
- Acrylic paints in whatever colours you like
- A blank canvas in whatever size you like (I suggest getting a few)
- Plastic cup or container
- Pouring medium (A pouring medium is used to change the consistency of the acrylic paint. The pouring medium basically just thins out the acrylic paint, so that it is easier to pour.)
- Popsicle stick, or something to mix with
- Plastic tray
- Object to put under canvas to keep the canvas elevated (I used a candle, make sure the object is something flat and something you wouldn’t mind getting paint on.)
First try
First, I chose my colours and mixed the pouring medium (using a 1:1 ratio of pouring medium to paint), and slowly poured all the colours into one cup.
After I had poured all the paint on the canvas, I tilted the canvas to make the paint drip to the corners and sides, covering the whole canvas.
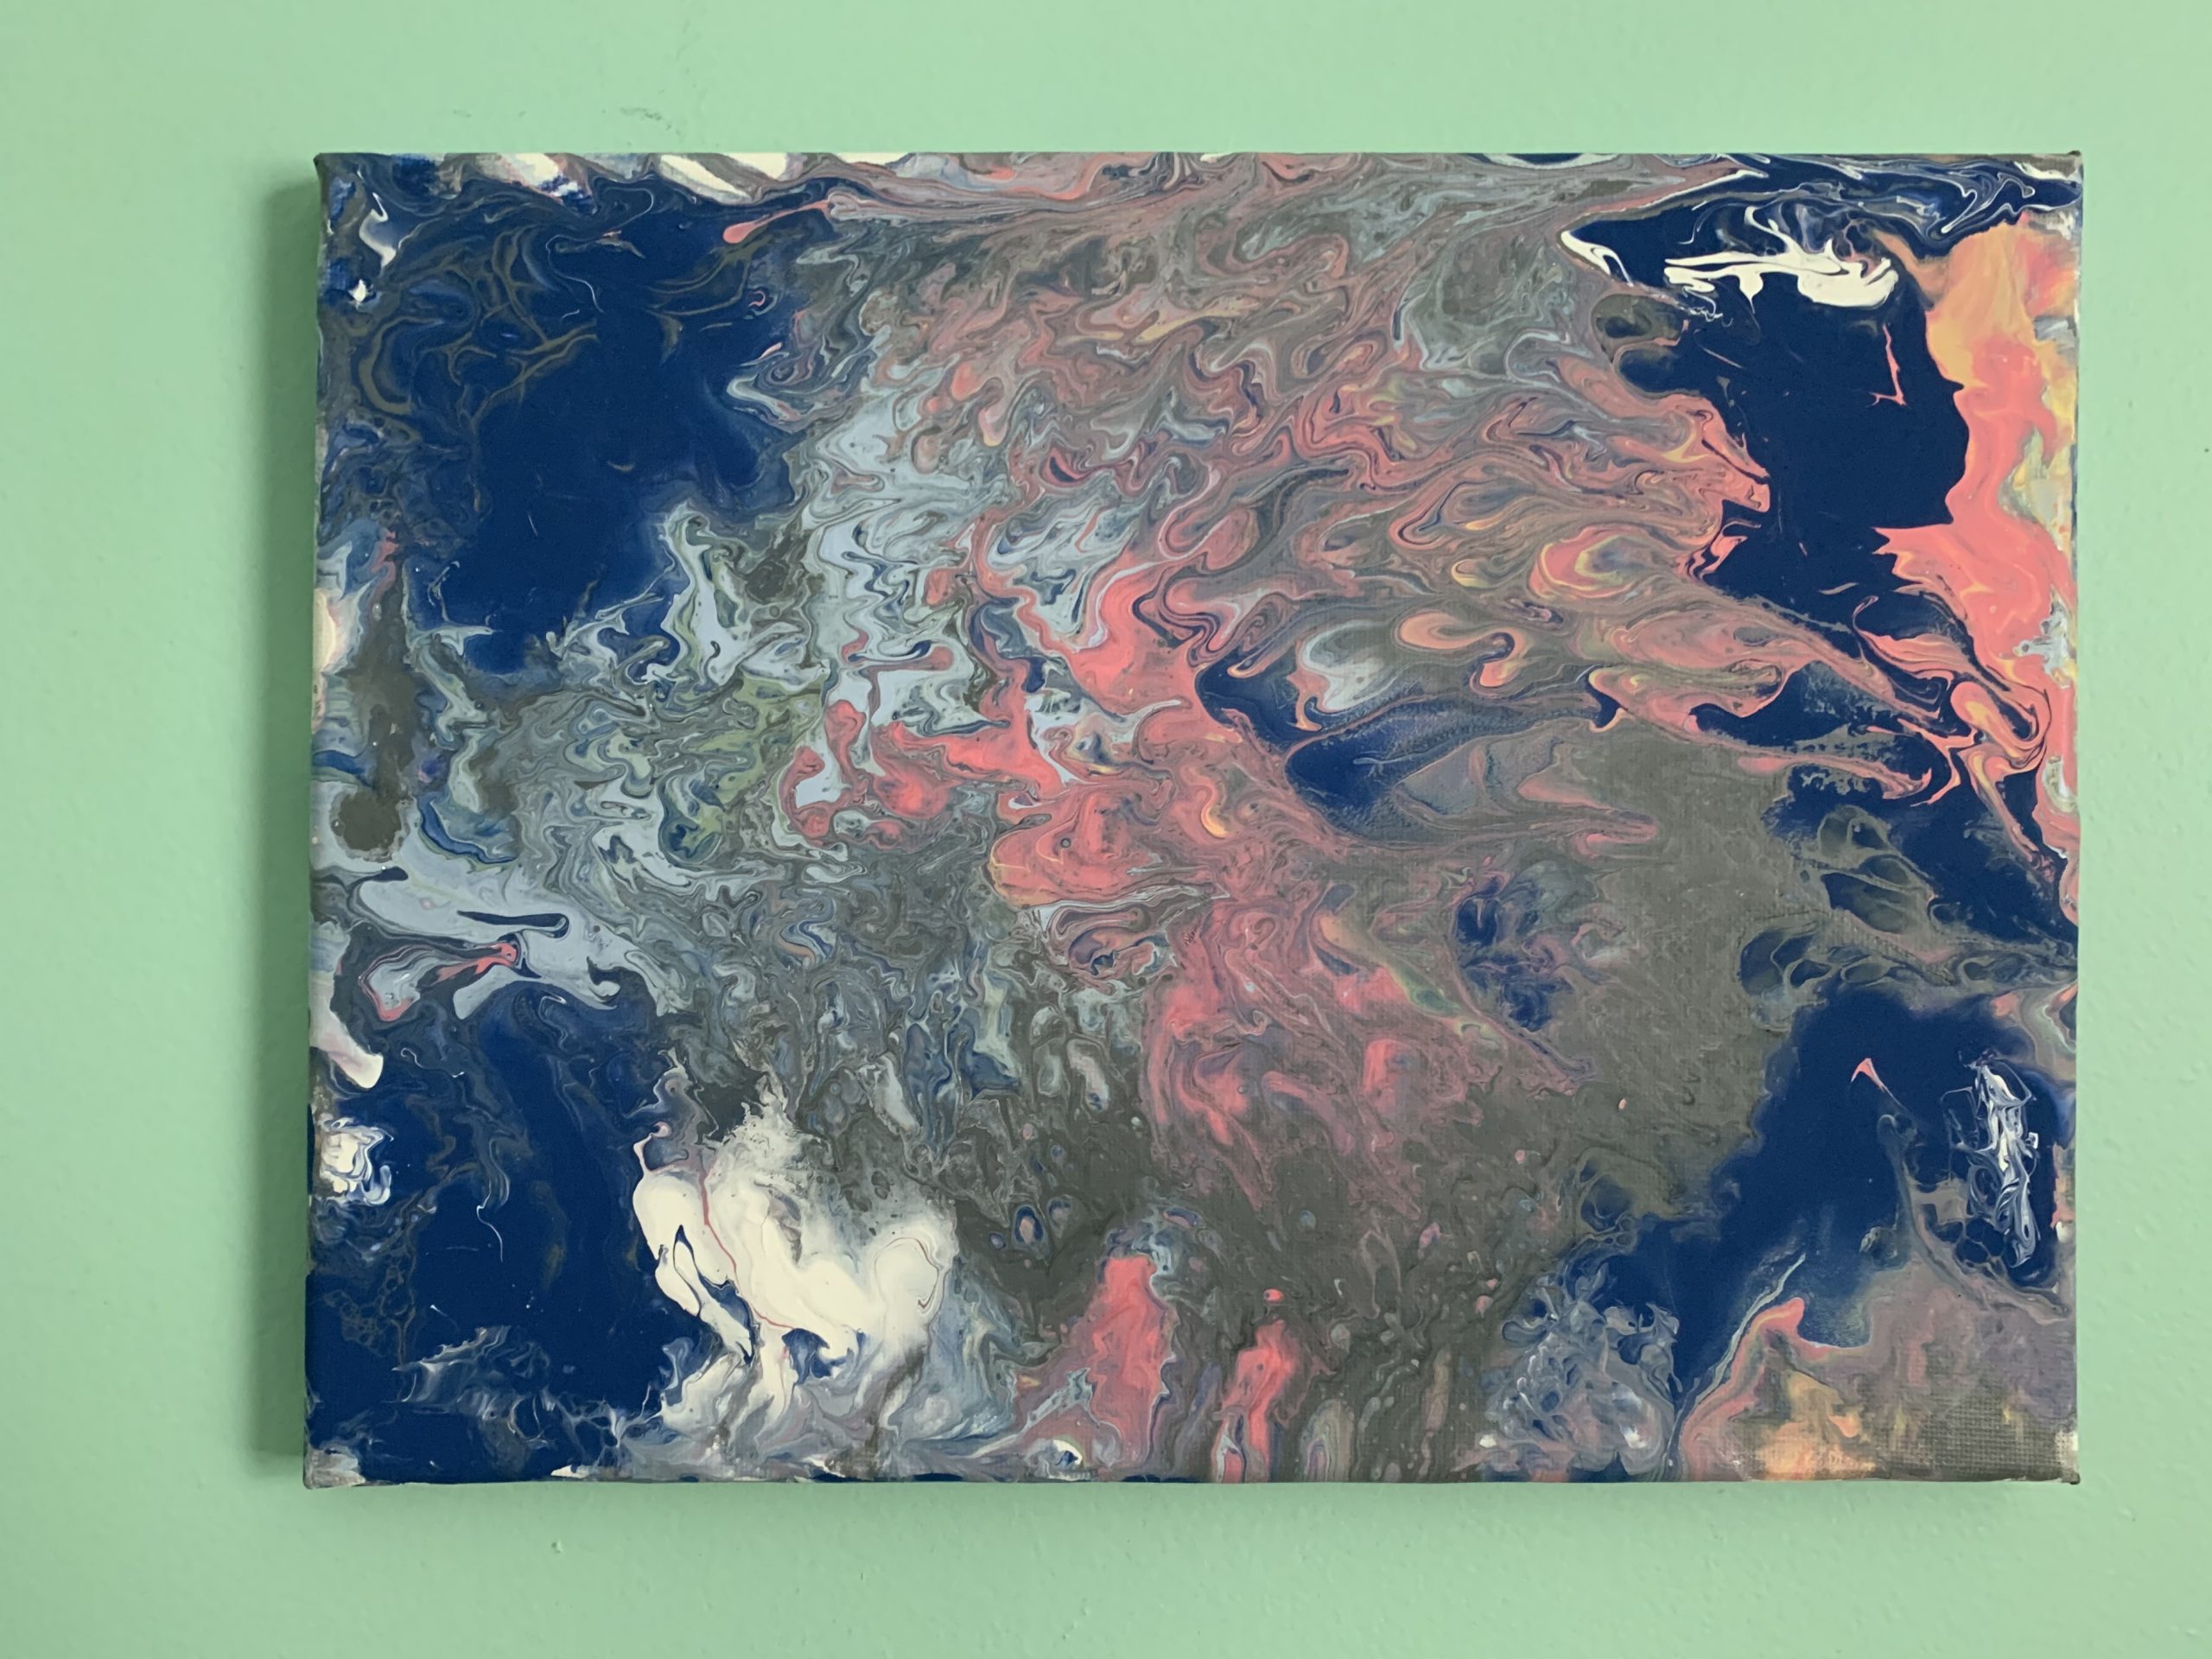
Once I had done that, I realized that only two of the four colours showed up which was surprising. I put my canvas on the tray with the candle to let the paint drip off. Since the paint kept dripping off, the painting changed completely! There was a huge difference when comparing the painting right after the paint was poured, and 24 hours after the paint was poured.

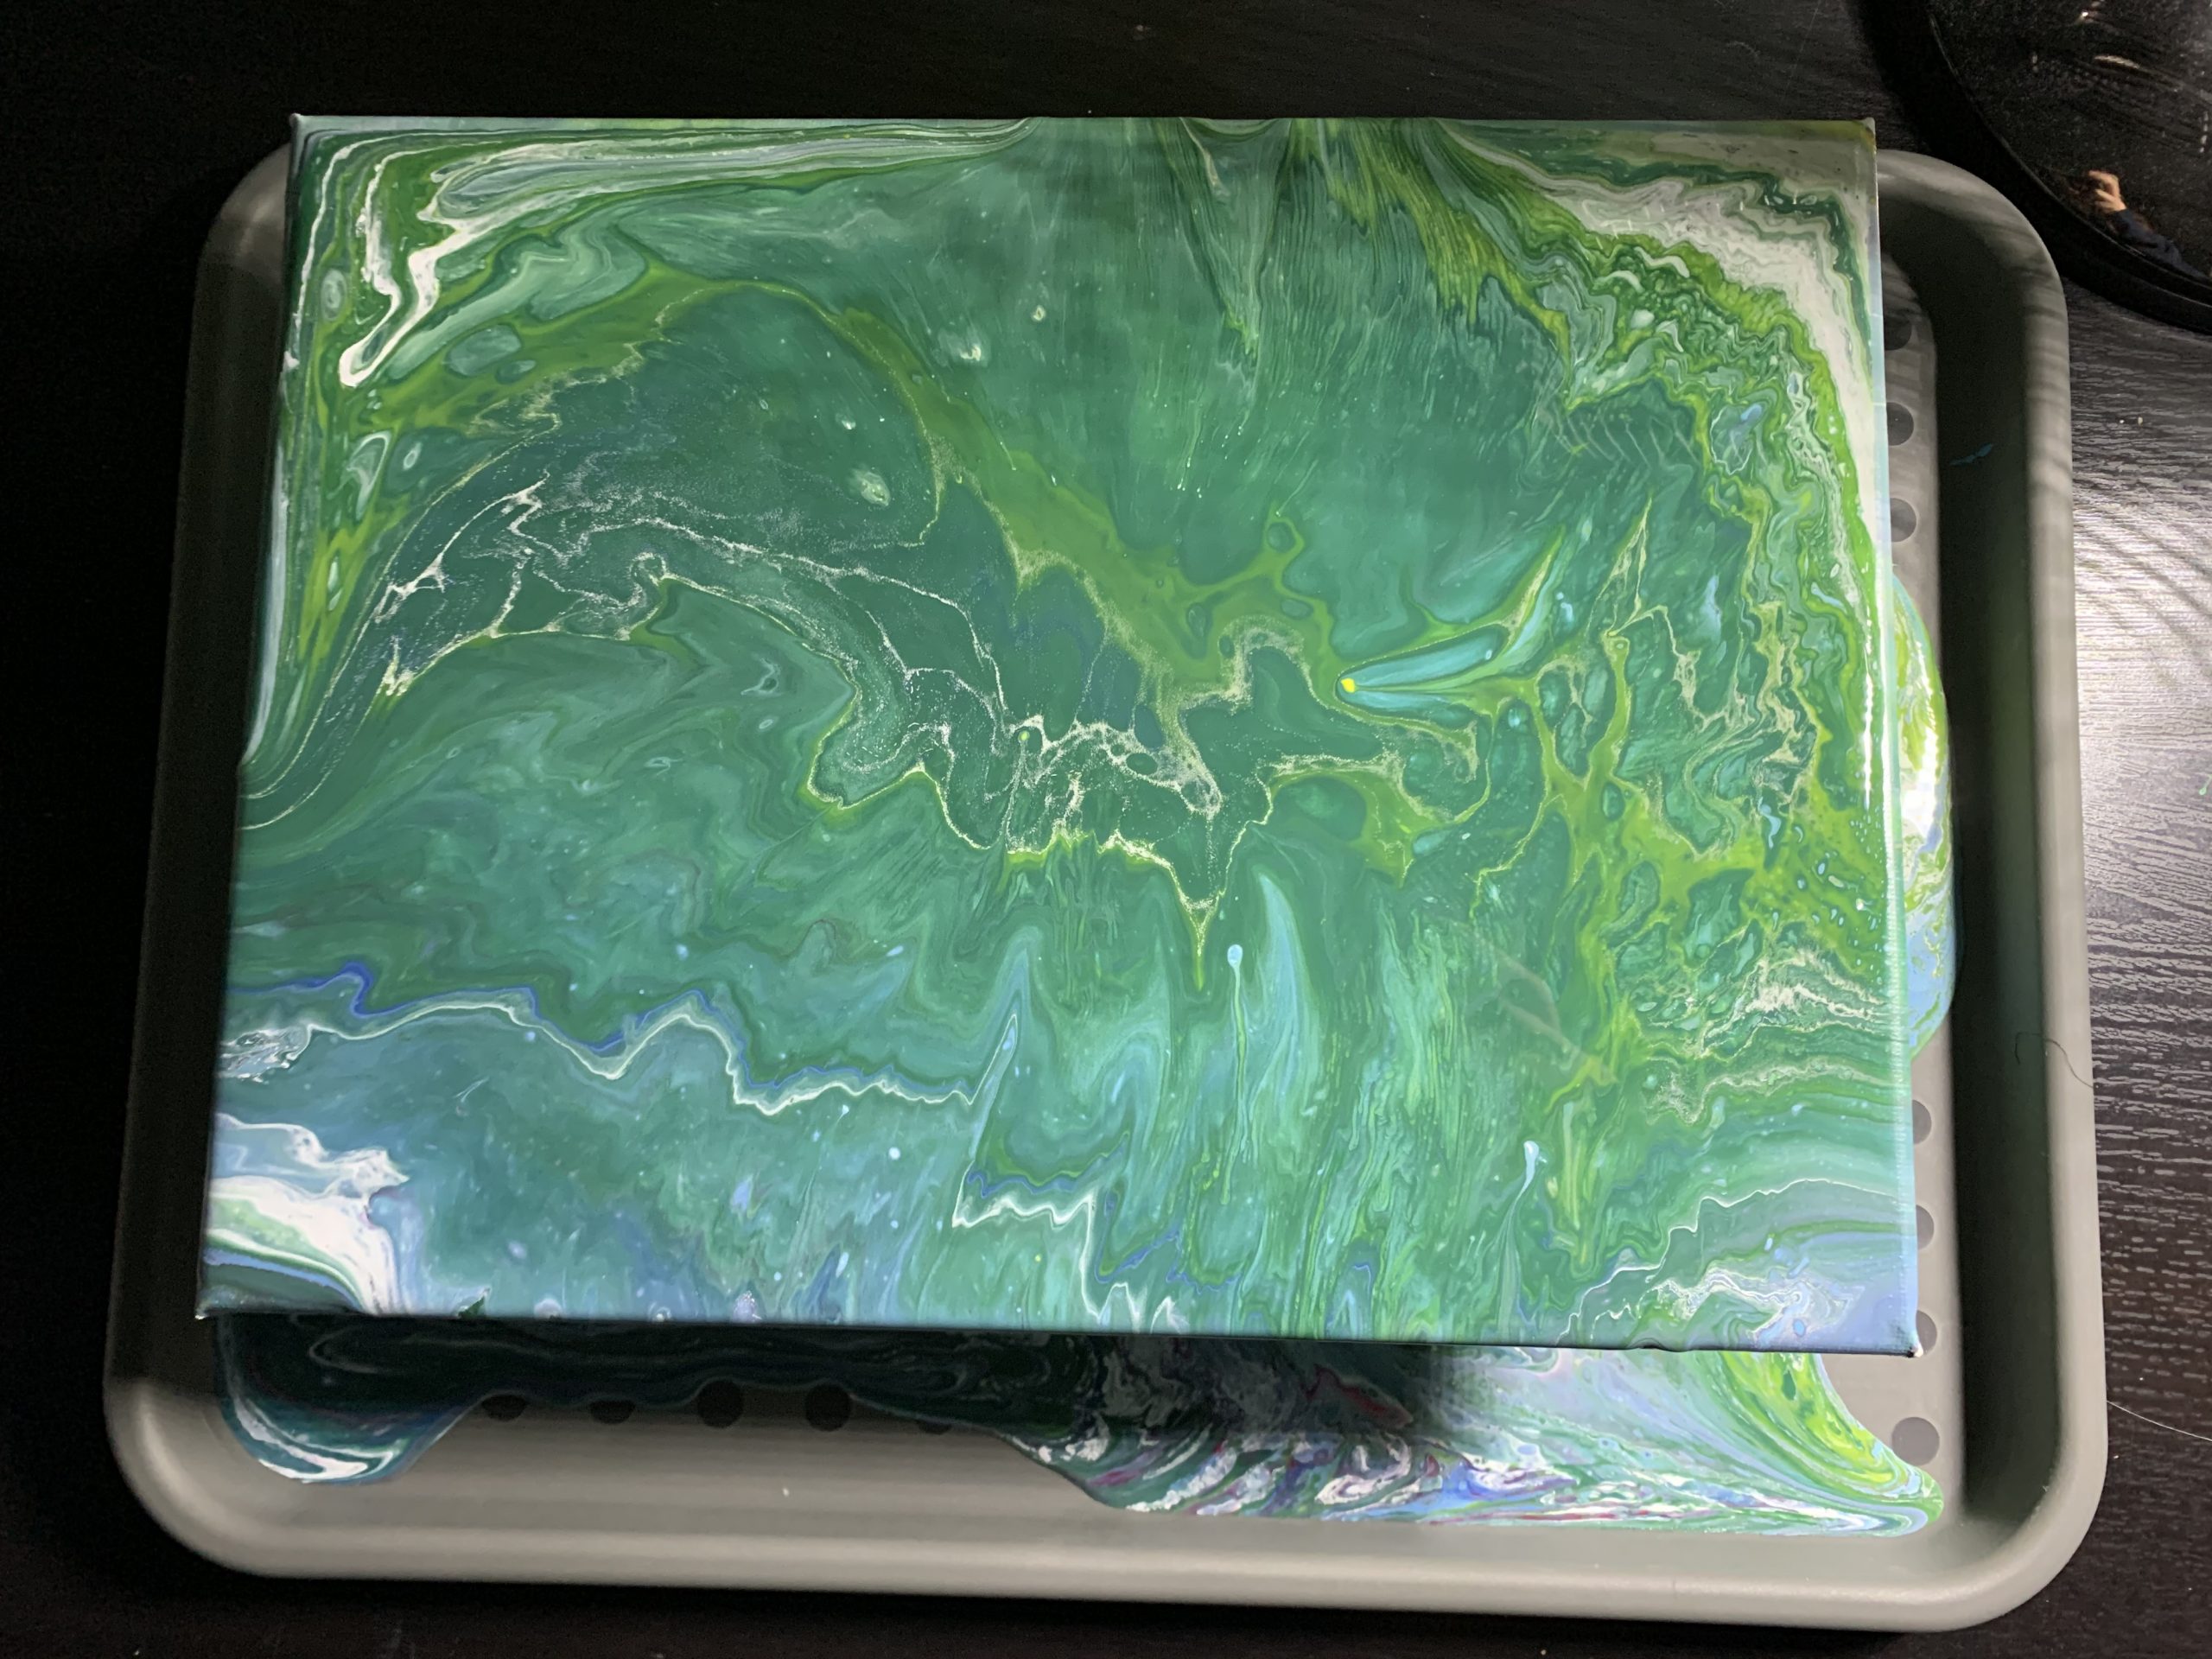
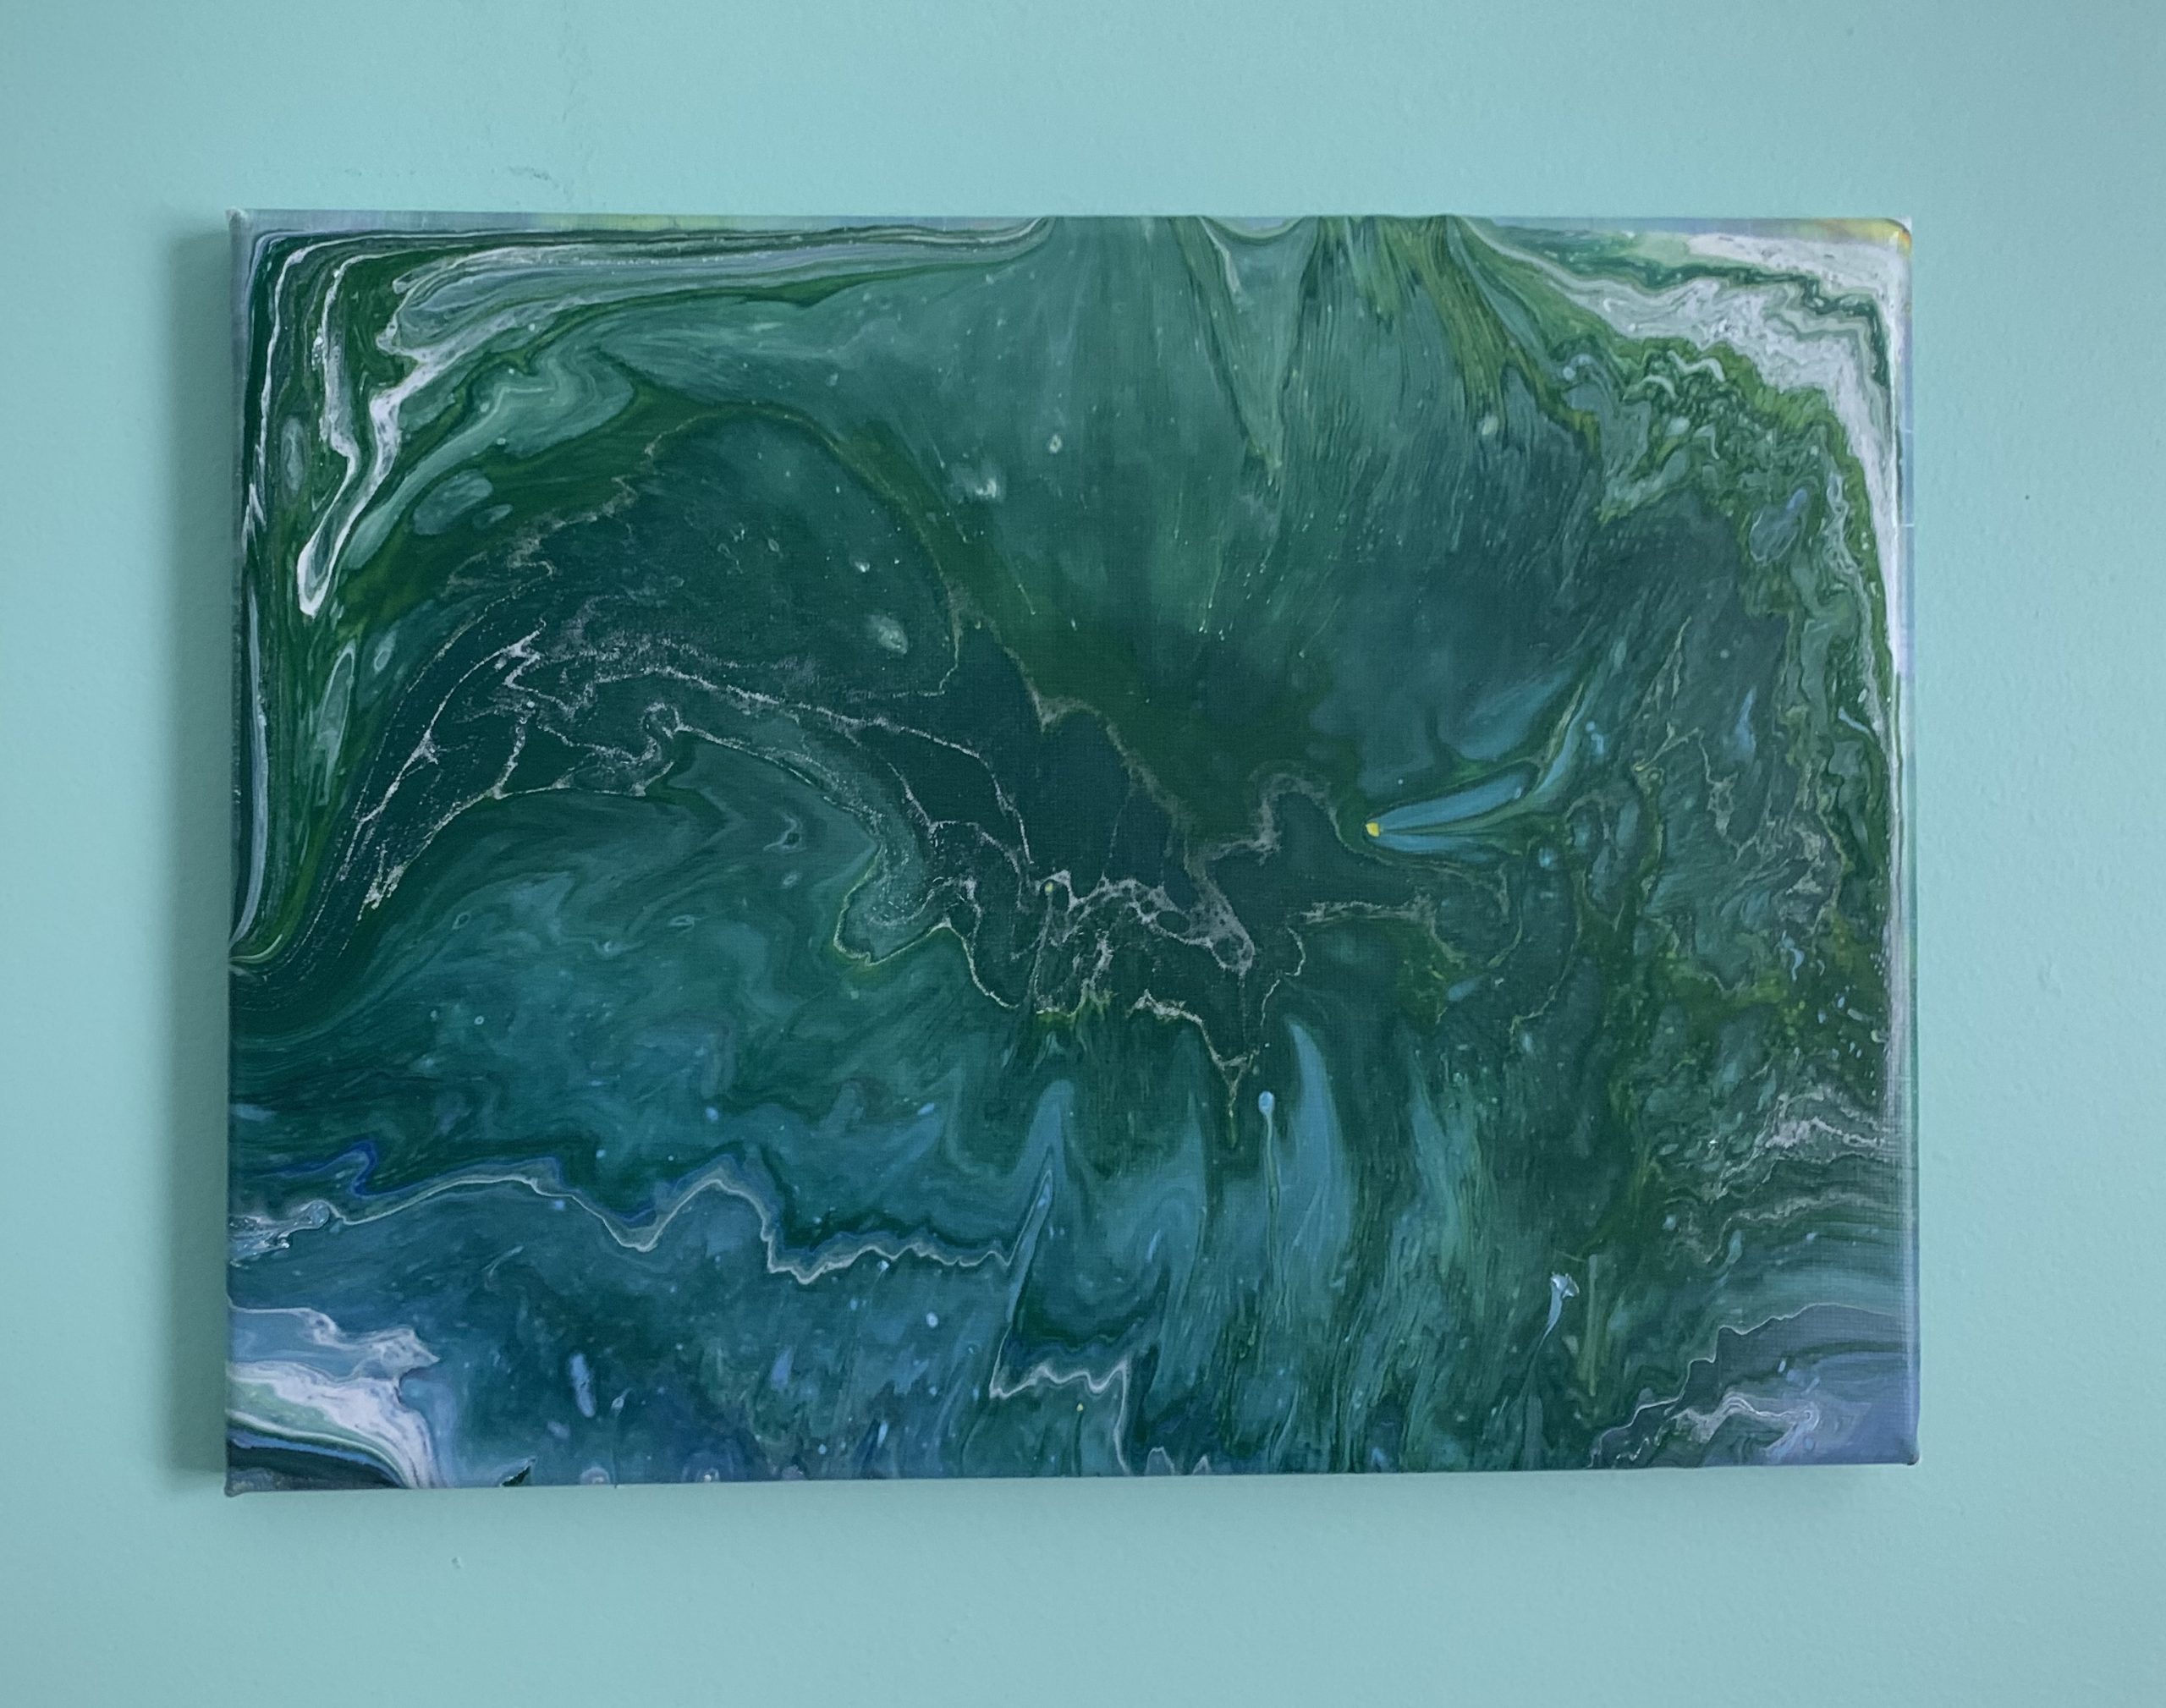
I was surprised that the painting that was made right after I poured the paint was not the final outcome of the painting. I initially wasn’t happy with my first attempt because the painting just looked green.
Second try
So I tried to do a second attempt. This time I tried to use contrasting colours so hopefully the paint wouldn't blend together as much.
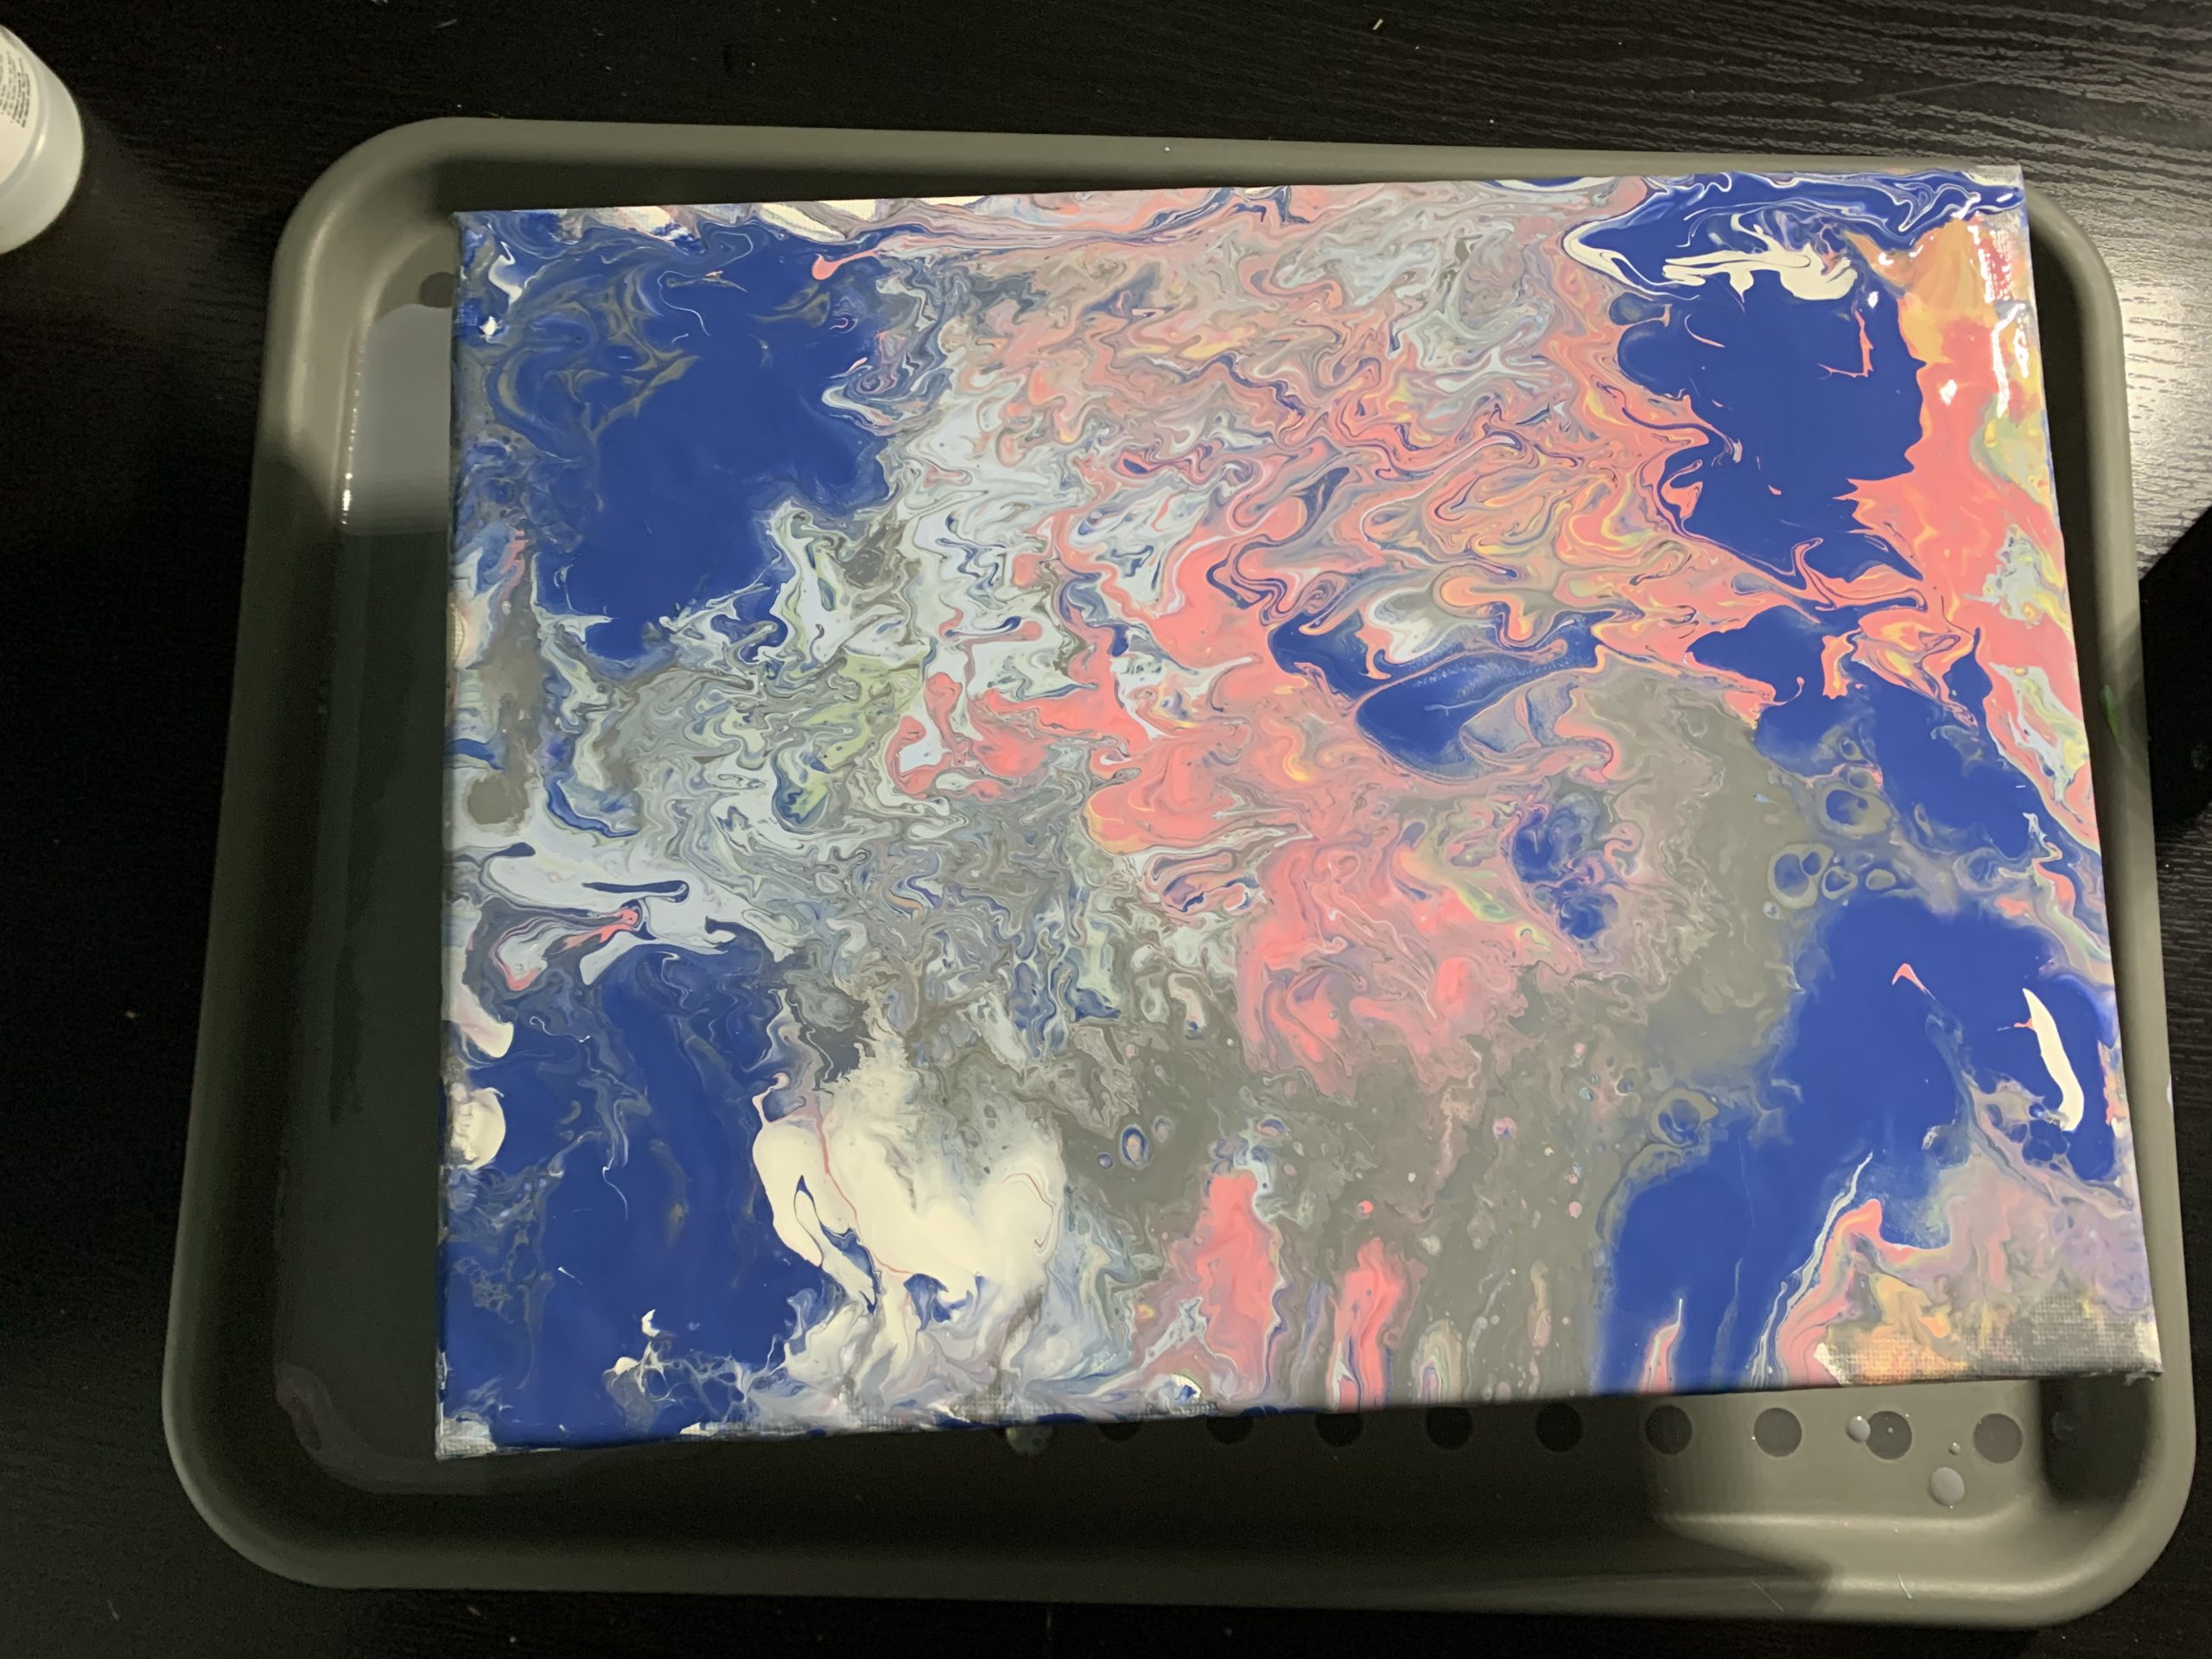
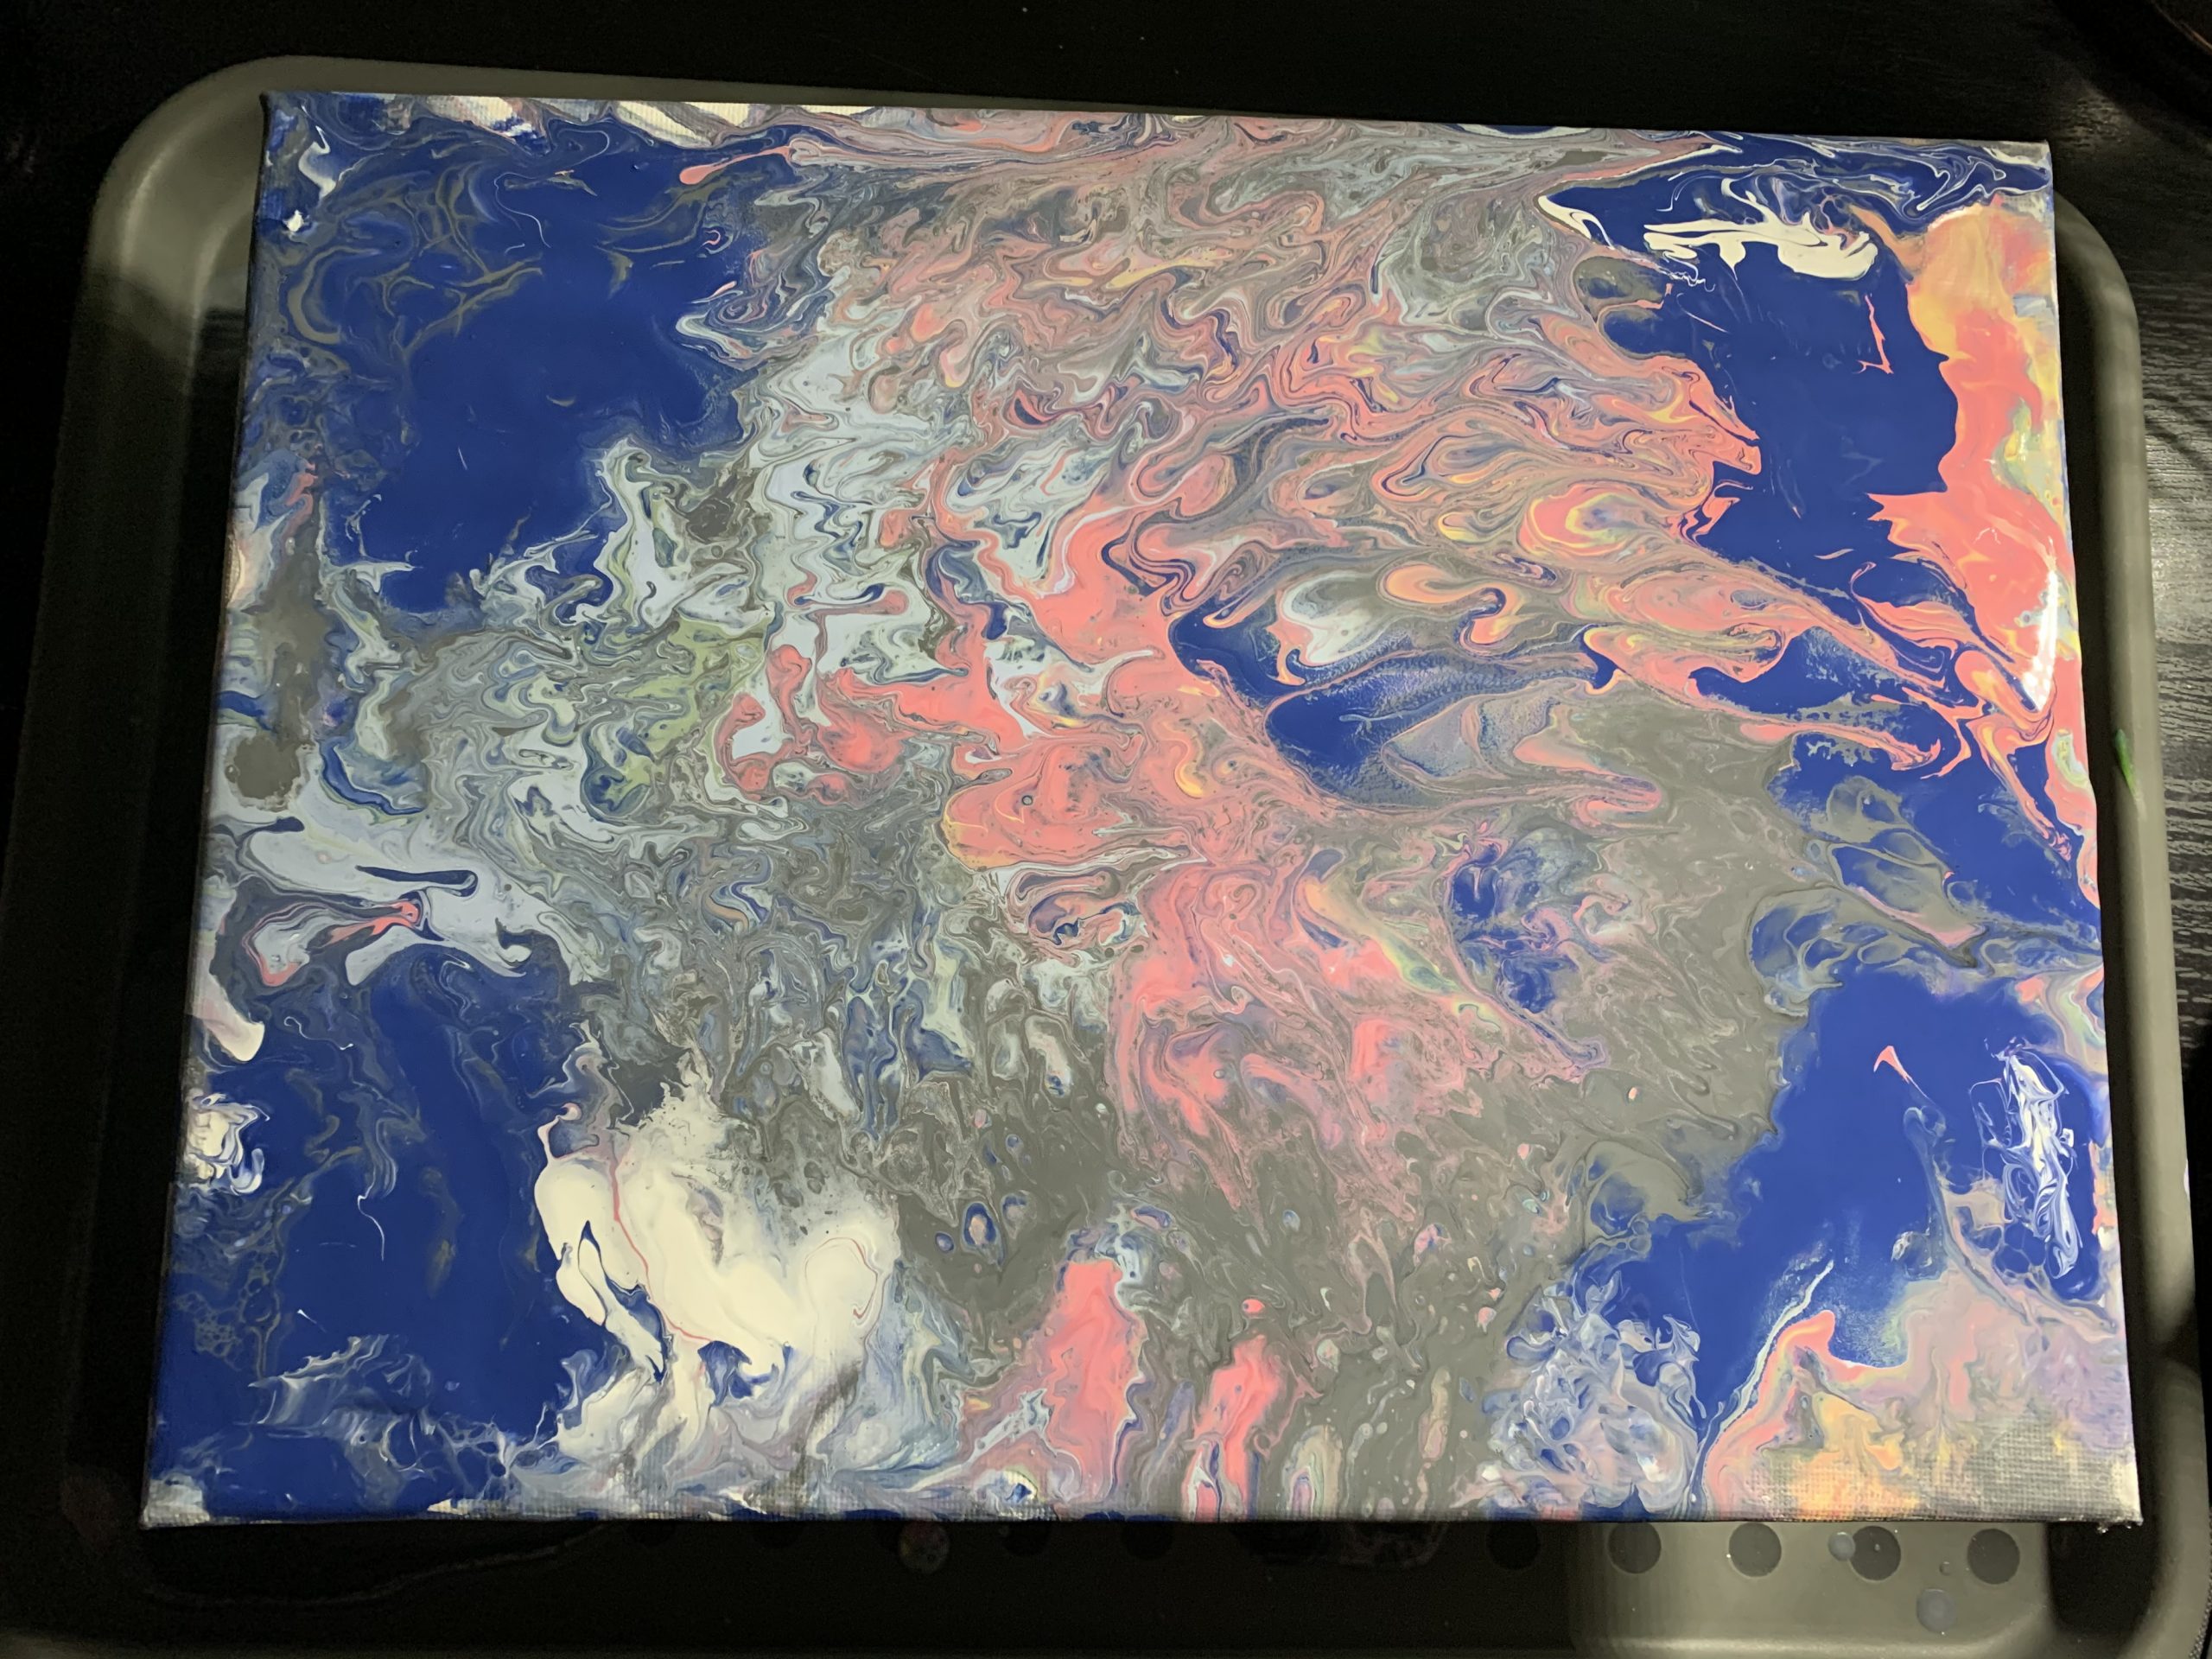
I think the second attempt had much less of a difference than my first try because I used less paint this time around, and I added small drops of paint in some areas to fill in empty gaps. I'm so much happier with the second painting because it’s more colourful, there’s more texture to it, and it’s just more interesting to look at.
Art is sometimes trial and error!
Give it a try
Overall I would definitely recommend people to try making pour art at home. It's a fun activity to do without having to get critical about your art skills. I definitely enjoyed it and will be trying pour art again in the future!
About the writer
I'm Janey Yoo and I am a teen volunteer for the Library. I’m initially a shy person but once you get to know me, I'm typically loud and talkative. A random fact about me is when I'm watching Netflix, I prefer watching movies over TV. I quickly get bored so it’s really rare for me to find a show I will watch all the way through.

Add a comment to: Teen Volunteer Art Feature: Janey